GB - 10
ASSEMBLY
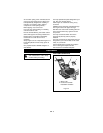
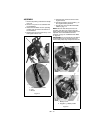
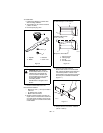
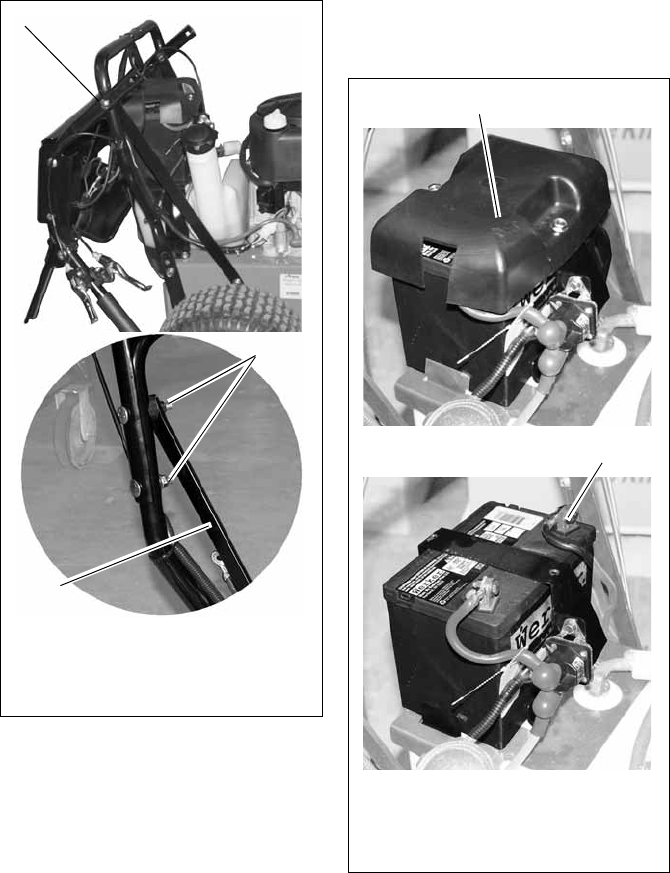
1. Remove all packing materials and straps
from unit.
2. Remove one pair of nuts and bolts from
the handlebars.
3. Rotate the handlebar into the operating
position and connect the two braces to
the handlebars.
4. Replace the nuts removed in step 1 and
then tighten all four nuts.
5. Check engine crankcase oil level. See
engine manual.
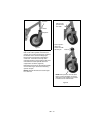
6. Connect the battery ground cable (–) to
the negative battery terminal.
7. Fill fuel tank. See FILLING THE FUEL
TANK on page 14.
NOTE: After the first twenty-five hours of
operation, belt wear may require the PTO
clutch cable and the drive control cables to be
adjusted. See Forward/Reverse Drive
Controls on page 19 and Wheel Drive Belts
on page 20.
IMPORTANT: Do not operate the unit without
understanding how the controls work and
how to safely start, stop and operate the unit.
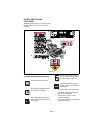
Figure 4
1. Handlebar Folded Down
2. Nut
3. Brace
1
2
3
Figure 5
1. Battery Cover
2. Negative (–) Battery Cable
1
2


