Operation
309286K 9
3. Install black (large orifice) chemical tip (Installing
and Changing Spray Tips, page 9).
Installing and Changing Spray
Tips
Spray tips have 4- or 5-digit numbers on them. The first
two digits are the spray angle.
*The chemical injector tip is brass and has a larger
opening and a black plastic cap.
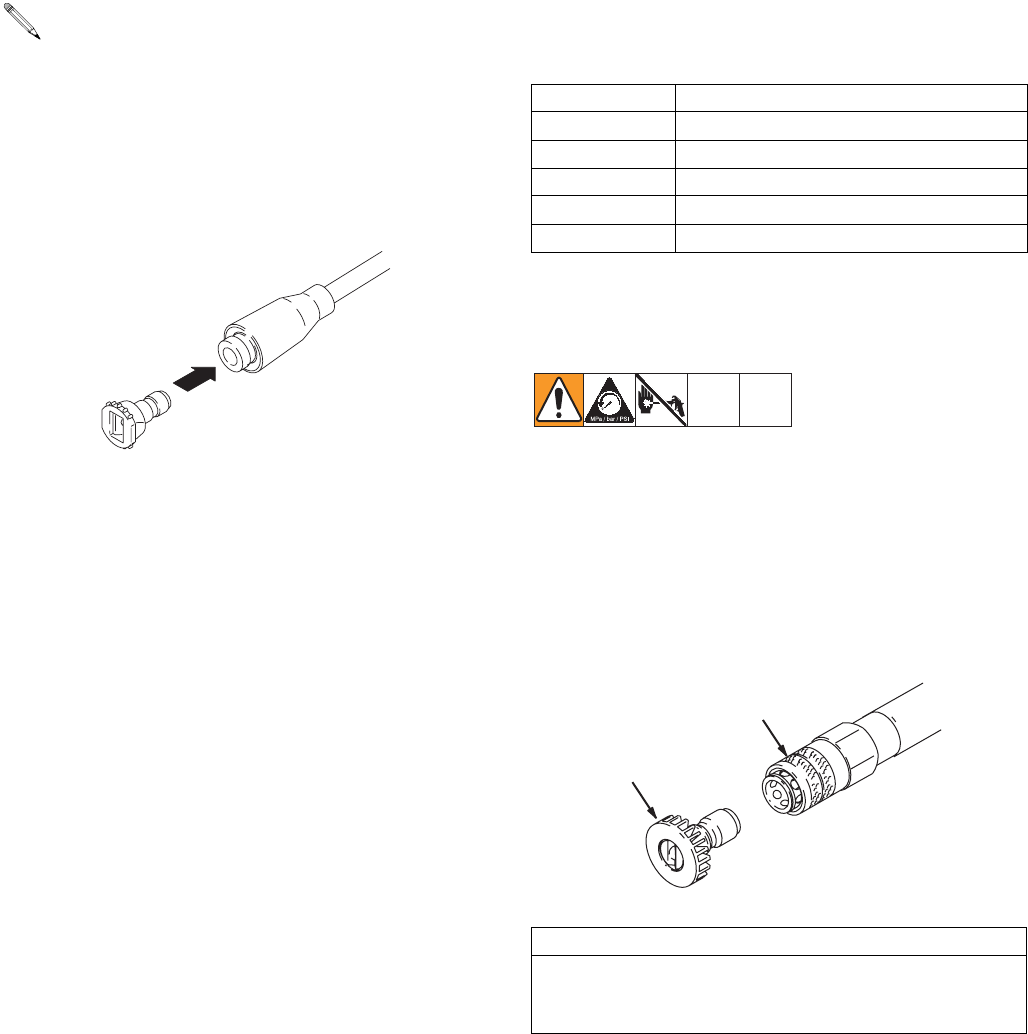
1. Follow Pressure Relief Procedure, page 6.
2. Lock trigger safety.
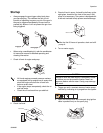
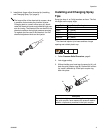
3. Without holding your hand over the spray tip (A), pull
back the quick coupler ring (B). Remove the current
tip. Install a different tip. Push quick coupler ring
back into place.
The large orifice of the chemical tip causes a drop
in pressure that actuates the chemical injector.
Changing back to a small orifice spray tip, deacti-
vates the chemical injector and produces high pres-
sure for rinsing. The chemical filter can be left in the
chemical container during high pressure spraying.
To regulate the flow rate of the chemical, turn the
chemical adjustment knob on the injector.
ti5439a
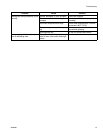
Spray Tip No. Spray Pattern Fan Angle
00XXX 0° blaster (red)
15XXX 15° (yellow)
25XXX 25° (green)
40XXX 40° (white)
Chemical* XX° (black)
CAUTION
To avoid the high pressure blowing the o-ring out of
the quick coupler, never operate the pressure washer
without a tip securely mounted in the quick coupler.
ti5440a
A
B


