16
Maintenance, long periods of disuse and repairs
Before carrying out any intervention
on the appliance, always remove the
plug from the electric socket.
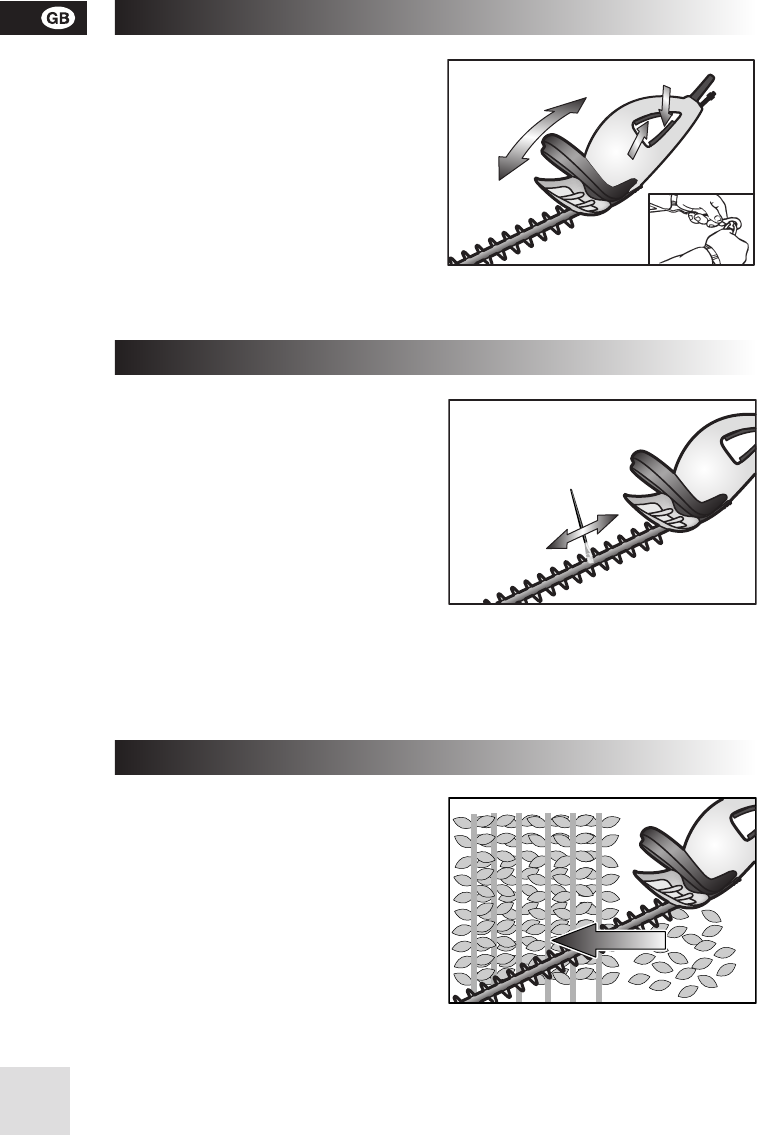
Clean the hedge trimmer after each
use and lubricate the blades with a
thin layer of oil (Fig. 2). Should oil or
grease come into contact with the
plastic parts, clean them at once with
a dry cloth, do not use solvents or
other liquids.
Check that the leads are not dete-
riorated and store them together with
the hedge trimmer in a dry place.
Do not dissemble any part of the
hedge trimmer; if repairs are neces-
sary, take it to a repair shop authori-
Fig. 2
sed by the manufacturers.
If it is necessary to replace parts, insist
on original spare parts.
Useful advice
While trimming, always hold the hedge
trimmer tightly with both hands so that
the blades are away from the body.
Always hold the hedge trimmer in front
you. Pass the extension lead over your
shoulder, making sure you keep it in
this position during trimming. Keep the
blades sideways on with respect to the
direction of growth of the branches
(Fig. 3). It is advisable to start cutting
the hedge from the bottom, working
up to the top. This guarantees foliage
uniformity over time, giving the hedge
a wider shape at the bottom than at
the top.
Fig. 3
Starting up
Before switching on, it is a good idea
to oil the blades.
Connect the extension lead to the
hedge trimmer using the pull out
cable stop, only when you reach
where you will be working. To start up,
pull one of the trigger switches under
the rear grip and the lever switch inser-
ted into the front grip (Fig. 1).
As soon as the trigger switch or the front
handgrip is released, the motor will stop
automatically.
Fig. 1
I
O


