35
00
Troubleshooting, Adjustment & Service
FRONT SUSPENSION ADJUSTMENT
The shock assembly can be adjusted to vary the amount
of pre-load applied to the springs. This allows the oper-
ator to customize the ride according to operator’s weight
and/or operating conditions.
Less Pre-Load:
• Light operator weight
• Softer, more cushioned ride
• Best for relatively flat terrain
More Pre-Load:
• Heavy operator weight
• Stiffer, more rigid ride
• Better handling and greater stability on hilly terrain
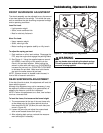
To adjust the spring pre-load:
1. Park machine on a flat, level surface. Disengage the
PTO, stop the engine and engage the parking brake.
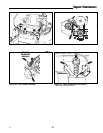
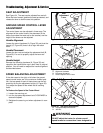
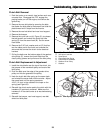
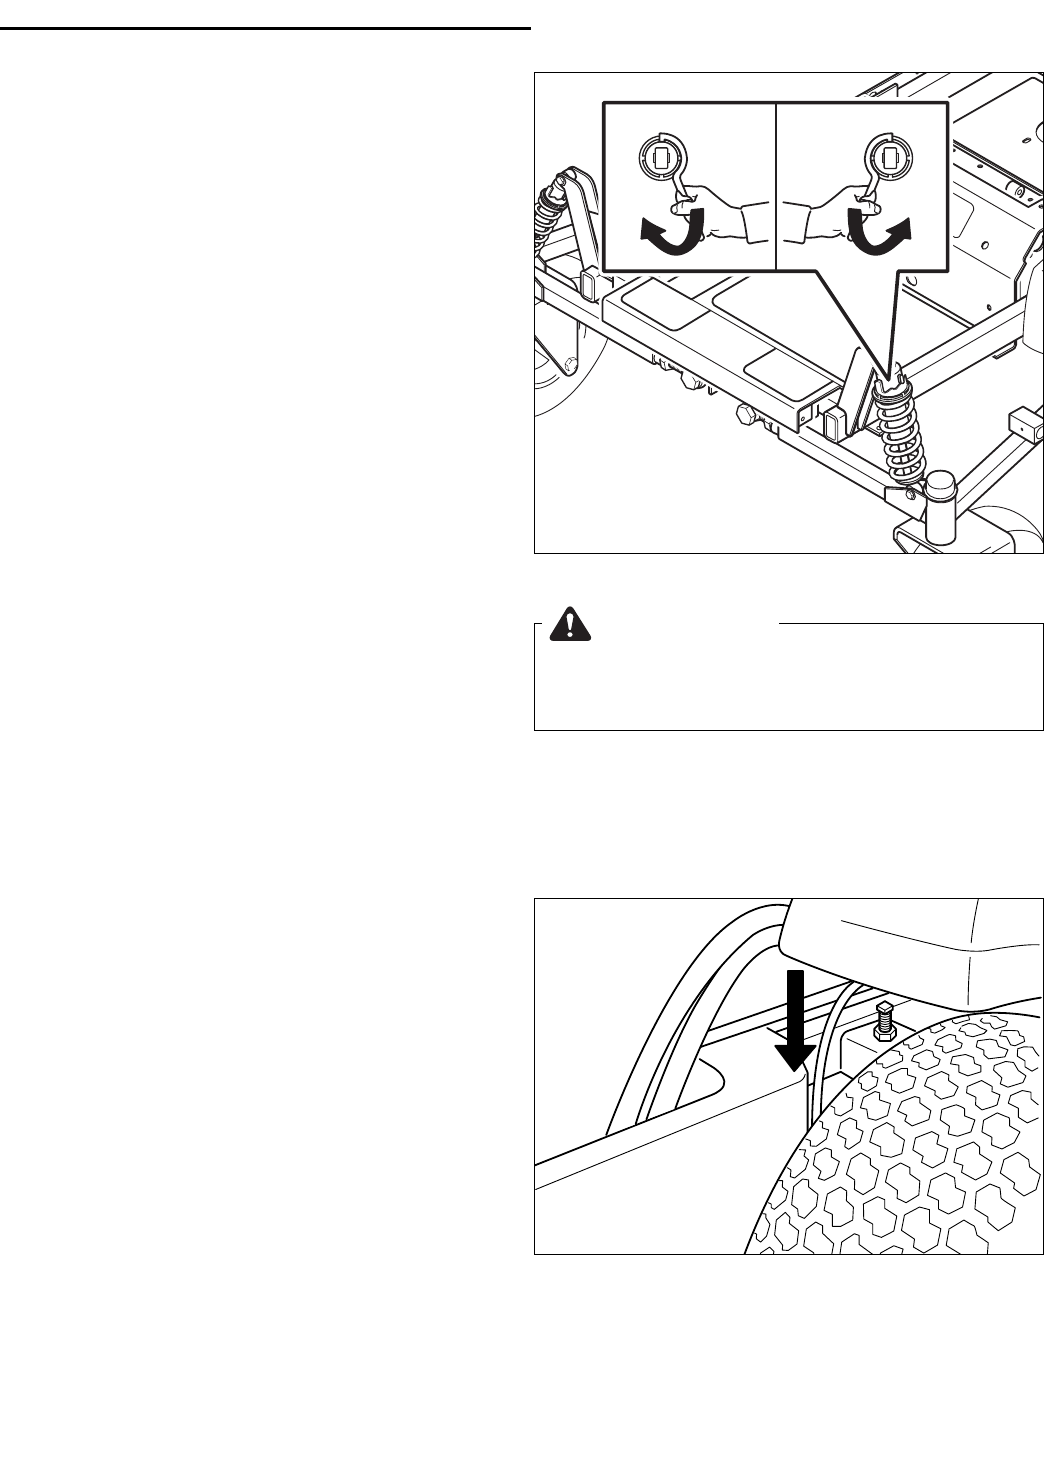
2. See Figure 41. Using the supplied spanner wrench
(p/n 22853), insert the tip of the wrench into the
notch in the pre-load adjuster. While holding the
wrench in place with one hand, turn CLOCKWISE to
increase the pre-load, turn COUNTER-CLOCKWISE
to decrease the pre-load. Make sure both shocks
are set to the same amount of pre-load.
NOTE: Spanner wrench is located under the seat, in
front of the oil reservoir and alarm.
REAR SUSPENSION ADJUSTMENT
If the rider tilts side-to-side, this adjustment will level the
frame with the ground.
Although this adjustment may not be necessary, it may
be required if additional weight (ie. a grass catcher) is
added to the frame or a drive tire is replaced.
NOTE: Perform this adjustment on a hard, level surface
such as a concrete floor.
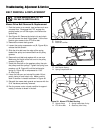
To level the frame, first measure the frame height:
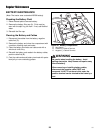
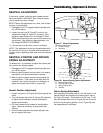
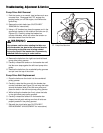
1. The measurement to the top of the rear frame rails,
at the widest point on the frame behind the drive
tires should be 22-3/8” (56,8cm) for each side (see
arrow in Figure 42).
3. Loosen the jam nuts and adjust the square-head
allen screw located above each spring.
4. After adjusting both springs, recheck the measure-
ment and adjust if necessary.
INCREASE
DECREASE
INCREASE
DECREASE
WARNING
Use two hands when adjusting the shock springs.
This will prevent the wrench from slipping while
pressure is being applied.
Figure 41. Front Suspension Adjustment
Figure 42. Rear Suspension Adjustment


