


Maintenance
Engine Maintenance
Servicing the Air Cleaner
Service Interval: Every 25 hours/Monthly
(whichever comes rst)
(May need more often
under extremely dusty or
dirty conditions.)
Every 100 hours/Yearly
(whichever comes
rst)—Replace the paper
element. (More often
under extremely dusty,
dirty conditions.)
This engine is equipped with a replaceable, high
density paper air cleaner element. Check the air
cleaner daily or before starting the engine. Check for
a buildup of dirt and debris around the air cleaner
system. Keep this area clean. Also check for loose or
damaged components. Replace all bent or damaged
air cleaner components.
Note: Operating the engine with loose or damaged
air cleaner components could allow unltered air into
the engine causing premature wear and failure.
Note: Service the air cleaner more often under
extremely dusty, dirty conditions.
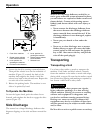
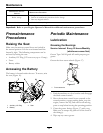
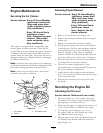
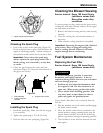
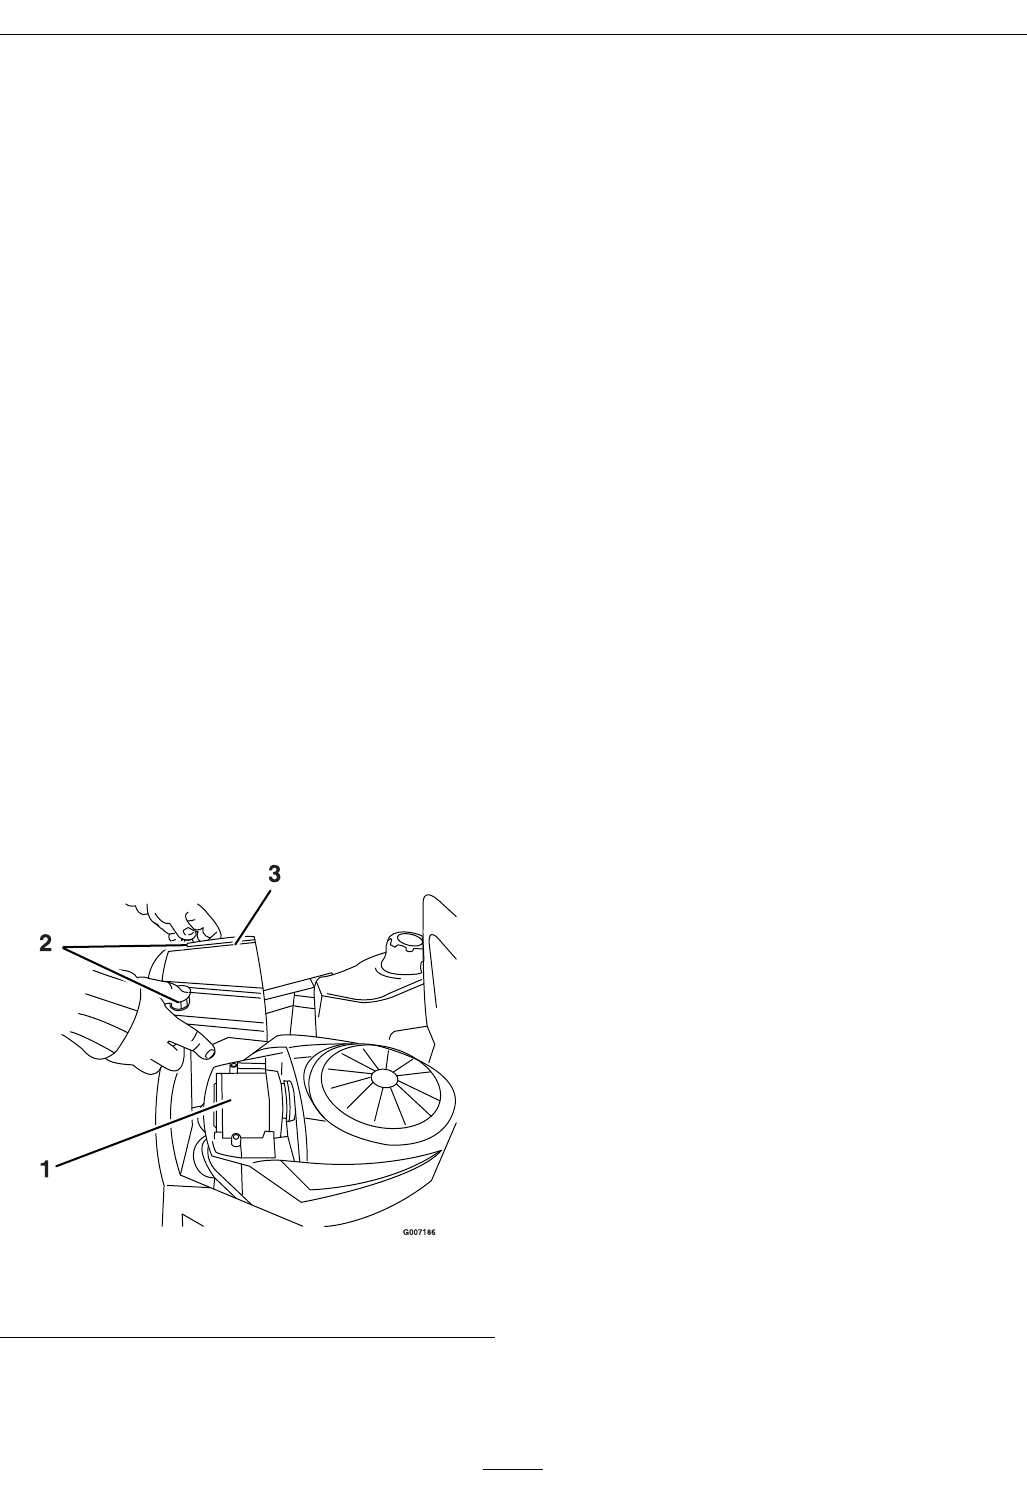
Figure 18
1. Air cleaner 3. Air cleaner cover
2. Knobs
Servicing Paper Element
Service Interval: Every 25 hours/Monthly
(whichever comes rst)
(May need more often
under extremely dusty or
dirty conditions.)
Every 100 hours/Yearly
(whichever comes
rst)—Replace the air
cleaner element.
1. Remove the air cleaner cover (
Figure 18).
2. Remove the air cleaner element with the integral
rubber seal.
3. Remove the foam sleeve from the element.
4. Gently tap the pleated side of the paper element
to dislodge dirt. Do Not wash the paper element
or use pressurized air, as this will damage the
element. Replace a dirty, bent, or damaged
element. Handle new elements carefully; Do Not
use if the rubber seal or foam sleeve is damaged.
5. Wash the foam sleeve in warm water and allow to
dry. Reinstall over the paper element.
6. Clean all air cleaner components of any
accumulated dirt or foreign material. Prevent any
dirt from entering the carburetor.
7. Install the air cleaner element with the pleated
side “out” and seat the rubber seal onto the edges
of the air cleaner base.
8. Reinstall the air cleaner cover and secure with
the knobs.
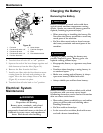
Servicing the Engine Oil
Checking the Oil Level
Service Interval: Before each use or daily
1. Park the machine on a level surface, disengage
the blade control switch, stop the engine, engage
parking brake, and remove the key.
2. Make sure the engine is stopped, level, and is cool
so the oil has had time to drain into the sump.
3. To keep dirt, grass clippings, etc., out of
the engine, clean the area around the oil ll
cap/dipstick before removing it.
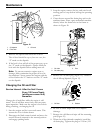
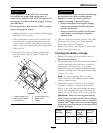
4. Pull and remove the oil ll cap/dipstick; wipe oil
off. Reinsert the dipstick and push rmly into
place (Figure 19).
31