


Gr a s s Tr i m m e r /Br u s h Cu T T e r
Op e r a T O r 's ma n u a l
11
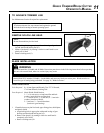
t o a d v a n c e t r I m m e r l I n e
See Maintenance Section for nylon line replacement.
Tip:
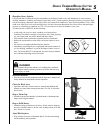
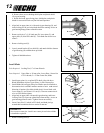
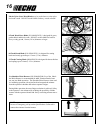
To advance trimmer line, tap trimmer head against the ground
while the head is turning at normal operating speed.
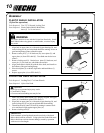
r e m o v e n y l o n l I n e h e a d
NOTE
Do not disassemble nylon line head.
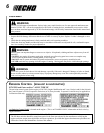
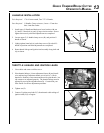
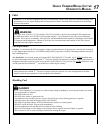
1. Align locking hole in upper plate with notch in edge of gear hous-
ing and insert head locking tool (G).
2. Remove line head (J) by turning it clockwise until head is com-
pletely off of shaft.
3. Remove locking tool (G).
G
J
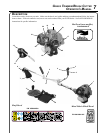
b l a d e I n s t a l l a t I o n
WARNING
You must install the U-Handle and all Blade Conversion parts shown in the following instructions before operating
this unit with a metal blade, otherwise serious injury may result.
NOTE
Model SRM-225U includes U-Handle, 8-tooth blade, and necessary blade conversion parts. Blades must be se-
lected for type of cutting being performed. See page 16, "Blade Selection."
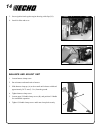
G
F
J
Install Metal Shield
Tools Required: 8 x 10 mm Open-end Wrench, Torx T27 L-Wrench,,
17x19 mm Wrench, Locking Tool
Parts Required: Metal Shield, Shield Bracket,
3 - 5 x 16 mm screws w/captivated at and lock-
washer, (metal shield to gear housing).
2 - 5 x 8 mm screws, 2 - 5 mm nuts, 2 - 5 mm lock-
washers, (bracket to shield).
2 - 5 mm nuts, 2 - 5 mm lockwashers
(bracket to gear housing)
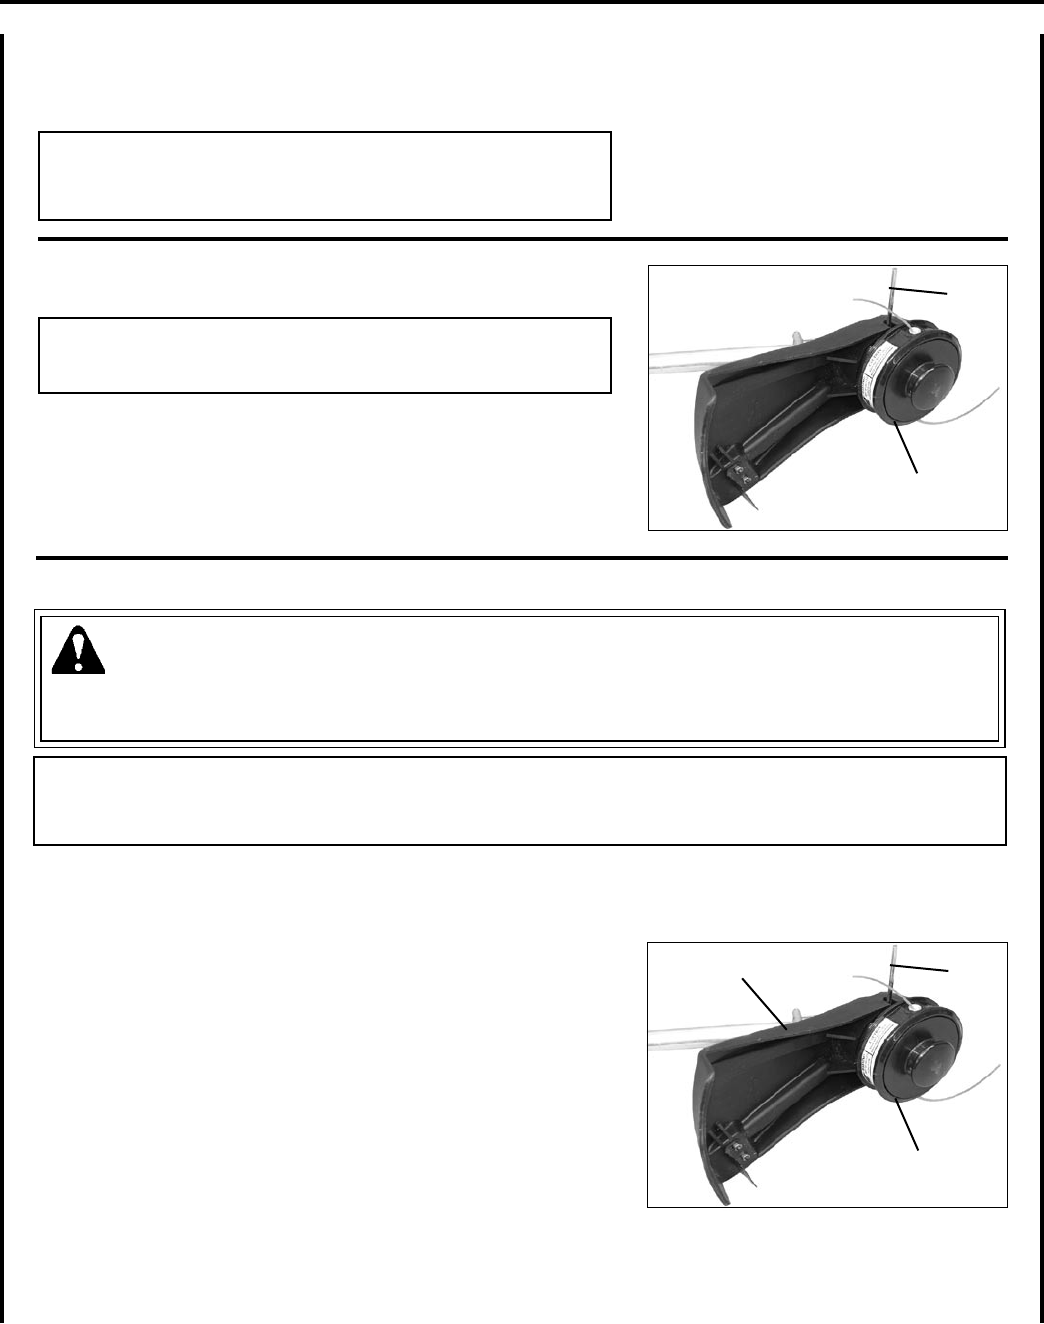
1. If installed remove nylon line head, upper xing plate, shield plate,
and plastic shield.
a. Align locking hole in upper plate with notch in edge of gear
housing and insert head locking tool (G).
b. Remove line head (J) by turning it clockwise until head is
completely off of shaft.
c. Remove locking tool (G0.