


Check for parts online at www.getearthquake.com or call 800-345-6007 M-F 8-5 9
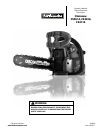
Operator's Manual
CS3814, CS3816, CS4116 Chainsaws
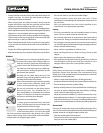
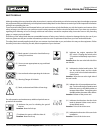
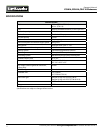
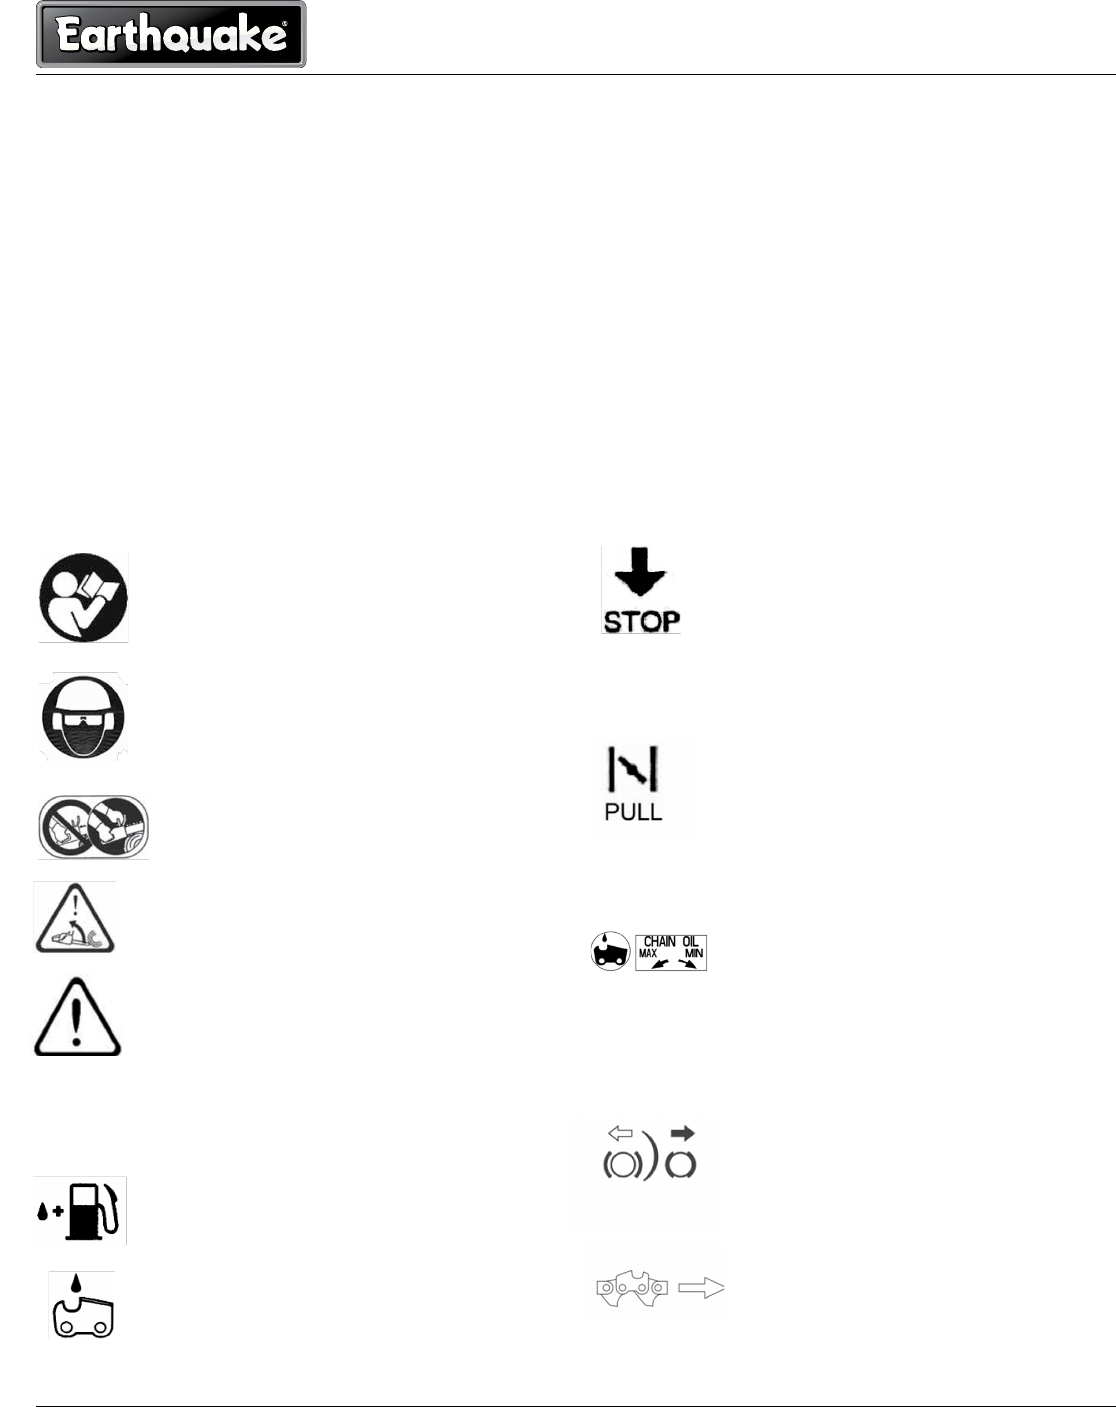
SAFETY DECALS
Although reading this manual and the safety instructions it contains will provide you with the necessary basic knowledge to operate
this equipment safely and eectively, we have placed several safety labels on the chainsaw to remind you of this important information
while you are operating the unit.
These important safety labels are illustrated below, and are shown here to help familiarize you with the location and content of the
safety messages you will see as you perform normal cutting operations. Please review these labels now. If you have any questions
regarding their meaning or how to comply with these instructions, reread the complete safety instruction text on the preceding
pages, or contact your local dealer.
Should any of the safety labels become unreadable because of being worn, faded, or otherwise damaged during the use of your
chainsaw, please use the part number information provided to order a replacement label from your local authorized dealer.
The safety labels are easily applied, and will act as a constant visual reminder to you, and others who may use the equipment. Follow
the safety instructions necessary for safe, eective operation of your chainsaw.
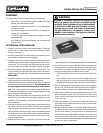
(1) Read operator's instruction book before op-
erating this machine.
(2) You must wear appropriate ear, eye, and head
protection.
(3) Use two hands when operating the chainsaw.
(4) Warning! Danger of kickback.
(5) Read, understand and follow all warnings.
For safe operation and maintenance, additional symbols are en-
graved on the machine.
(8) Indicates the engine operation ON/
OFF switch. Flipping the switch to the
“O”positionimmediatelystopstheen-
gine.
Location: Near the rear at the left side of the
rear handle.
(9) Indicates the choke knob location. Pull
out the choke knob and the choke
closes; push in the choke knob and the
choke opens.
Location: Near the rear at the right side of
the rear handle.
(10) Indicates the oil pump adjustment loca-
tion. Turn the rod using a screwdriver and
follow the arrow to the MAX position to
increase chain oil ow. Turning the rod to
the MIN position decreases chain oil ow.
Location: Bottom of the power unit.
(11) Indicates the directions that the chain
break is released (white arrow) and ac-
tivated (black arrow)
Location: Front of the chain cover.
(12) Indicates the direction of the saw chain
installation.
Location: Front of the chain cover.
(6) Indicates the port for refueling the gas/oil
mixture.
Location: Near the fuel cap.
(7) Indicates the port to rell the chain oil.
Location: Near the oil cap