Dimension One Spas and @ Home Hot Tubs
Export Planning Guide and Installation Manual
Installation
Electrical Hook Up Instructions
Warning
Do not turn on electrical power to your hot tub until told to do so later in this manual.
Have a licensed electrician run the required 240-volt power line to the hot tub installation site. The power
inlet connection is located in the pedestal on the left side of the hot tub, approximately 25” from the front.
This connection is designed to mate with a Carlon 1” conduit body Type LB, Access Fitting E986F or any 1”
female PVC conduit fitting. The manufacturer’s label lists the power requirements for your hot tub. We
recommend that only a licensed and bonded electrician do the initial hot tub hook-up.
Note
This unit requires a GFCI (Ground Fault Circuit Interrupter). We have provided
an enclosed instructional flyer for a licensed electrician. A “line of sight” service
disconnect must be located where visible from the hot tub, not less than 5 feet from the
hot tub and not to exceed 50 feet from the hot tub. This requirement may be filled with
the GFCI sub-panel. All supply wire to be rated minimum 90°C.
To hook-up your hot tub, follow these instructions:
1. Remove the screws holding the equipment access panel to the front of the hot tub cabinet and set
the panel aside.
2. Loosen the four screws located on the front of the black equipment control can and remove the
door from the control can to allow access to the four wire connection terminal block.
3. Attach 1” rigid non-metallic conduit to the conduit nipple located in the pedestal base on the side of
the hot tub and run required conductors through the conduit to the equipment can.
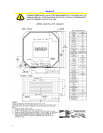
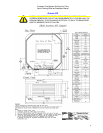
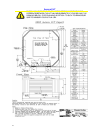
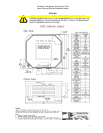
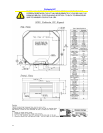
4. Connect the four wires to the equipment system terminal block (TB1) as indicated on the wiring
diagram in the back of this manual.
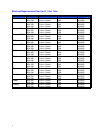
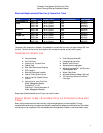
5. Configure jumpers 1 and 2 on the upper right corner of the PC Board to match the circuit size being
used for the hot tub (see Electrical Requirements Chart on the following page for proper wire size).
See the chart below for the correct settings.
3


