


10
English
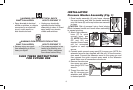
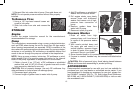
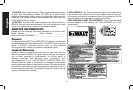
6. Place the nozzle
holder (G) onto the
panel assembly (F)
and push each noz-
zle holder into
place.
7. Remove the five colored quick-connect nozzles from the plastic
bag and insert them into correct grommet on the nozzle holder.
Nozzles are color coded to match colored nozzles on panel
assembly.
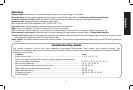
8. Using a 7/8" wrench, remove
H
shipping plug from pump by
turning it counterclock-wise.
Discard shipping plug.
NOTE: The high-pressure pump
was filled with oil at the factory.
Always check oil level before using (refer to Maintenance for
more information).
9. Remove dipstick/oil plug (H) from plastic bag and install into
pump, tighten securely.
NOTE: The shipping plug must be removed and replaced with
the dipstick/oil plug before operating pressure washer.
WARNING: Risk of bursting.
Use a tire pressure gauge to check
the tires pressure before each use and while inflating tires; see the tire
sidewall for the correct tire pressure.
NOTE: Air tanks, compressors and similar equipment used to
inflate tires can fill small tires similar to these very rapidly. Adjust
pressure regulator on air supply to no more than the rating of the
tire pressure. Add air in small increments and frequently use the
tire gauge to prevent over inflation.
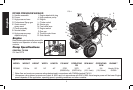
OPERATION
Pressure Adjustments
The pressure setting is preset at the factory to achieve op ti mum pres-
sure and cleaning. To lower the pres sure, follow these instructions.
1. Back away from the sur face to be cleaned. The further away you
are, the less the pressure will be on the surface to be cleaned.
2. Change to the 40˚ nozzle (white). This nozzle delivers a less
powerful stream of water and a wider spray pattern. Refer to
Spray Wand Nozzles.
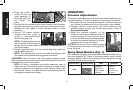
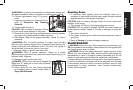
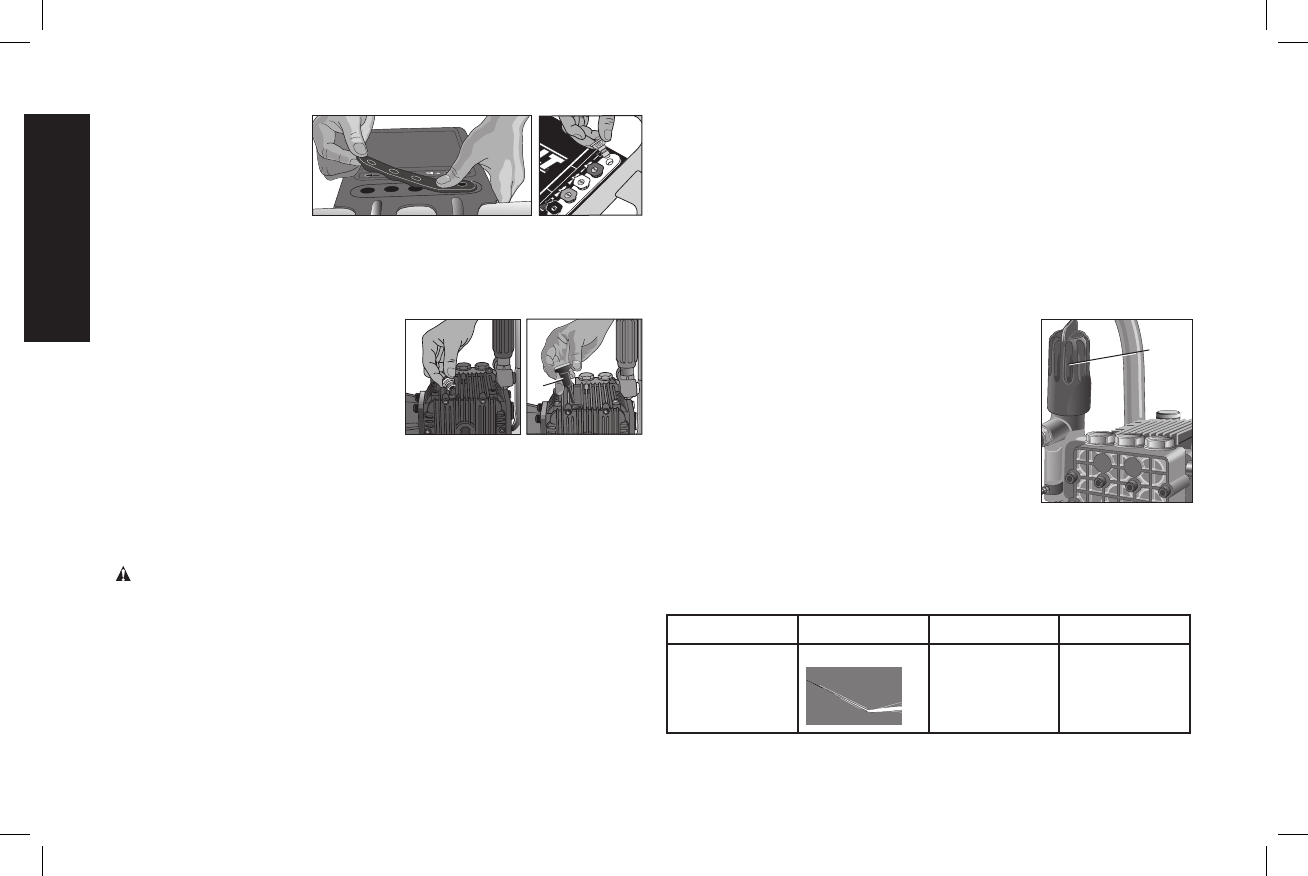
3. Adjust the pres sure reg u la tor on the
S
pump. Turn the pressure reg u la tor knob (S)
coun ter clock wise to lower pressure. Once
you have fin ished using your pres sure wash-
er, re turn the pres sure reg u la tor to its origi-
nal position by turning it clock wise.
CAUTION: Do not try to turn pressure regula-
tor knob past the built-in stop or damage to the
pump will result.
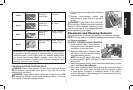
Spray Wand Nozzles (Fig. 1)
The nozzles for the spray wand are stored in the nozzle holder (G) on
the panel assembly (F). Colors on the panel identify nozzle location
and spray pattern. Refer to the following chart to choose the correct
nozzle for the job to be performed.
Nozzle Color Spray Pattern Uses Surfaces*
Red
0˚ powerful
pinpoint for
very intense
cleaning
metal or
concrete;
DO NOT use
on wood