6
110939
ELECTRIC POLE TRIMMER
®
For more information, visit www.desatech.com
OPERATING POLE
TRIMMER
Continued
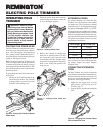
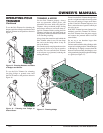
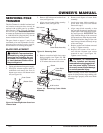
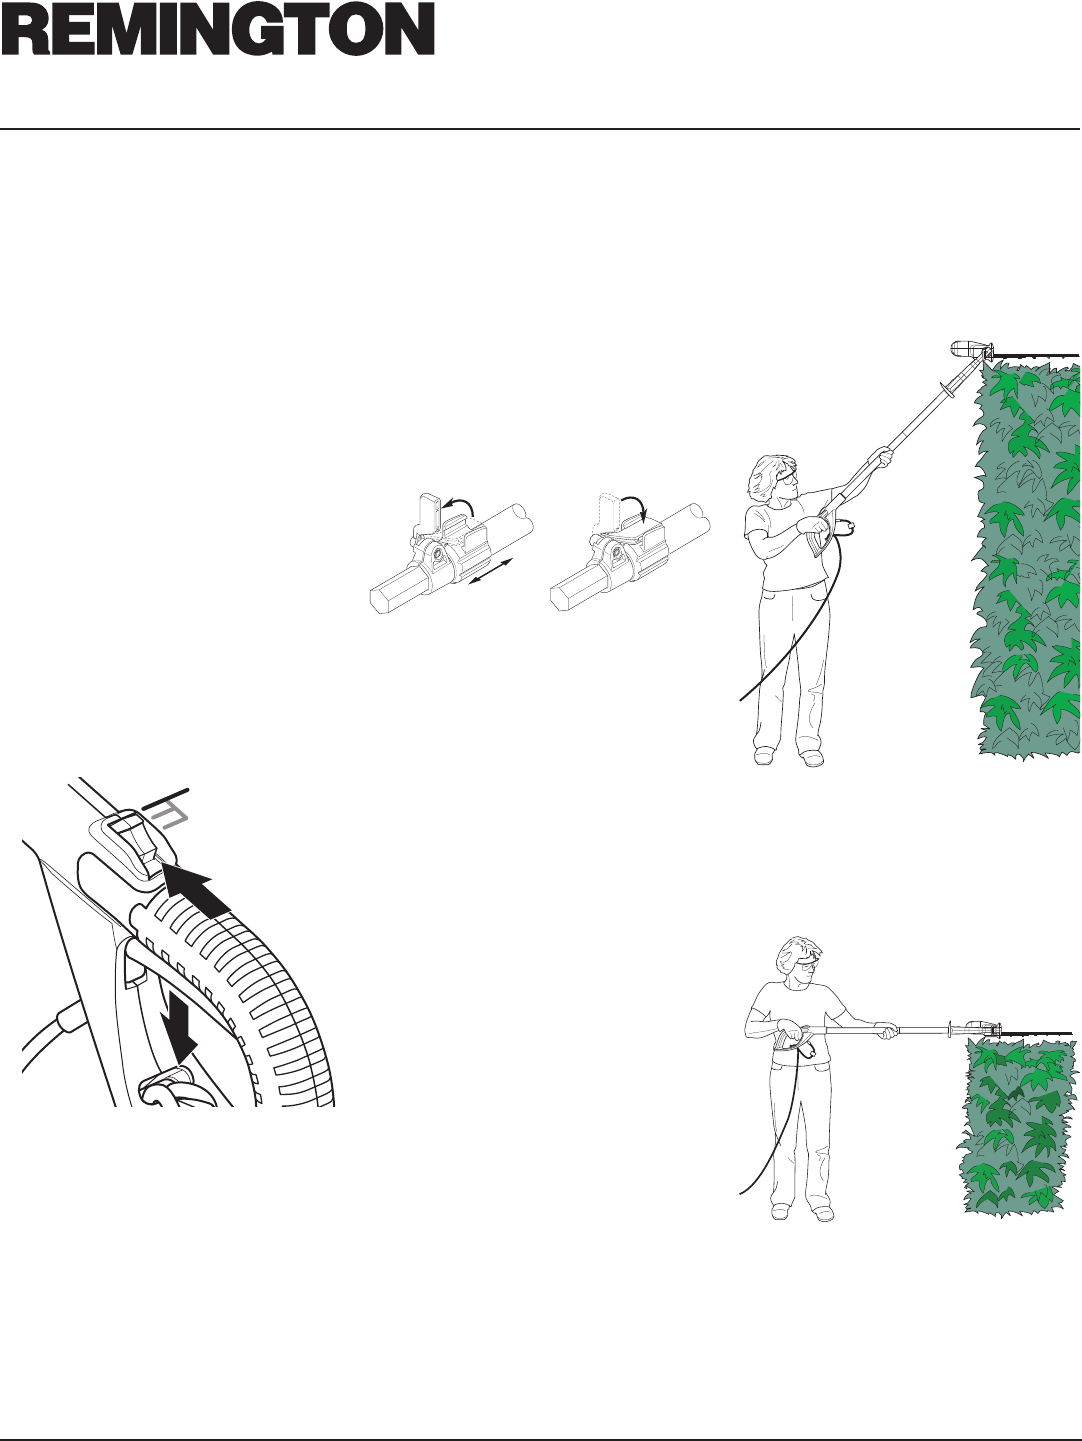
Figure 13 - Trimming Tall Hedges or
Shrubs
Figure 14 - Trimming Smaller Hedges or
Shrubs
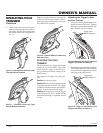
Locking the Pole Trimmer ON
1. Push the trigger lock button forward to
Position 2 and squeeze the trigger lever
to the ON position. The Pole Trimmer
will start running.
2.
While the Pole Trimmer is running, push
the trigger lock button forward again to
Position 3. Hold the button there while
releasing the trigger lever, then release
the lock button. This locks the trigger
lever in the ON position and the Pole
Trimmer will continue running.
3. To turn the Pole Trimmer OFF, squeeze
the trigger lever and release it. The trig-
ger lock button will reset to Position 1,
locking the trigger in the OFF position.
Note: If the Pole Trimmer is locked ON
during use and the Pole Trimmer becomes
disconnected from the power supply, Disen
-
gage the lock ON feature before reconnecting
to the power supply.
USING THE POLE TRIMMER
The Pole Trimmer is a dual-purpose tool. It is
designed to trim and shape tall, hard-to-reach
hedges and bushes with its extended reach
and pivoting power head. You can also adjust
the Pole Trimmer to trim and shape smaller
hedges and shrubs near the ground without
having to bend or stoop.
Figure 11 - Locking Trigger in ON Position
with Trigger Lock Button in Position 3
Trigger Lock
Button Position 3
OPERATING POSITIONS
To use the Pole Trimmer for trimming tall,
hard-to-reach hedges or shrubs, hold the
Pole Trimmer at the positions shown in
Figure 13. Pivot the power head to several
different positions to shape or sculpt shrubs
or hedges.
To use the Pole Trimmer for trimming smaller
hedges or shrubs, hold the Pole Trimmer at
the positions shown in Figure 14.
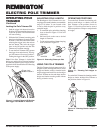
ADJUSTING POLE LENGTH
The Remington
®
Pole Trimmer has a tele-
scoping pole assembly that has an extendable
range of 10 inches. A cam levered collet
is used to hold the pole in position at any
extended length.
1. To extend the pole, unlock the clamping
lever as shown in Figure 12. Pole will
slide freely.
2. Pull inner pole section out to desired
length of extension.
3. To lock pole in position, tighten clamping
lever as shown in Figure 12.
Figure 12 - Extending Telescopic Pole
UNLOCK
LOCK


