Page
2
.
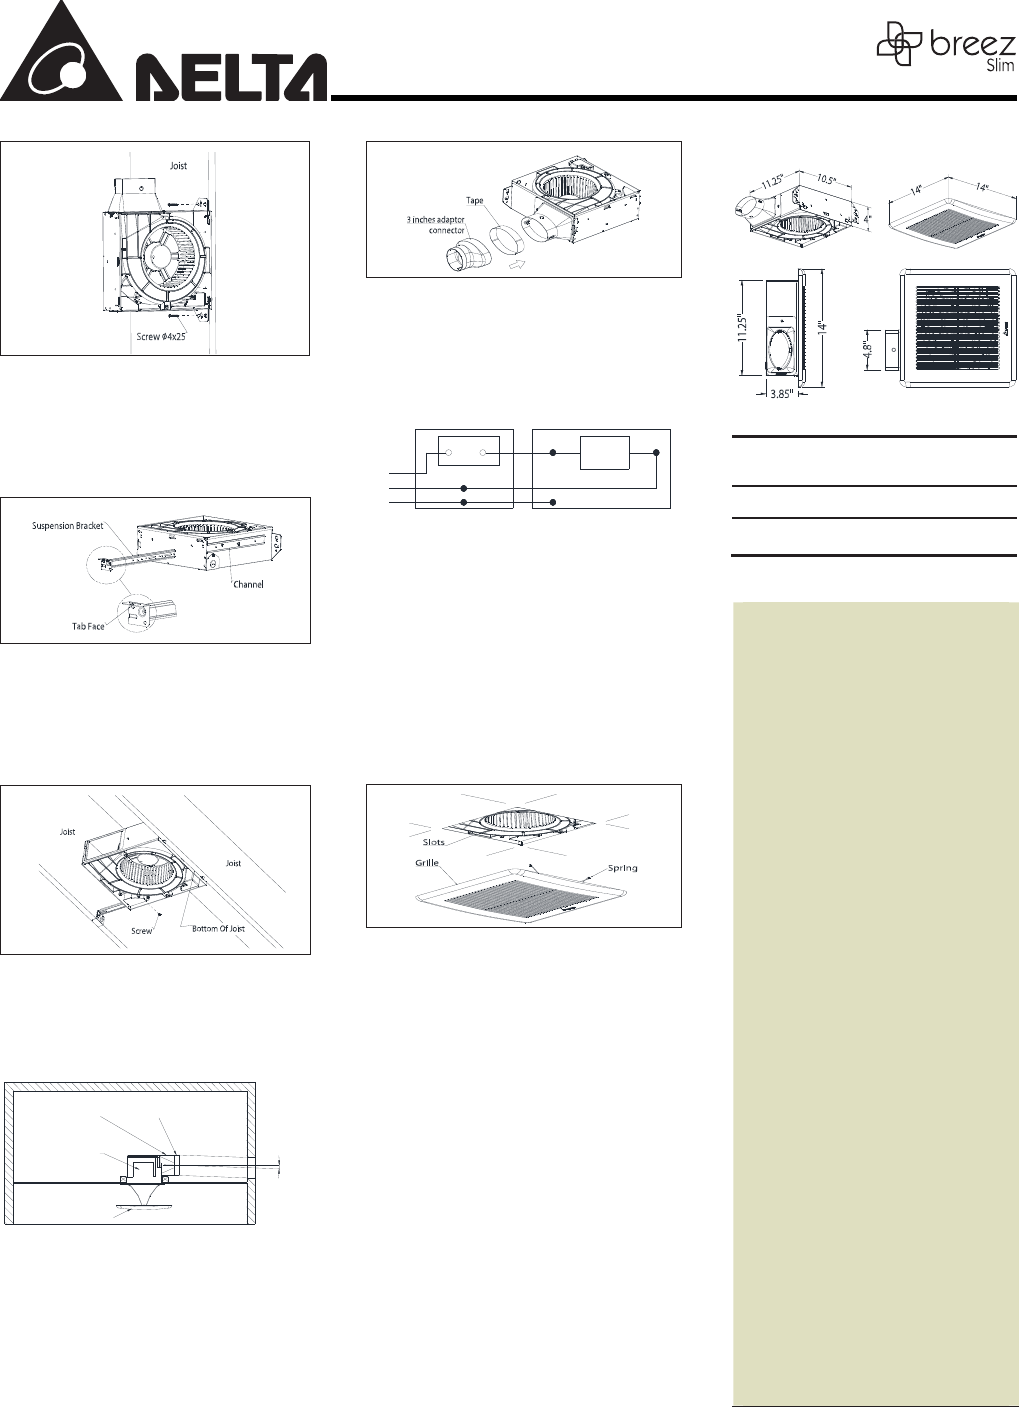
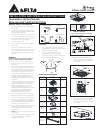
USING SUSPENSION BRACKETS
1-3. Sliding suspension bracket available to allow for your
specic positioning of housing anywhere between
joists.
1-4. Insert suspension brackets into the channels on
housing. Make sure tabs face “up” shown.
1-5. Extend suspension brackets to the width of the joists.
Hold fan in place with the suspension brackets tabs
wrapping around the bottom of joist.
1-6. Fasten suspension brackets to joists with nails or
screws through holes near nails.
1-7. Secure suspension bracket with a screw.
2. DUCT CONNECTION
2-1. Insert the duct into the duct connector and tape all
ductworks connection to make them secure and air
tight.
2-2. Install the duct with a gradient 1°~2° to the outside.
Inside
Outside
Duct
Body
Gradient
1¢X~2¢X
Ceiling
Grille
Tape
Duct Connector
CONNECTION METHOD FOR 3 INCHES ADAPTOR
CONNECTOR (3 INCHES DUCTWORK ONLY )
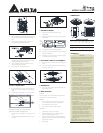
3. CONNECT WIRING
3-1. Follow all local electrical and safety codes,
ANSI/NFPA70.
3-2. NEVER place a switch where it can be reached from a
tub or shower.
(BLK)
FAN
WHTBLK
FAN
SWITCH
BLK
WHT
GRD
FAN ELECTRICAL BOX
LINE
IN
HOUSE ELECTRICAL BOX
3-3. Connect wires as shown in wiring diagrams.
3-4. Using wire nuts (not provided), connect house power
cable to ventilating fan.
3-5. 14 AWG (2.1 mm
2
) is the smallest conductor that shall
be used for branch-circuit wiring.
4. TEST RUN & GRILLE ATTACHMENT
4-1. When the power on, check for abnormal vibration or
sound.
4-2. Insert the mounting springs into the slots and mount
the grille to the fan unit.
5. OPERATION
5-1. Turn on the power switch to operate ON or OFF, and
LED indicator is green.
6. MAINTENANCE
WARNING:
Disconnect power source before working on unit. Routine
maintenance must be done every year.
CAUTION:
1. Never use gasoline, benzene, thinner or any other
such chemicals for cleaning the ventilating fan.
2. Do not allow water to enter motor.
3. Do not soak resin parts in water over 60°C.
CLEANING:
1. Pull down the spring to remove grille.
2. Wash and clean grille. (Use non-abrasive kitchen
detergent, wipe dry with new cloth.)
3. Using a cloth dampened with non-abrasive kitchen
detergent, remove dust and dirt from ventilating fan.
Wipe dry with new cloth.
4. Replace grille.
SPECIFICATIONS
Model No.
Voltage
(V)
Frequency
(Hz)
Power
@ 0.1SP
(W)
Air Flow
@ 0.1SP
(CFM)
Weight
(lb.)
Power
(W)
SLM80 120
60
9.5 80 6.6 13
SLM100 120 60 16.5 100 6.6 20
Note: Design and specications subject to change without notice.
WARRANTY
DELTA ELECTRONICS THREE YEAR LIMITED
WARRANTY
Delta Electronics Inc. (“Delta Electronics”) warrants
to the original consumer purchaser in the USA
that the Breez ventilation fan products will be free
from defects in material or workmanship. This
warranty is limited to three (3) years from the
original date of purchase.
Limitations and Exclusions
1. During the warranty period, a replacement for
any defective product will be supplied free of
charge for installation by the consumer. The
warranty provided herein does not cover
charges for labor or other costs incurred in the
troubleshooting, repair, removal, and
installation service.
2. All returns of defective parts or products must
include the product model number, and must
be made through an authorized Delta
Electronics distributor. Authorized returns must
be shipped prepaid. Repaired or replacement
products will be shipped by Delta Electronics
F.O.B. shipping point.
3. Delta Electronics shall not be liable for any
indirect, incidental, consequential, punitive, or
special damages arising out of or in connection
with products use or performance, regardless of
the form of action whether in contract, tort
(including negligence), strict product liability or
otherwise.
4. This warranty does not extend to uorescent
lamp starters and tubes.
5. The warranty does not cover if user does not
comply with manufacture’s installation manual.
6. To qualify for warranty service, you must notify
Delta Electronics at the address or telephone
number below.
7. Delta Electronics shall have no liability to the
original owner-user with respect to any defect
caused by abuse, misuse, neglect, improper
transportation or storage, improper testing,
improper installation, improper operation,
improper use, improper maintenance, improper
repair, improper alteration, improper
modication, tampering or accident of
products or parts thereof, or unusual
deterioration or degradation of products or
parts thereof due to a physical environment
beyond the requirements of products’
specications.
Address:4405 Cushing Parkway, Fremont, CA
94538 US Toll Free Number: 1-888-979-9889
MODELS SLM80 / SLM100
DIMENSIONS
1. Use tape to x 3 inches adaptor connector on metal
duct.
2. Please follow “DUCT CONNECTION” step 2-1 and 2-2
to install.


