


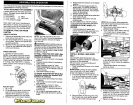
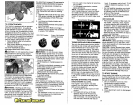
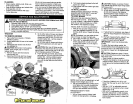
- Pivot bar towards you and insert oth-
er end of bar into hole in rear mower
bracket (D). Move mower as needed to
insert bar.
- Secure with washer and retainer
spring as shown.
A
'-"
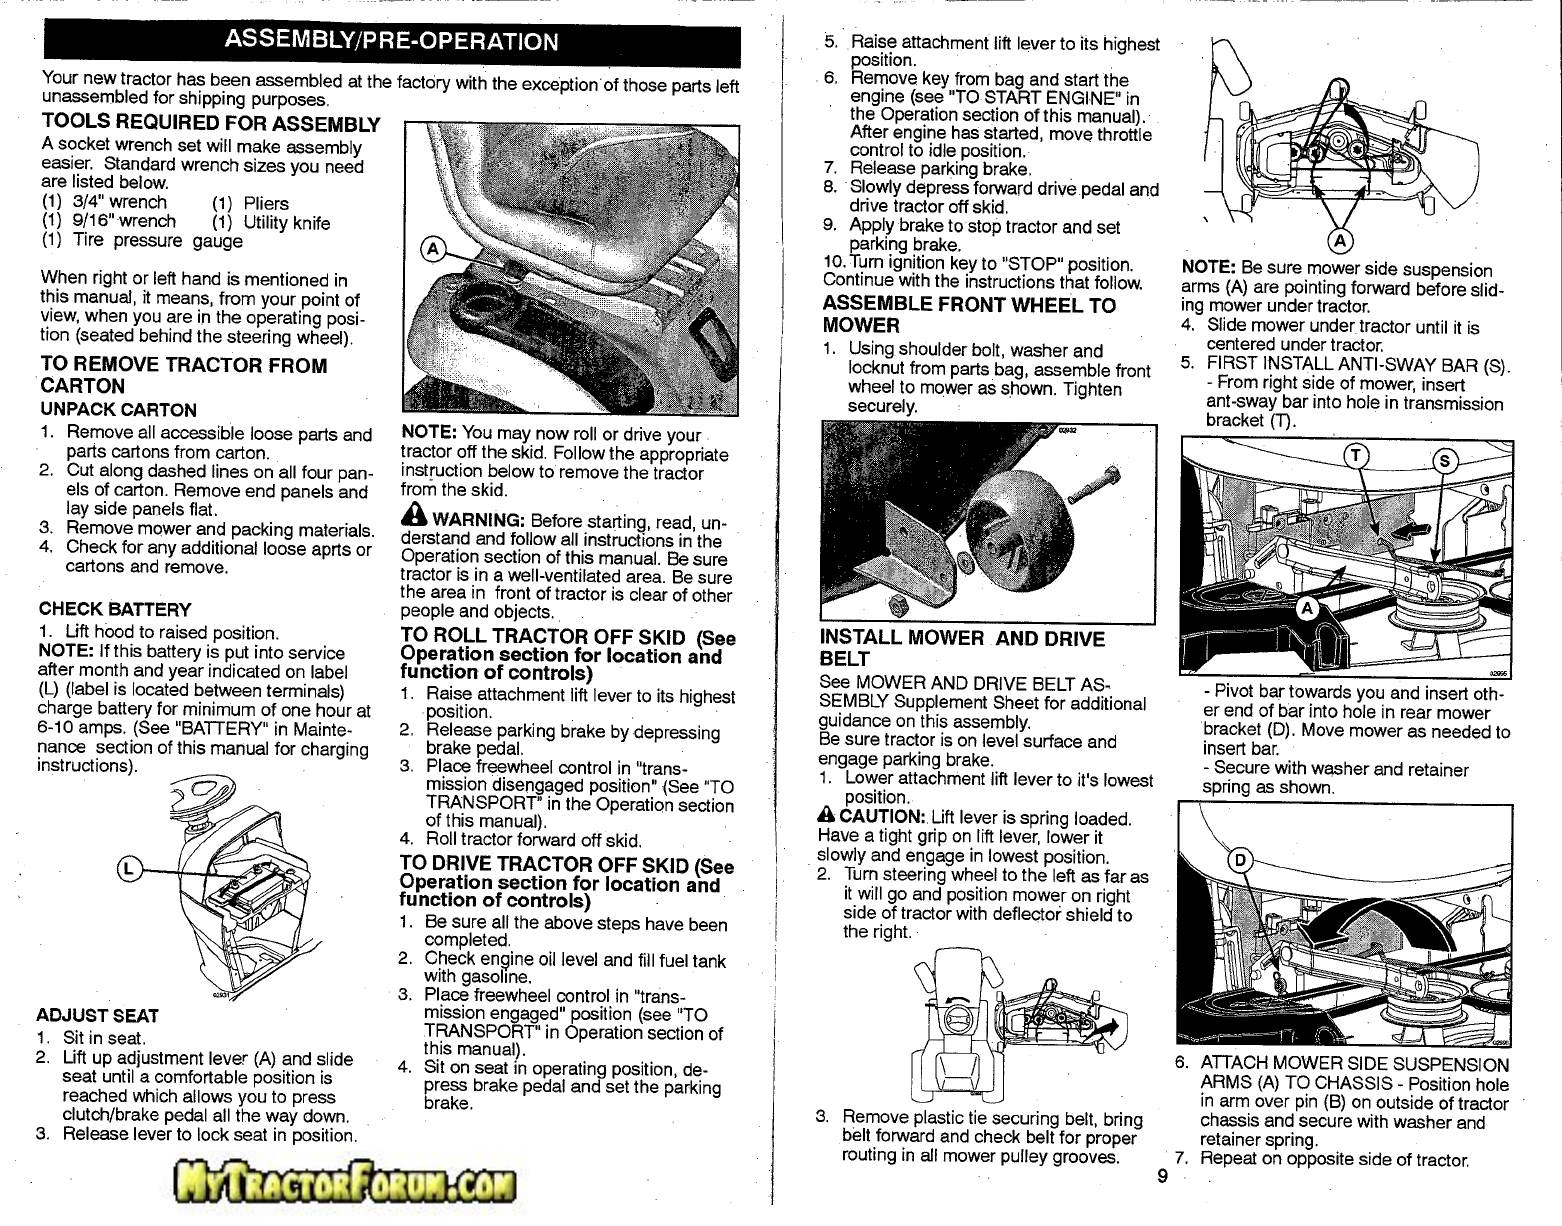
NOTE: Be sure mower side suspension
arms (A) are pointing forward before slid-
ing mower under tractor.
4. Slide mower under tractor until it is
centered under tractor.
5. FIRST INSTALL ANTI-SWAY BAR (S).
- From right side of mower, insert
ant-sway bar into hole in transmission
bracket (T).
6. ATIACH MOWER SIDE SUSPENSION
ARMS (A) TO CHASSIS - Position hole
in arm over pin (B) on outside of tractor
chassis and secure with washer and
retainer spring.
7. Repeat on opposite side of tractor.
9
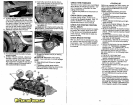
INSTALL MOWER AND DRIVE
BELT
See MOWER AND DRIVE BELT AS-
SEMBLY Supplement Sheet for additional
guidance on this assembly.
Be sure tractor is on level surface and
engage parking brake.
1. Lower attachment lift lever to it's lowest
position.
A CAUTION: Lift lever is spring loaded.
Have a tight grip on lift lever, lower it
slowly and engage in lowest position.
2. Turn steering wheel to the left as far as
it will go and position mower on right
side of tractor with deflector shield to
the right.
5. Raise attachment lift lever to its highest
position.
6. Remove key from bag and start the
engine (see "TO START ENGINE" in
the Operation section of this manual).
After engine has started, move throttle
control to idle position.
7. Release parking brake. .
8. Slowly depress forward drive pedal and
drive tractor off skid.
9. Apply brake to stop tractor and set
parking brake.
10.Tum ignition key to "STOP" position.
Continue with the instructions that follow.
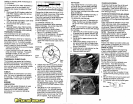
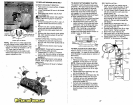
ASSEMBLE FRONT WHEEL TO
MOWER
1. Using shoulder bolt, washer and
locknut from parts bag, assemble front
wheel to mower as shown. Tighten
securely.
3. Remove plastic tie securing belt, bring
belt forward and check belt for proper
routing in all mower pulley grooves.
NOTE: You may now roll or drive your
tractor off the skid. Follow the appropriate
instruction below to remove the tractor
from the skid.
A WARNING: Before starting, read, un-
derstand and follow all instructions in the
Operation section of this manual. Be sure
tractor is in a well-ventilated area. Be sure
the area in front of tractor is clear of other
people and objects.
TO ROLL TRACTOR OFF SKID (See
Operation section for location and
function of controls)
1. Raise attachment lift lever to its highest
position. . .
2. Release parking brake by depressing
brake pedal.
3. Place freewheel control in "trans-
mission disengaged position" (See "TO
TRANSPORT" in the Operation section
of this manual).
4. Roll tractor forward off skid.
TO DRIVE TRACTOR OFF SKID (See
Operation section for location and
function of controls)
1. Be sure all the above steps have been
completed.
2. Check en~ine oil level and fill fuel tank
with gasoline.
3. Place freewheel control in "trans-
mission engaged" position (see "TO
TRANSPORT" in Operation section of
this manual).
4. Sit on seat in operating position, de-
press brake pedal and set the parking
brake.
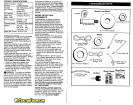
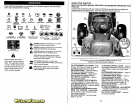
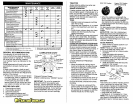
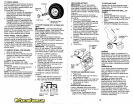
CHECK BATTERY
1. Uft hood to raised position.
NOTE: If this battery is put into service
after month and year indicated on label
(L) (label is located between terminals)
charge battery for minimum of one hour at
6-10 amps. (See "BATIERY" in Mainte-
nance section of this manual for charging
instructions).
ADJUST SEAT
1. Sit in seat.
2. Lift up adjustment lever (A) and slide
seat until a comfortable position is
reached which allows you to press
clutch/brake pedal all the way down.
3. Release lever to lock seat in position.
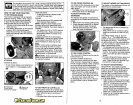
ASSEMBLY/PRE-OPERATION
8
Your new tractor has been assembled at the factory with the exception. of those parts left
unassembled for shipping purposes.
TOOLS REQUIRED FOR ASSEMBLY
A socket wrench set will make assembly
easier. Standard wrench sizes you need
are listed below.
(1) 3/4" wrench (1) Pliers
(1) 9/16"wrench (1) Utility knife
(1) Tire pressure gauge
When right or left hand is mentioned in
this manual, it means, from your point of
view, when you are in the operating posi-
tion (seated behind the steering wheel).
TO REMOVE TRACTOR FROM
.CARTON
UNPACK CARTON
1. Remove all accessible loose parts and
parts cartons from carton.
2. Cut along dashed lines on all four pan-
els of carton. Remove end panels and
lay side panels flat.
3. Remove mower and packing materials.
4. Check for any additional loose aprts or
cartons and remove.