ASSEMBLY INSTRUCTIONS
IMPORTANT: This unit is shipped WITHOUT GASO-
LINE or OIL. After assembly, see operation section of
this manual for proper fuel and engine oil recommen-
dations.
NOTE: To determine right and left hand sides of your
chipper-shredder, stand behind and face the hopper
(engine is at the front of the unit).
Your chipper-shredder has been completely assem-
bled at the factory, except for the chute deflector and
the catcher bag. A pair of safety glasses are also
included in the carton.
TOREMOVECHIPPER-SHREDDERFROMCARTON
Cut the corners of the carton. Remove all packing
inserts. Roll chipper-shredder out of the carton. Make
certain all parts, literature and the safety glasses have
been removed before the carton is discarded.
TOOLSREQUIREDFOR ASSEMBLY
(2) 7/16" or Adjustable Wrenches
HOWTOSET-UPYOURCHIPPER-SHREDDER
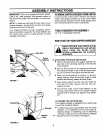
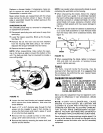
(Inside.
Hin( Bolt
Hex
Nut
Knob
FIGURE 1,
Drawstrin
\
Chute
Deflector
Catcher
&
MAKE CERTAIN THE SPARK PLUG
WIRE IS DISCONNECTED AND MOVED
AWAY FROM THE SPARK PLUG
BEFORE ASSEMBLING THE CHIPPER-
SHREDDER,
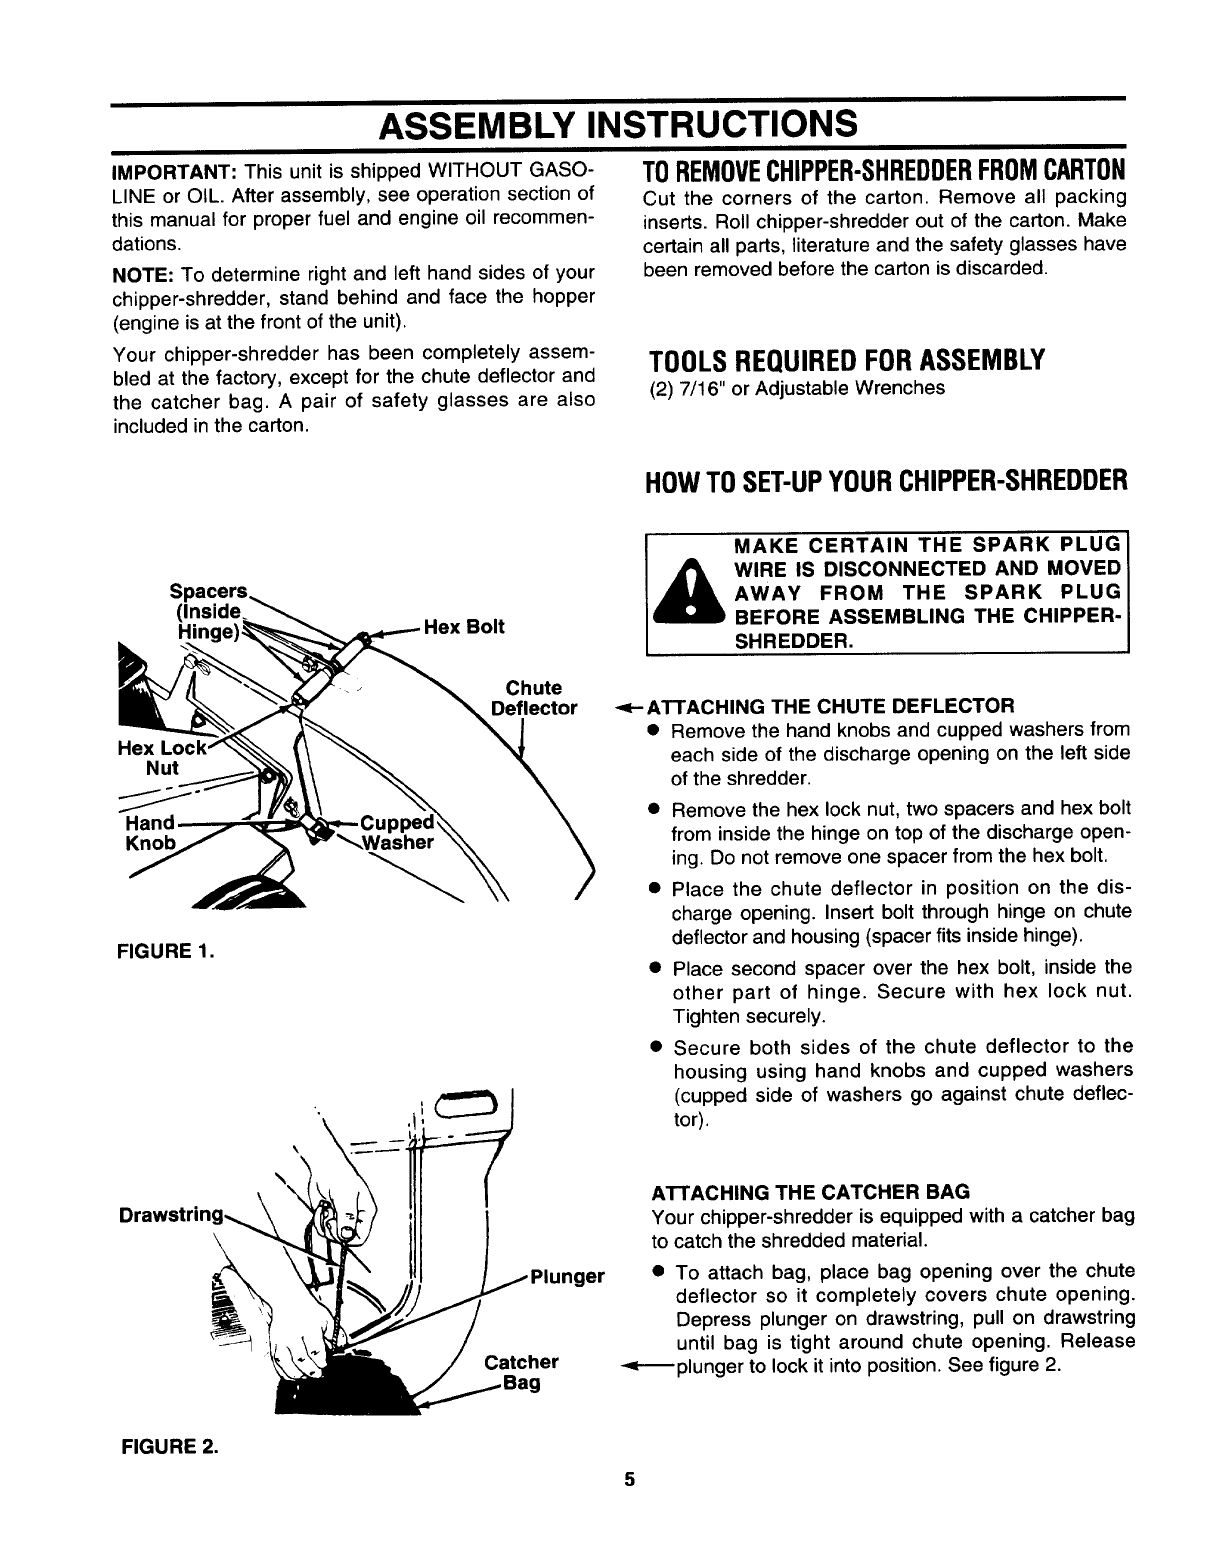
ATTACHING THE CHUTE DEFLECTOR
• Remove the hand knobs and cupped washers from
each side of the discharge opening on the left side
of the shredder.
• Remove the hex lock nut, two spacers and hex bolt
from inside the hinge on top of the discharge open-
ing. Do not remove one spacer from the hex bolt.
• Place the chute deflector in position on the dis-
charge opening. Insert bolt through hinge on chute
deflector and housing (spacer fits inside hinge).
• Place second spacer over the hex bolt, inside the
other part of hinge. Secure with hex lock nut.
Tighten securely.
• Secure both sides of the chute deflector to the
housing using hand knobs and cupped washers
(cupped side of washers go against chute deflec-
tor).
ATTACHING THE CATCHER BAG
Your chipper-shredder is equipped with a catcher bag
to catch the shredded material.
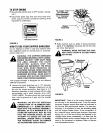
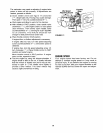
• To attach bag, place bag opening over the chute
deflector so it completely covers chute opening.
Depress plunger on drawstring, pull on drawstring
until bag is tight around chute opening. Release
_plunger to lock it into position. See figure 2.
FIGURE 2.
5


