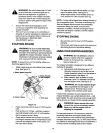
WARNING:Do not fill closer than 1/2 inch
of top of fuel tank to prevent spills and to
allow for fuel expansion. If gasoline is
accidently spilled, move chipper-shredder
away from area of spill. Avoid creating any
source of ignition until gasoline vapors have
disappeared.
Check the fuel level periodically to avoid
running out of gasoline while operating the
chipper-shredder.
If the unit runs out of gas as it is shredding or
chipping, it may be necessary to unclog the unit
before it can be restarted. Refer to Removing
the Flail Screen in SERVICE AND
ADJUSTMENT section.
STARTING ENGINE
WARNING: Be sure no one other than
the operator is standing near the chipper-
shredder while starting or operating. Do not
operate this chipper-shradder unless the
discharge chute has been properly installed
and is secured with the hand knobs.
NOTE: To prevent the unit from sliding,place your
foot firmly against the tire.
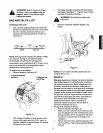
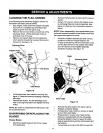
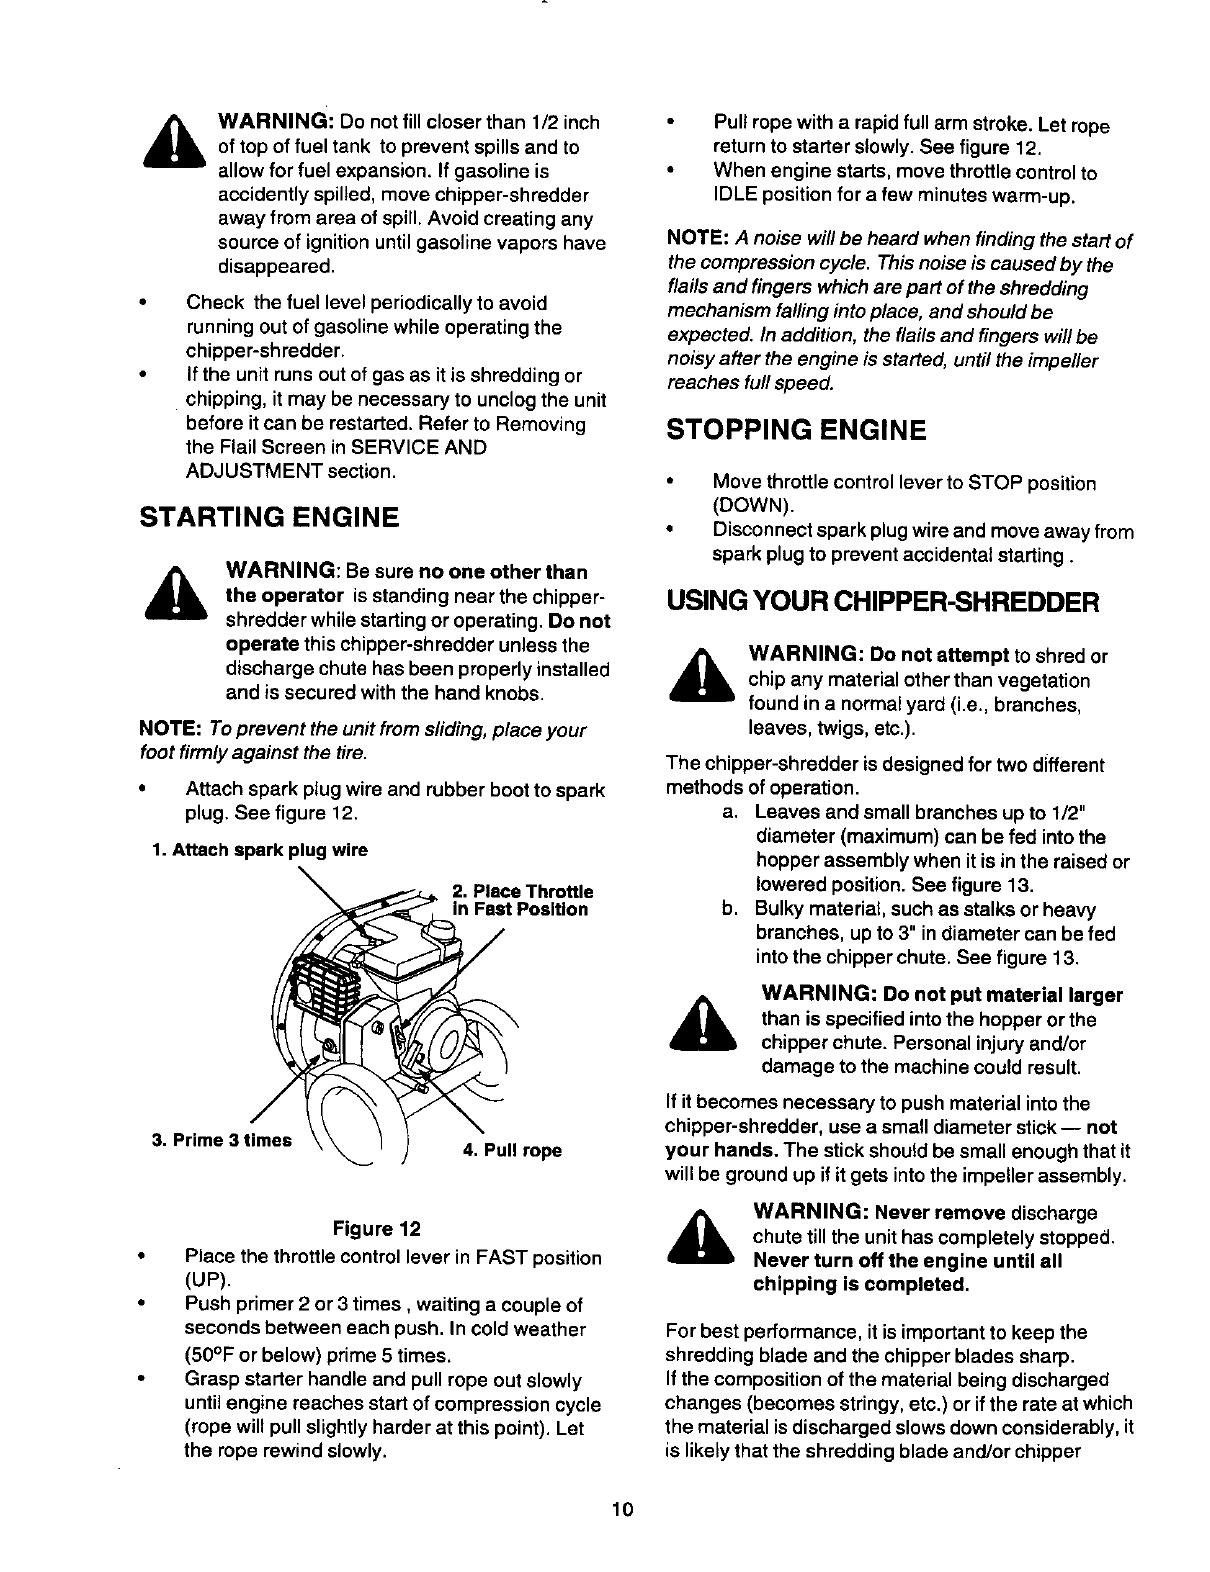
Attach spark plug wire and rubber boot to spark
plug. See figure 12.
1. Attach spark plug wire
2. Place Throttle
in Fast Position
3. Prime 3 times
4. Pull rope
Figure 12
• Place the throttle control lever in FAST position
(UP).
• Push primer 2 or 3 times, waiting a couple of
seconds between each push. In cold weather
(50°F or below) prime 5 times.
• Grasp starter handle and pull rope out slowly
until engine reaches start of compression cycle
(rope will pull slightly harder at this point). Let
the rope rewind slowly.
• Pull rope with a rapid full arm stroke. Let rope
return to starter slowly. See figure 12.
• When engine starts, move throttle control to
IDLE position for a few minuteswarm-up.
NOTE: A noise will be heard when finding the start of
the compression cycle. This noise is caused by the
flails and fingers which are part of the shredding
mechanism falling intoplace, and should be
expected. In addition, the flailsand fingers will be
noisy after the engine is started, until the impeller
reaches furlspeed.
STOPPING ENGINE
• Move throttle control lever to STOP position
(DOWN).
• Disconnect spark plugwire and move away from
spark plug to prevent accidental starting.
USING YOUR CHIPPER-SHREDDER
WARNING: Do not attempt to shred or
chip any material other than vegetation
found in a normal yard (i.e., branches,
leaves, twigs, etc.).
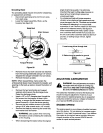
The chipper-shredder is designed for two different
methods of operation.
a. Leaves and small branches up to 1/2"
diameter (maximum) can be fed into the
hopper assembly when it is inthe raised or
lowered position. See figure 13.
b. Bulky material, such as stalks or heavy
branches, up to 3" in diameter can be fed
into the chipper chute. See figure 13.
WARNING: Do not put material larger
than is specified into the hopper or the
chipper chute. Personal injury and/or
damage to the machine could result.
If it becomes necessary to push material intothe
chipper-shredder, use a small diameter stick-- not
your hands, The stick should be small enough that it
will be ground up ifit gets into the impeller assembly.
WARNING: Never remove discharge
chute tillthe unit has completely stopped.
Never turn off the engine until all
chipping is completed,
For best performance, it is important to keep the
shredding blade and the chipper blades sharp.
If the composition of the material being discharged
changes (becomes stringy, etc.) or if the rate at which
the material is discharged slows down considerably, it
is likely that the shredding blade and/or chipper
10


