4
ASSEMBLY
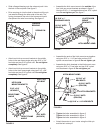
5/16" x 3/4"
HEX BOLTS (8)
5/16" NYLOCK NUTS (8)
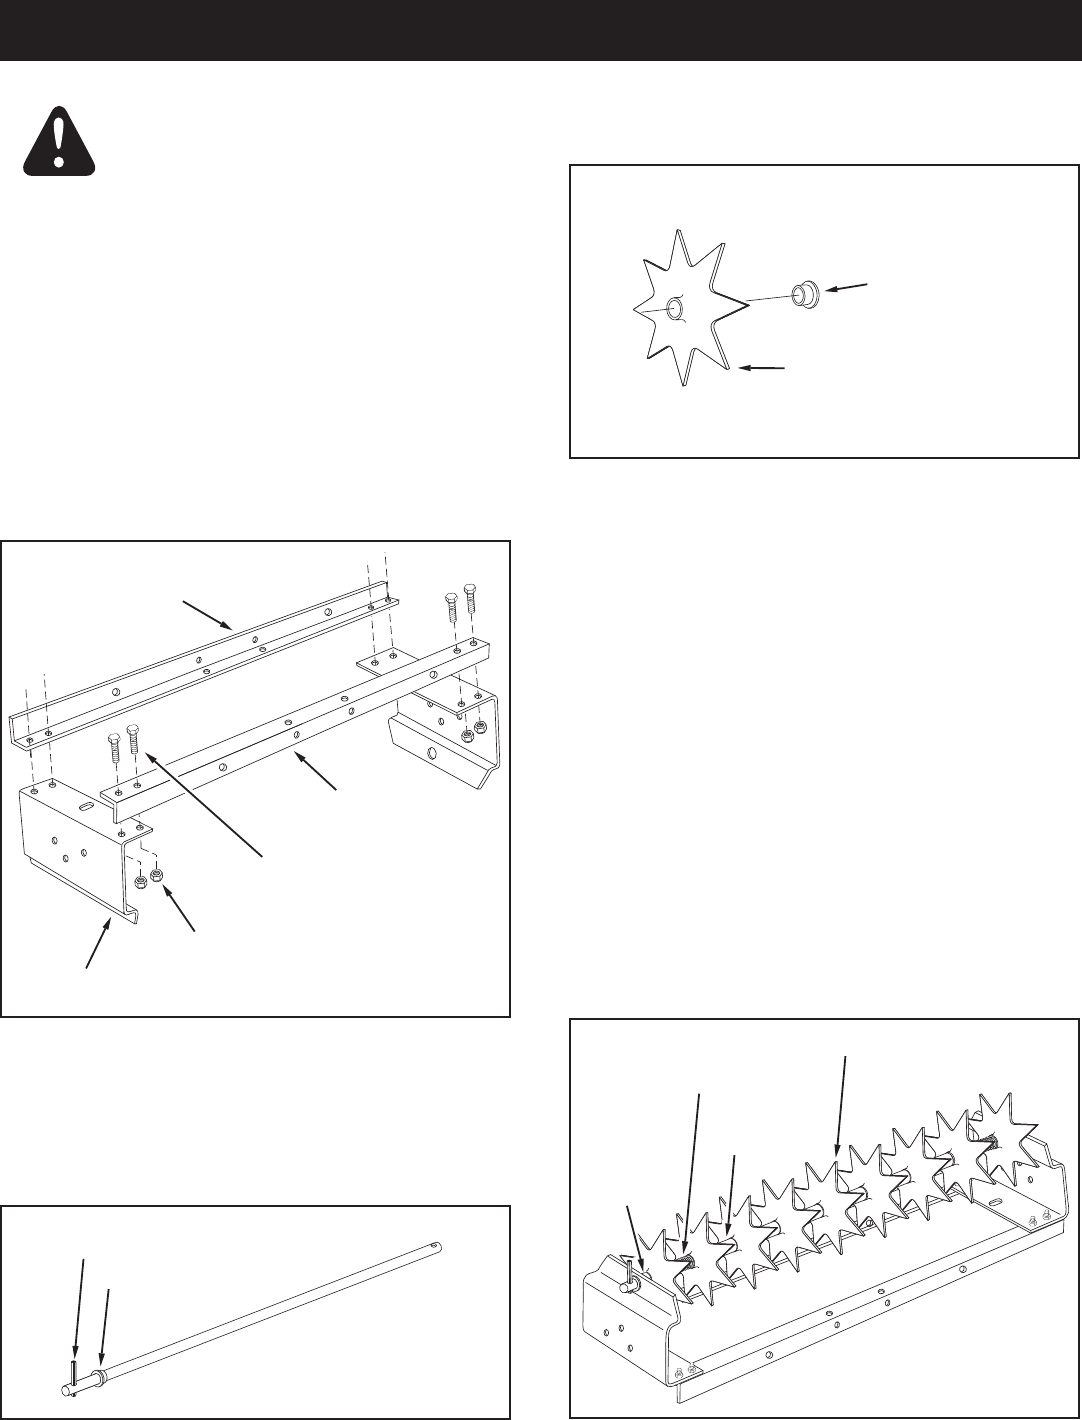
FRAME ANGLE
(BEND UP)
FRAME ANGLE
(BEND DOWN)
END PLATE (2)
FIGURE 1
FIGURE 3
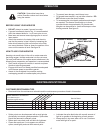
CAUTION: The spike disks have sharp
points. To avoid injury, use extra care when
handling the disks and when assembling
the aerator.
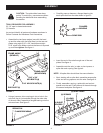
• Insert the end of the axle through one of the end
plates.Seegure4.
• Assemble onto the axle, in order, a short spacer, a
spikediskandaspring.Seegure4.
NOTE: All spike disks should face the same direction.
• Next, starting with a spike disk, assemble seven spike
disksandsixlongspacersontotheaxle.Seegure4.
• Finally, assemble a spring, a spike disk and a short
spacer onto the axle. Push the end of the axle through
thesecondendplate.Seegure4.
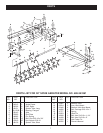
TOOLS REQUIRED FOR ASSEMBLY
(2) 1/2" open or boxed end wrench
(1) Hammer
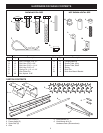
Lay out and identify all parts and hardware as shown in
Carton Contents and Hardware Pack illustrations.
• Assemble the two frame angles (one with the bend
up and the other with the bend down) to the two end
plates using eight 5/16" x 3/4" hex bolts and eight
5/16" nylock nuts. Make sure that the frame is squared
up, and then tighten.Seegure1.
• Using a hammer, drive a spring pin into a hole in the
axle until the pin just extends through the other side
oftheaxle.Next,assembleaangedbearingontothe
axleasshown.Seegure2.
FIGURE 4
SPRING PIN
FLANGED BEARING
FIGURE 2
(9) SPIKE DISKS
(2) SHORT
SPACERS
(2) SPRINGS
(6) LONG
SPACERS
FLANGED
BEARING
SPIKE DISK
• Carefullypressorhammeraangedbearinginto
eachspikediskfromthesideshowningure3.


