


8
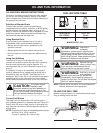
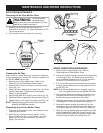
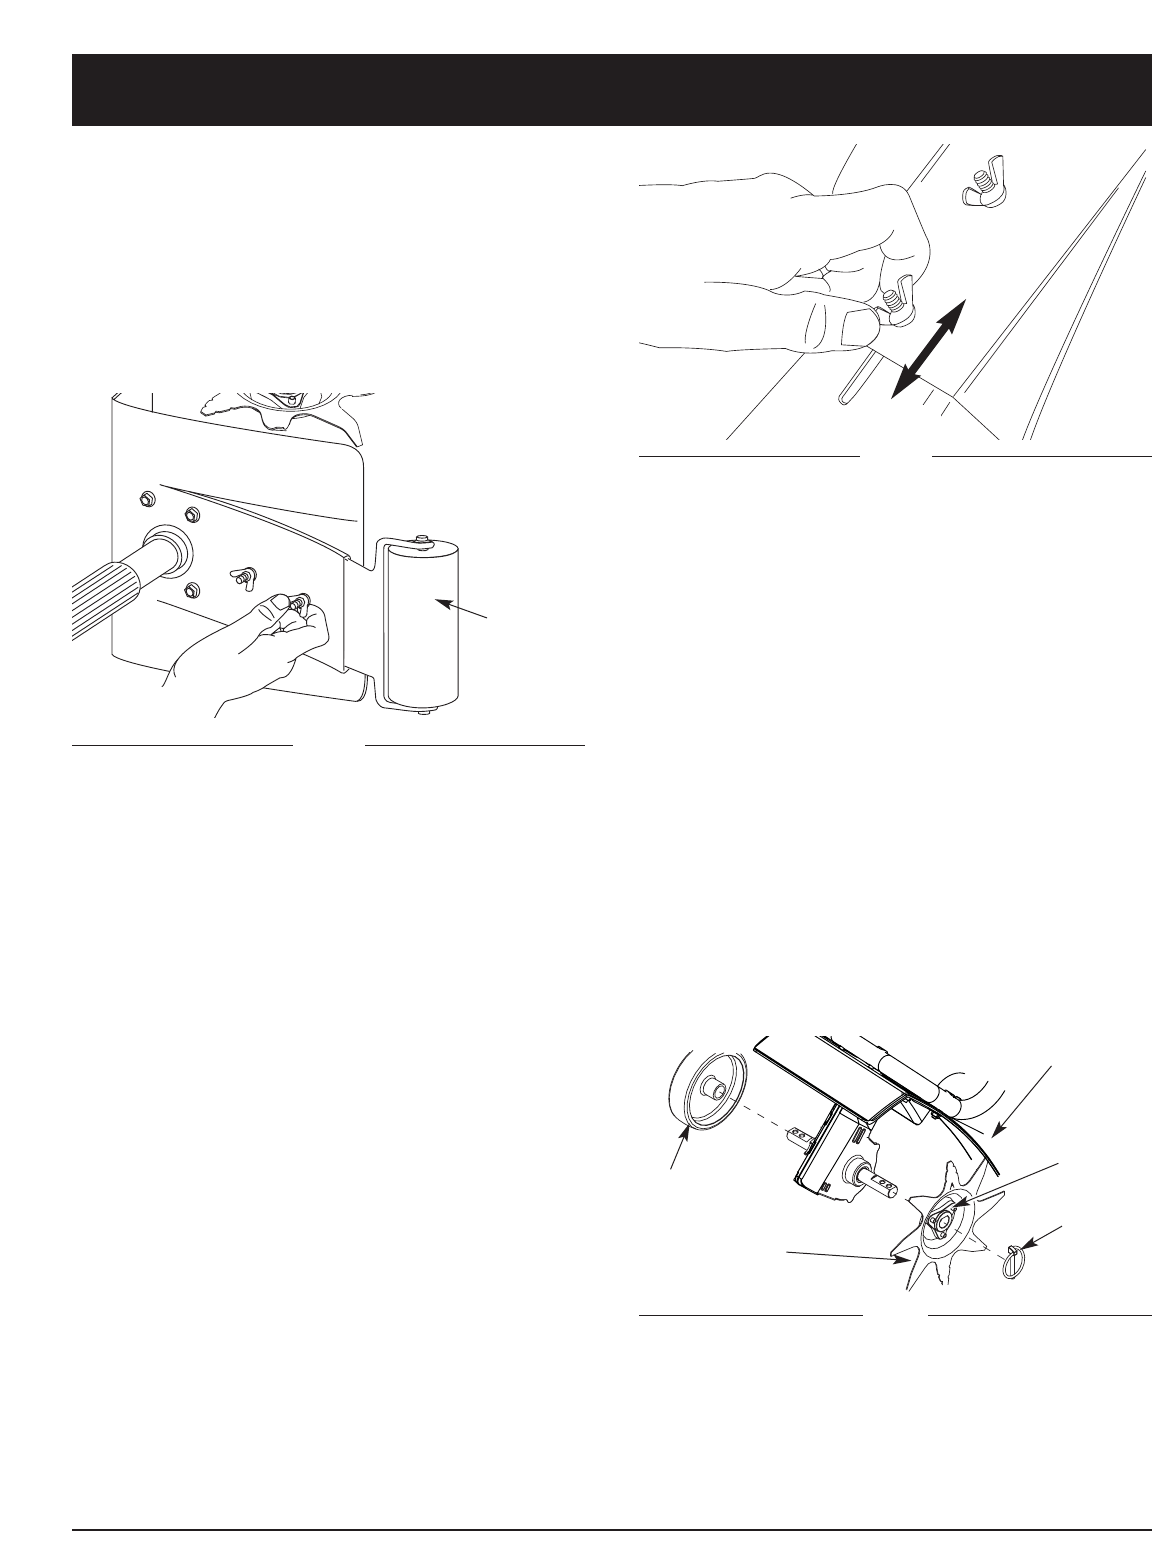
ATTACHING THE EDGER WHEEL AND BLADE
To convert the mini-tiller cultivator to an edger, proceed
as follows:
1. Push the On/Off switch to Off (O) position to stop
engine and tines and disconnect spark plug to avoid
accidental starting.
NOTE: It may be necessary to lay the mini-tiller back in a
horizontal position on a flat level surface with the
upper handle touching the ground.
2. Remove the click pin from each end of the tine shaft
and slide the tines off the shaft.
3. Slide the edger wheel, with the hub facing inward,
onto the right side of the tine shaft and secure with
the click pin in the inside hole (Fig. 6).
4. Slide the edger blade with the hub facing out onto
the left side of tine shaft and secure with the click pin
in the inside hole (Fig. 6).
5. Guide the edger blade along a flowerbed, sidewalk,
or driveway with the edger wheel along the outside
edge. Use the edger guide line to line up edger blade.
Fig. 6
Edger Guide
Line
Click Pin
Hub
Edger Blade
Edger Wheel
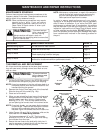
Fig. 4
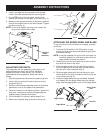
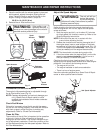
2. Install a carriage bolt through each of the slotted
holes in the roller bracket and into the tine guard.
3. On the TOP side of the tine guard, install a lock
washer and a wing nut onto each of the bolts (Fig. 3).
4. Make sure the square shoulder of the bolts is pushed
through the slotted holes in the roller bracket. Tighten
the wing nuts (Fig. 4).
NOTE: Do not over-tighten the wing nuts. Loosen the
wing nuts to adjust roller height.
ASSEMBLY INSTRUCTIONS
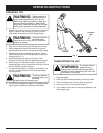
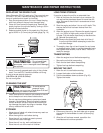
ADJUSTING TINE DEPTH
Tine adjustment will vary depending on the type of soil
being cultivated and how it will be used. Generally,
adjusting the tines to break the soil 4 to 6 inches is
recommended for most gardens. Adjust the tines as
follows:
1. Stop the engine and disconnect the spark plug wire.
2. Loosen (do not remove) the two wing nuts on the
tine guard (Fig. 5).
3. Slide the roller bracket assembly down for shallower
penetration, and up for deeper tine penetration.
4. Once the tines are in the desired position, tighten the
wing nuts, making sure that the carriage bolts are
seated properly through the bracket.
5. If the tine depth is incorrect, repeat steps 2 to 4.
6. Reconnect the spark plug wire and continue use.
Down
Up
Fig. 5
Transport
Roller
Assembly