


19
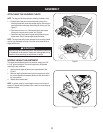
SERVICE AND MAINTENANCE
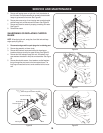
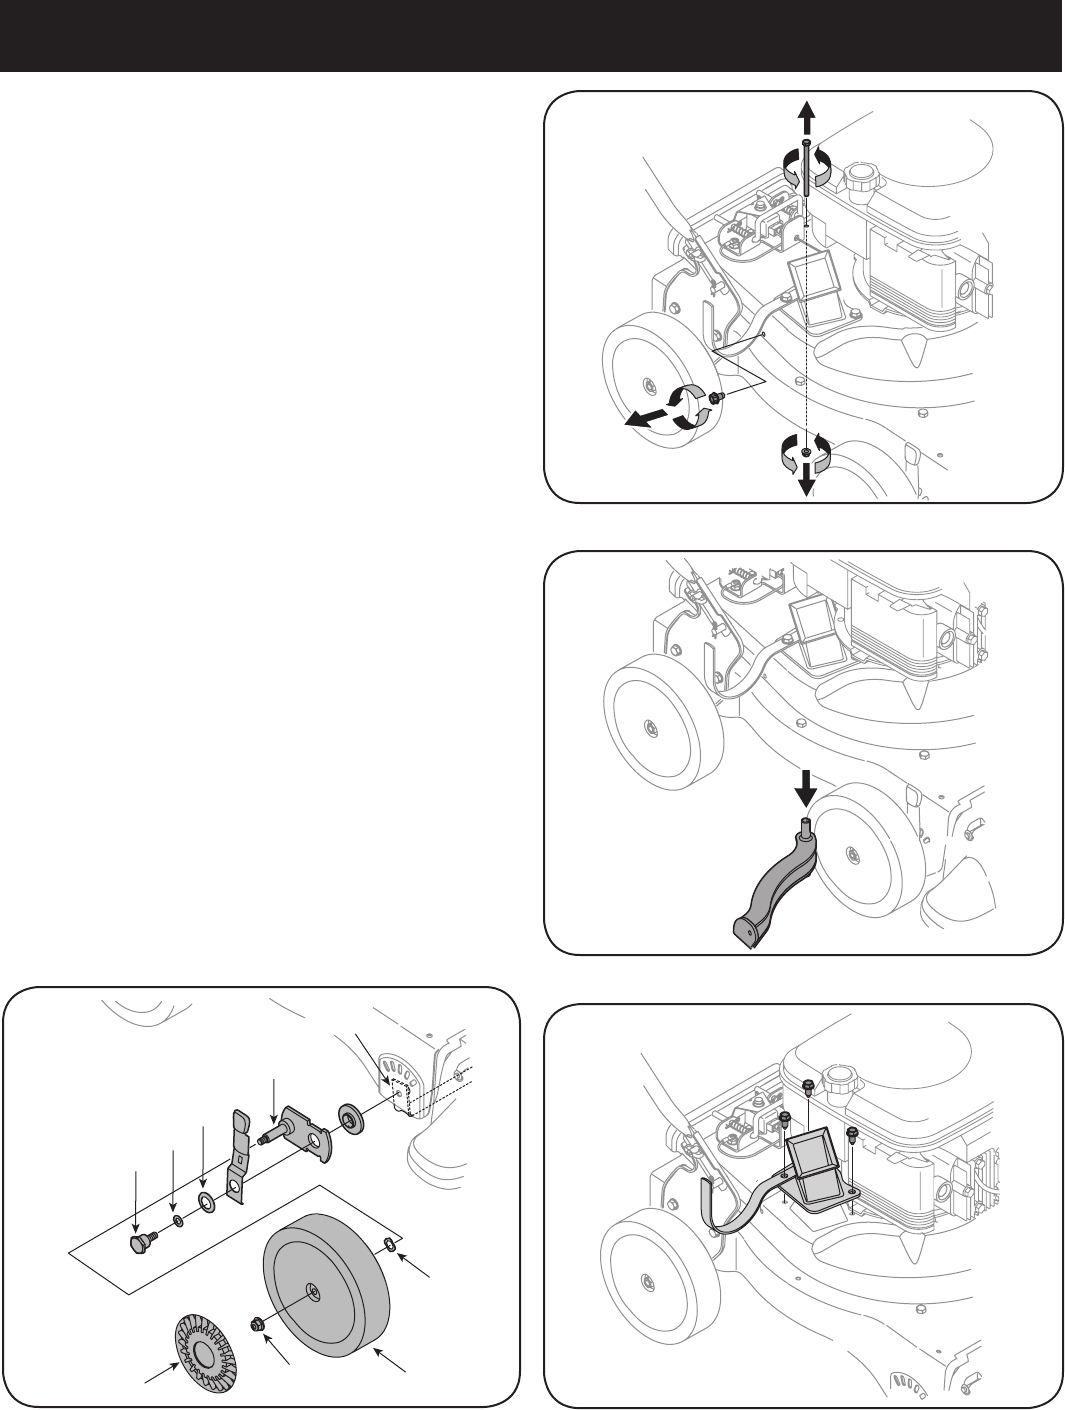
Figure 20
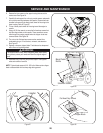
Figure 23
Figure 21
Figure 22
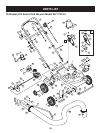
Front Support Brace and Lock Nut
Pivot Arm Assembly
Bell Washer
Thrust Washer
Wave
Washer
Wheel
Lock Nut
Hub Cap
Shoulder Screw
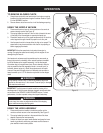
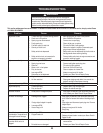
Remove self tapping screw on right side of unit that attaches to
the flail screen. It may be necessary to remove the hose bracket
hanger to get access to the screw. See Figure 20.
Remove hex screw on top of rear housing near mounting bracket
and the flange lock nut that secures flail screen. See Figure 20.
Remove and clean the screen by scraping or washing with water.
See Figure 21.
Reinstall the screen.
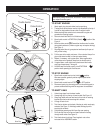
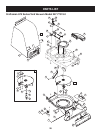
SHARPENING OR REPLACING CHIPPER
BLADE
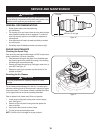
NOTE: When tipping the unit, empty the oil and fuel tank and keep
engine spark plug side up.
Disconnect and ground the spark plug wire to retaining post.
Remove bag assembly or blower chute.
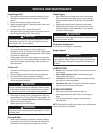
Remove the three hex cap screws holding the hose hanger
bracket and chipper chute to the upper housing. See Figure 22.
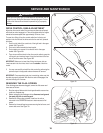
Remove the front hubcaps, flange lock nuts, front wheels, and
wave washers that attach to the pivot arm assemblies. See Figure
23.
Remove the shoulder screws, thrust washers, and bell washers
that go through the pivot arms to the front support brace. The
front support brace and lock nut can be removed at this time as
well.
5.
6.
7.
8.
1.
2.
3.
4.
5.