attachmentinthewaltbracketas
shownforconvenientstorage.(see
figure9)
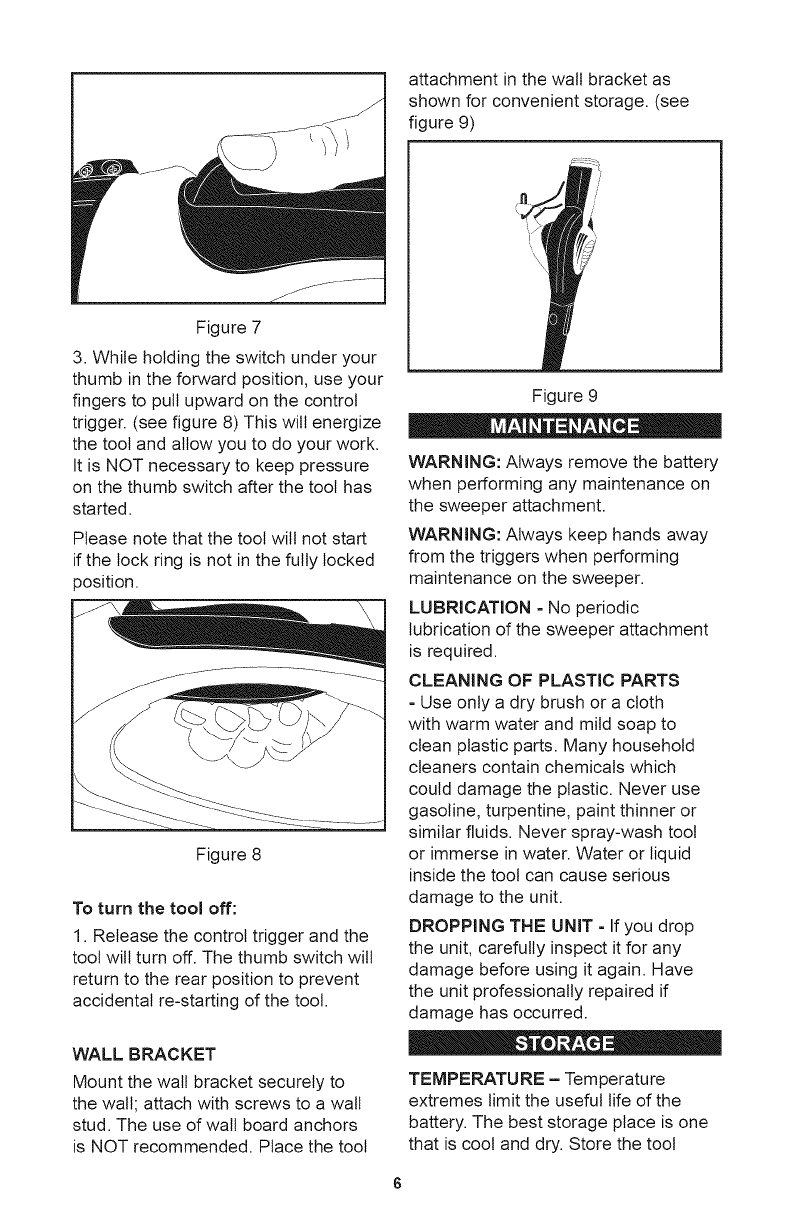
Figure7
3.Whileholdingtheswitchunderyour
thumbintheforwardposition,useyour
fingerstopullupwardonthecontrol
trigger.(seefigure8)Thiswillenergize
thetoolandallowyoutodoyourwork.
ItisNOTnecessarytokeeppressure
onthethumbswitchafterthetoolhas
started.
Pleasenotethatthetoolwillnotstart
ifthelockringisnotinthefullylocked
position.
Figure8
To turn the tool off:
1. Release the control trigger and the
tool wilt turn off. The thumb switch wilt
return to the rear position to prevent
accidental re-starting of the tool.
WALL BRACKET
Mount the wall bracket securely to
the wall; attach with screws to a wall
stud. The use of wall board anchors
is NOT recommended. Place the tool
Figure 9
A A _.
WARNING: Always remove the battery
when performing any maintenance on
the sweeper attachment.
WARNING: Always keep hands away
from the triggers when performing
maintenance on the sweeper.
LUBRICATION - No periodic
lubrication of the sweeper attachment
is required.
CLEANING OF PLASTIC PARTS
- Use only a dry brush or a cloth
with warm water and mild soap to
clean plastic parts. Many household
cleaners contain chemicals which
could damage the plastic. Never use
gasoline, turpentine, paint thinner or
similar fluids. Never spray-wash tool
or immerse in water. Water or liquid
inside the tool can cause serious
damage to the unit.
DROPPING THE UNIT - If you drop
the unit, carefully inspect it for any
damage before using it again. Have
the unit professionally repaired if
damage has occurred.
0 = A
TEMPERATU RE = Temperature
extremes limit the useful life of the
battery. The best storage place is one
that is cool and dry. Store the tool


