5
PRE-START PREPARATION
Before starting the pressure washer, check for loose or missing
parts and for any damage which may have occurred during shipment.
PUMP PREPERATION
The pump is shipped with a shipping plug, this will need
to be replaced with the vent plug that is supplied.
START-UP PROCEDURE
1. Make sure water supply is connected and turned on.
2. Release gun safety if locked.
3. To allow air to escape from the hose, squeeze trigger on
the gun until there is a steady stream of water coming
from the nozzle.
4. Remove any dirt or foreign matter from the gun outlet and
the male connector of the wand.
5. Insert the nozzle wand into the gun wand and tighten the
fitting securely.
6. Place the throttle in the HI position.
STARTING THE ENGINE
1. Check oil and fuel level.
2. Adjust choke prime as necessary.
3. Set the engine switch to the “ON” position.
4. Squeeze trigger on pressure washer to release pressure
while pulling on the engine starter rope with a fast steady
pull. Pressure may otherwise build up making starting the
unit difficult.
5. As the engine warms up, readjust the choke.
Following is information concerning the four nozzles provided
with your pressure washer.
NOTE: The force of the spray on the surface you are clean-
ing increases as you move closer to the surface.
0° High Pressure (Red): The water stream discharged is very
aggressive. Use with extreme caution to prevent damage to the sur-
face being cleaned or injury to persons or animals.
15° High Pressure (Yellow): This is the nozzle used for most
cleaning applications. It provides wide coverage and a powerful
water stream.
40° High Pressure (White): This nozzle is used for cleaning
with a wider coverage over a larger area with a
powerful water stream.
65° Low Pressure (Black): Provides low pressure spray and a
wide coverage. Used primarily when operating the chemical injector
to apply chemicals.
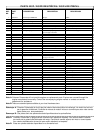
Item Description Torque Amount
10 Socket Bolt 100 in.-lbs.
40 Stud Bolt 150 in.-lbs.
Maximum Inlet Pressure . . . . . . . . . . . . . . . . . . . . . .Up to 90 PSIG
RPM . . . . . . . . . . . . . . . . . . . . . . . . . . . . . . . . . . . . . . . .3600 RPM
Temperature of Pumped Fluids . . . . . . . . . . . . . . . . . . . .Up to 80°F
Inlet Ports . . . . . . . . . . . . . . . . . . . . . . . . . . . . . . . . . . .(2) 1/2” BSP
Discharge Ports . . . . . . . . . . . . . . . . . . . . . . . . . . . . . . .(1) 3/8” BSP
Weight . . . . . . . . . . . . . . . . . . . . . . . . . . . . . . . . . . . . . . . . . . .9 lbs.
Crankcase oil Capacity . . . . . . . . . . . . . . . . . . . . . . . . . . . .4.7 fl. oz.
Pump oil . . . . . . . . . . . . . . . . . . . . . . . . . . .SAE 30W Nondetergent
Consult the factory for special requirements that must be met if the
pump is to operate beyond one or more of the limits
specified above.
Oil Seal Kit (9468)
Order # 0057960
Regulator Repair Kit (9493)
Order # 0057961
Plunger Packing Kit (9465)
Order # 0057958
Valve Assembly Kit (9466)
Order # 0057959
Gasoline Flange Kit (9103)
Order # 0057957
Wobble Plate 6.3 Degree Kit (17047)
Order # 0057964
Flange Adapting Kit (17026)
Order # 0057963
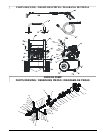
GXR2424 SERIES TORQUE SPECIFICATIONS
START-UP PROCEDURE SPRAY NOZZLE SELECTION
OPERATING CONNECTIONS
GXR2424 SERIES REPAIR KITS
GXR2424 SPECIFICATIONS
INLET HOSE
HIGH PRESSURE HOSE
English
HIGH PRESSURE HOSE
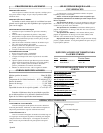
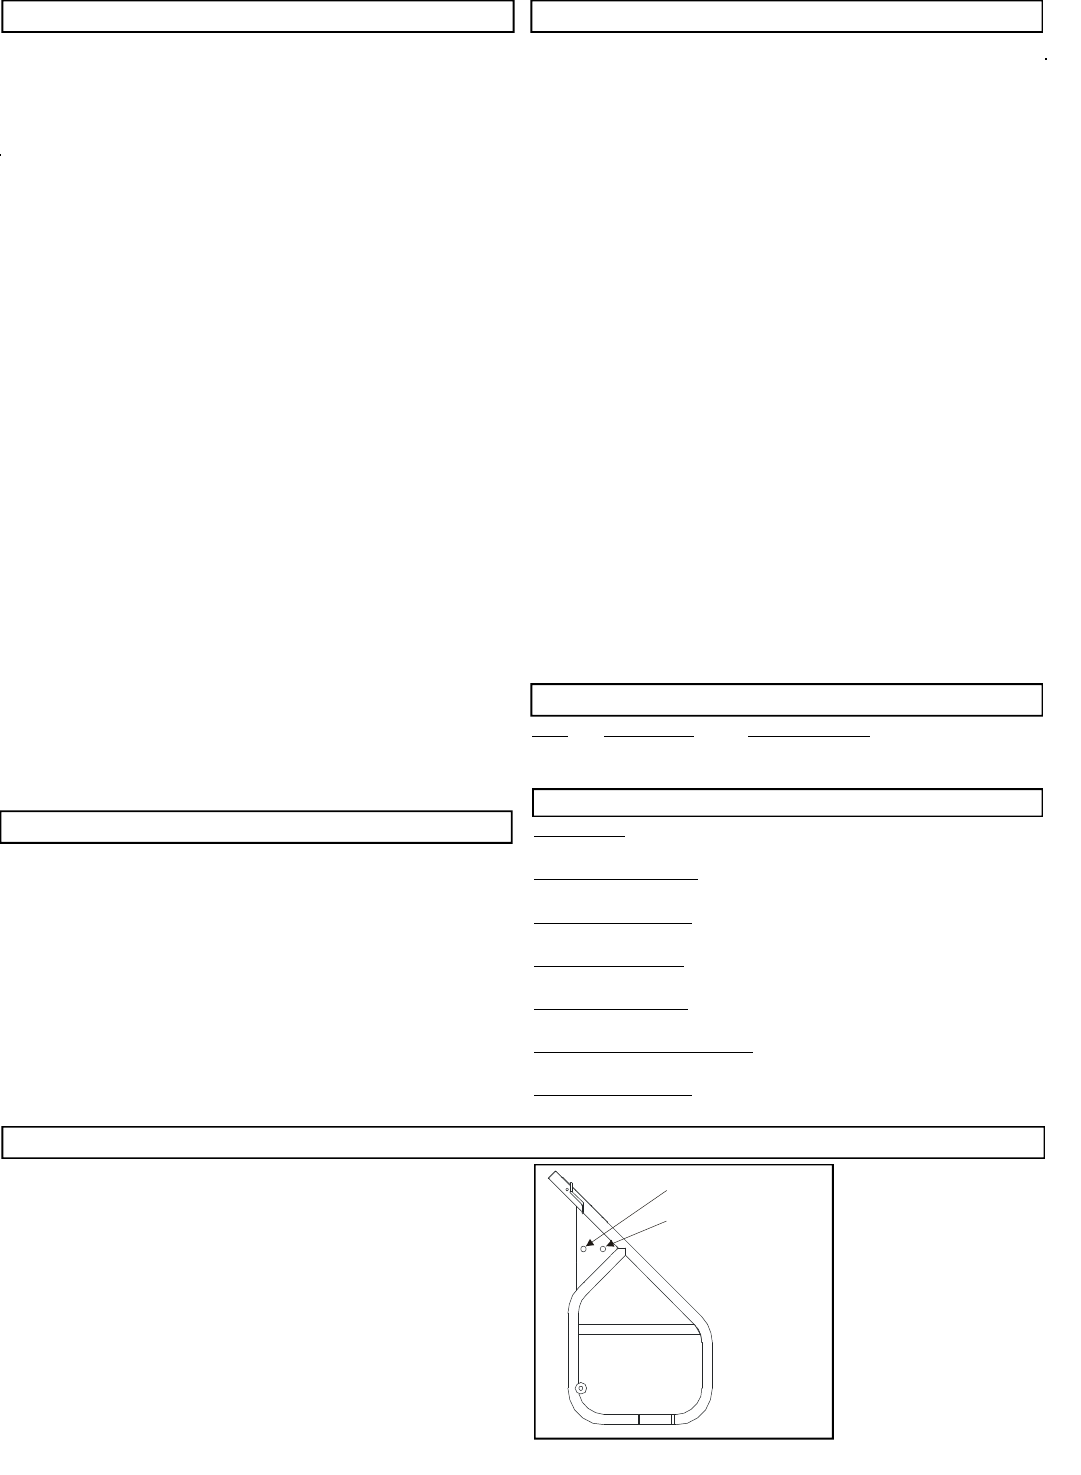
Attach the high pressure hose to the fitting located on the
front side of the side panel. Only Coleman Powermate
Pressure Washer high pressure hoses should be used.
WATER CONNECTION
Before connecting the inlet hose to the unit, run water
through the garden hose (not supplied) to flush out any foreign
matter. The inlet hose will be connected to the fitting located
on the back of the side panel.


