9
Leak Check
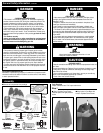
WARNING
• Perform all leak tests outdoors.
• Extinguish all open flames.
• NEVER leak test when smoking.
• Do not use the heater until all connections have been leak tested and
do not leak.
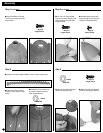
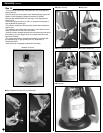
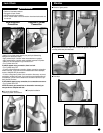
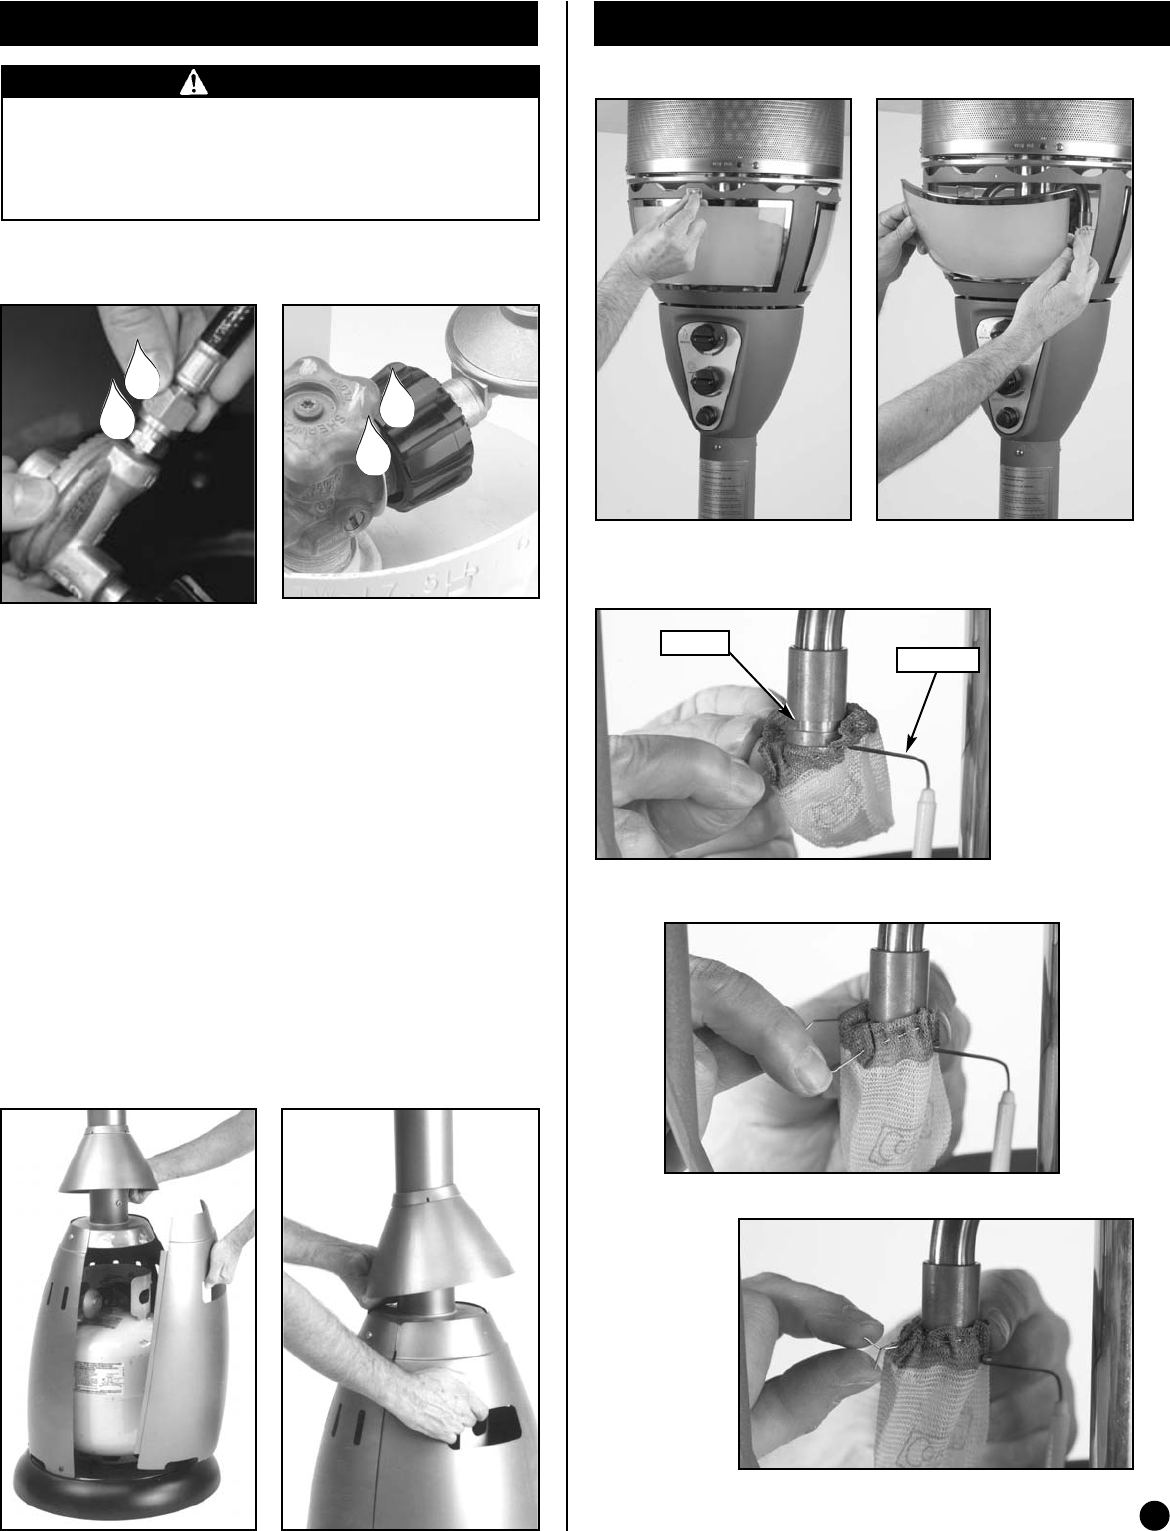
■ Lift cover while installing
remaining cylinder cover section.
Hose/Regulator
Connection
Regulator/Cylinder
Connection
■ Complete installation.
• Make 2-3 oz. of leak check solution (one part liquid dishwashing
detergent and three parts water).
• Apply several drops of solution where hose attaches to regulator.
• Apply several drops of solution where regulator connects to Cylinder.
• Make sure all Patio Heater & Light valves are OFF.
• Turn Cylinder Valve ON.
If bubbles appear at any connection, there is a leak.
• Turn Cylinder Valve OFF.
• If leak is at Hose/Regulator connection: tighten connection and perform
another leak test. If you continue to see bubbles after several attempts,
contact 1-800-835-3278 for assistance.
• If leak is at Regulator/Cylinder Valve connection: disconnect, reconnect,
and perform another leak check. If you continue to see bubbles after sev-
eral attempts, cylinder valve is defective and should be returned to cylin-
der’s place of purchase.
If NO bubbles appear at any connection, the connections are secure.
• Turn Cylinder Valve OFF.
NOTE: Whenever gas connections are loosened or removed, you
must perform a complete leak test.
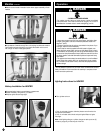
Mantles
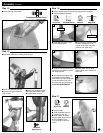
■ Remove 2 glass panels.
■ Slip mantle onto burners. Align clips in mantle with groove in burner. Be
sure clip points away from electrode.
■ Twist clips.
Electrode
Groove


