


Page 11For technical questions, please call 1-800-444-3353.SKU 93213
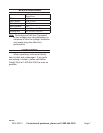
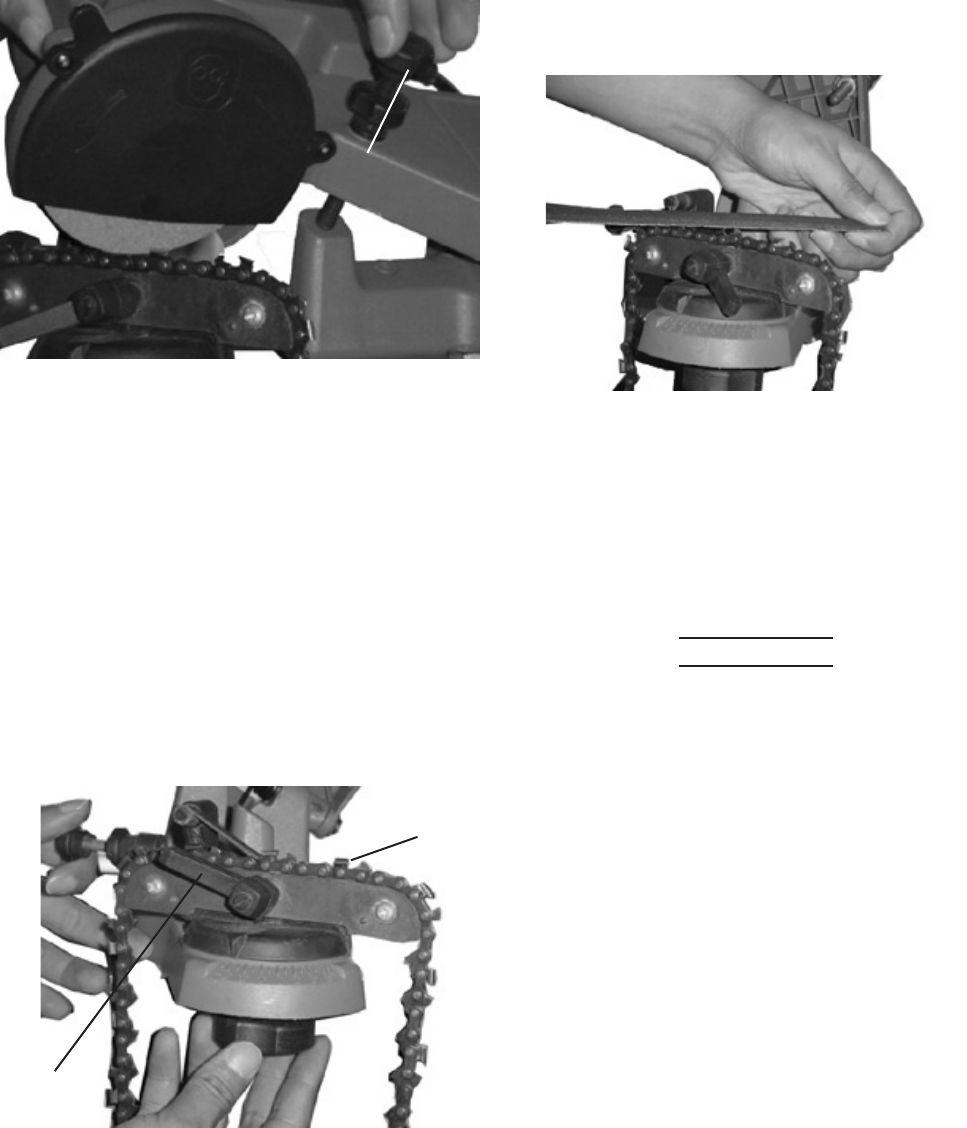
FIGURE 7
Lock Stop (6)
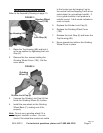
6. Hold it at that position while you tighten
the Lock Stop (6) so that the wheel will
only go down to that point. See FIGURE
7.
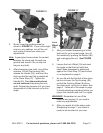
Depending on the amount of material 7.
you wish to remove, tighten or loosen the
Lower Knob (26) and set the Lock Nut.
See FIGURE 5. The Lower Knob (26)
has a Lock Nut which will determine how
much material is removed. Once you
set the Lock Nut, fully tighten the Lower
Knob (26).
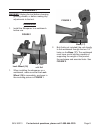
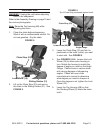
FIGURE 8
Handle
(34)
Limiting
Gauge
8. Lock the chain in the Sliding Guides (31)
by turning the Handle (34). See FIGURE
8. The Handle (34) should be situated so
that you can easily release and tighten it.
You will need to release it each time you
move to the next link, and tighten it to
sharpen each link.
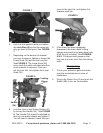
FIGURE 9
9. If the chain has been repeatedly
sharpened, the chain depth limiting
gauges may need to be taken down with
a at le (not included). See FIGURES
8 & 9. File down each gauge so that
they are at a lower level than the cutting
teeth.
Sharpening
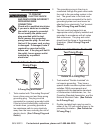
Put on your protective gear and make 1.
sure the immediate area is clear of
bystanders.
Plug in the Power Cord (3) and push the 2.
Switch (5B) to turn on the machine.