SKU 90236 For technical questions, please call 1-800-444-3353. Page 13
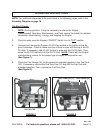
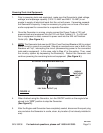
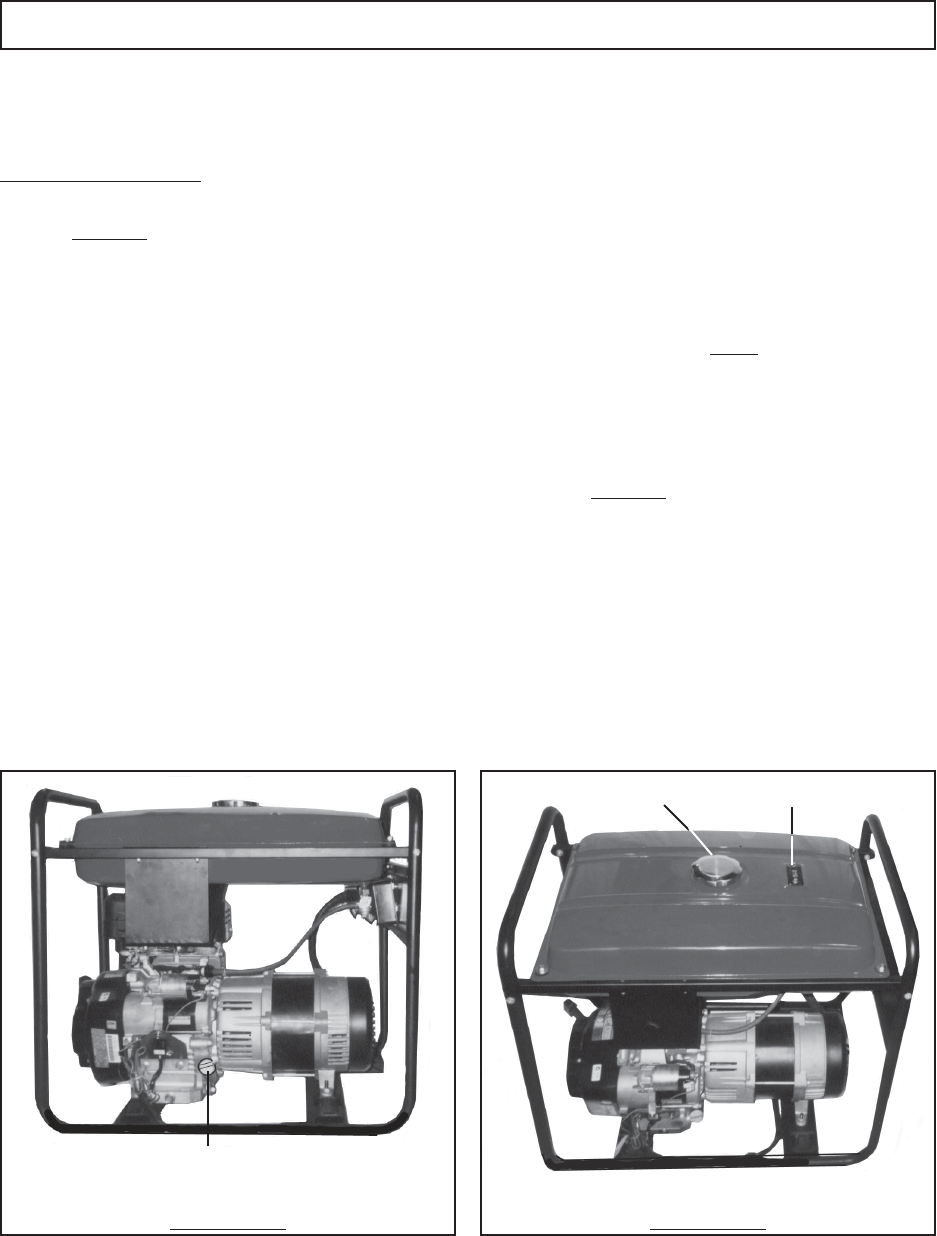
FIGURE C
OIL FILL CAP
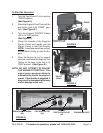
FUEL GAUGE (34)FUEL TANK CAP (37)
FUEL TANK (32)
FIGURE D
OPERATING INSTRUCTIONS
NOTE: For additional references to the parts listed in the following pages, refer to the
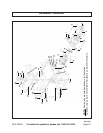
Assembly Diagram on page 18.
Pre-Start Checks:
1. NOTE: During operation, it may be necessary to refer to the
Engine
manufacturer’s Operation, Maintenance, and Parts manual
(included) for detailed
information about starting, running, and stopping the Engine.
2. Check to make sure the Engine’s “ON/OFF” Switch is in its “
OFF” position.
3. Unscrew and remove the Engine’s Oil Fill Cap located at the bottom of the En-
gine Crankcase. Check to make sure the oil level is even with the top of the Oil
Fill Hole. If necessary, add oil until its level is even with the Oil Fill Hole. Then,
screw the Oil Fill Cap back into the Oil Fill Hole. NOTE: Check with the Engine
manufacturer’s manual for the proper type of engine oil required for use.
(See Figure C.)
4. Check the Fuel Gauge (34) for the amount of unleaded gasoline in the Fuel Tank
(32). If necessary, remove the Fuel Tank Cap (37) and refill the Fuel Tank with
unleaded gasoline. Then, replace the Fuel Tank Cap.
(See Figure D.)
REV 11/04


