SKU 92647 For technical questions, please call 1-800-444-3353
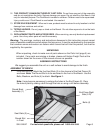
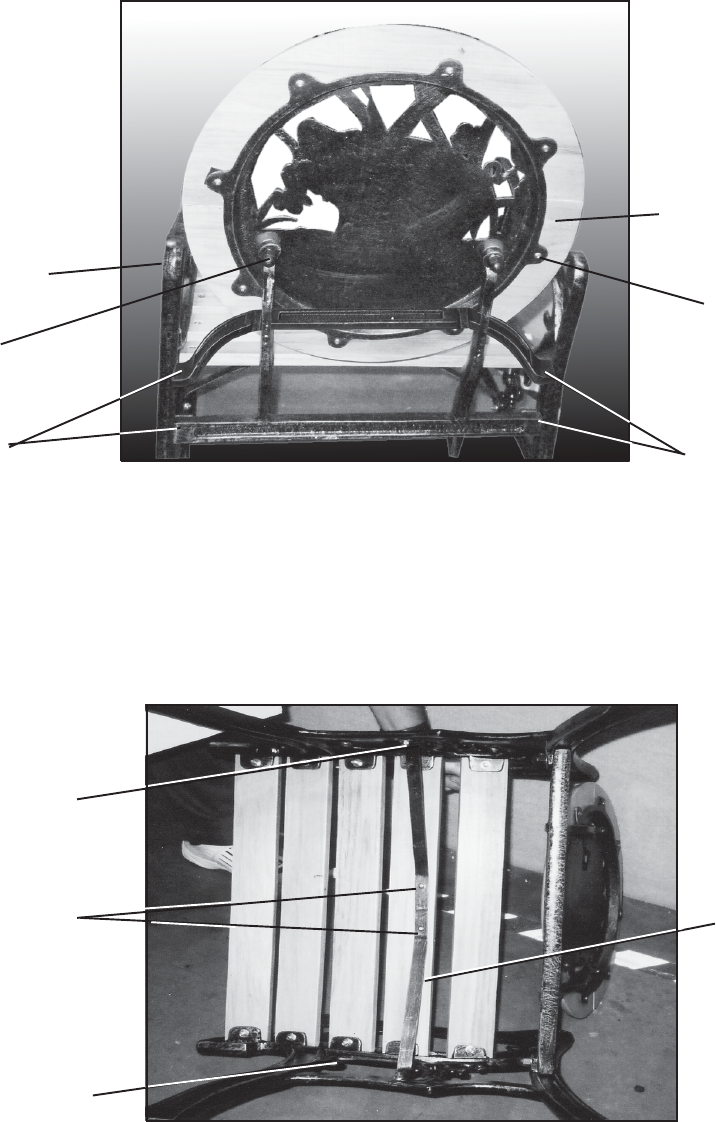
2. Attach the Round Back Assembly (1) to the End Pieces left and right (2). Use Bolts (5) to
attach. Hand tighten only.
See Figure 2.
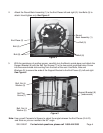
3. With the assistance of another person, carefully turn the Bench upside down and attach the
Support Bracket (6) with the Self Tap Screws (7) in the two center predrilled holes. Screw
into the second wood slat counting from the back of the seat. Use Bolts, Nuts and
Washers (5) to secure the ends of the Support Bracket to the End Pieces (2), left and right.
See Figure 3.
Note: Use a small Carpenter’s Square to adjust the angle between the End Pieces (2L & R)
and Slats so you can maintain the 9
0°
angle.
Figure 2
End Piece (2)
Round
Back Assembly (1)
Bolt (8)
Bolt (8)
Page 4
Figure 3
Support Bracket (6)
(underneath)
Self Tap
Screw (7)
Bolt, Nut, &
Washer (5)
Bolt, Nut, &
Washer (5)
Bolt (5)
Bolt (5)


