


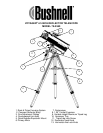
Thank you for purchasing the Bushnell Voyager Telescope! Your new telescope has been designed and crafted
with the highest standards so that you may have years of enjoyment and use out of this wonderful window to
the heavens. This product comes complete with everything you'll need to explore your universe including a
professional primary mirror, precision rack and pinion focusing mechanism, superior all-metal main telescope
tube, and professional quality wide-field 5x24mm finderscope. Whether you are just starting out in astronomy
or you are an avid astronomer we wish you all the best with your telescope.
Please utilize this manual to its fullest potential by reading it completely before you attempt to assemble and
use your new telescope. Once assembled, we've included a basic guide on how to get started in astronomy at the
end of this manual. While this is not a complete guide, it will give you some initial pointers. As you advance
in ability, we would highly recommend a supplemental star atlas, beginning astronomy guide, moon map, or any
other guide as you travel on your journey through the universe.
READ THROUGH ASSEMBLY INSTRUCTION
BEFORE YOU ASSEMBLE YOUR TELESCOPE
TELESCOPE ASSEMBLY
1. Remove all components from the carton and identify all components.
2. Set-Up Tripod
• Select one tripod leg. Loosen Tripod Leg Lock Screw (11) and extend the Tripod Leg Middle Section.
Tighten the Tripod Leg lock Screw so that the Middle Section is securely in place. Repeat for the
remaining two legs.
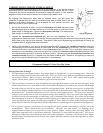
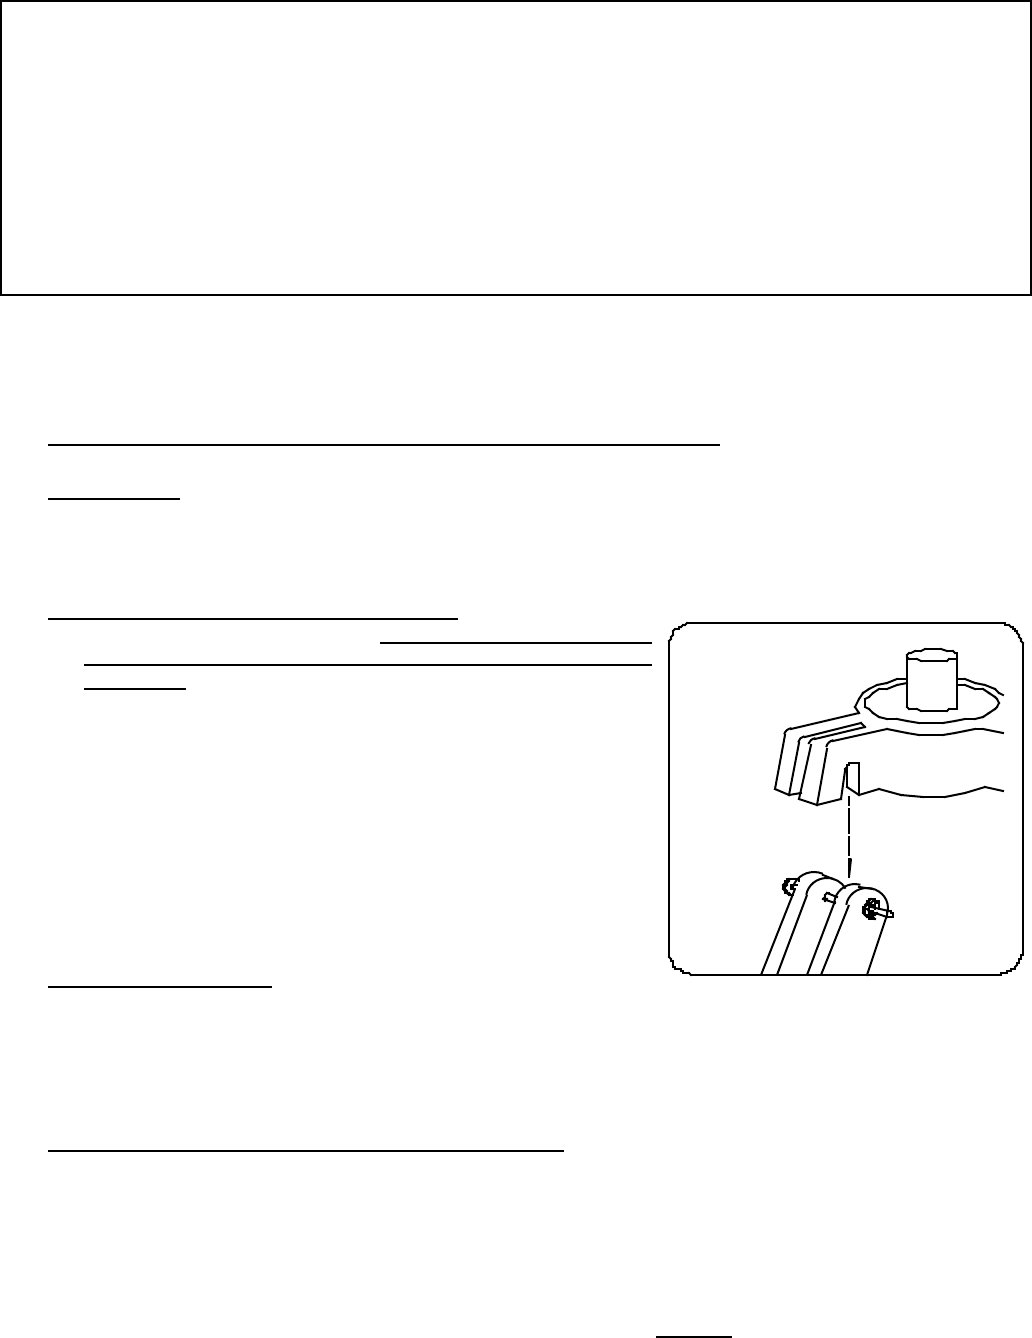
3. Attach Mount, Telescope and Finderscope
• Locate the Equatorial Mount (5). Note: Before assembling tripod
legs to Equatorial Mount, make sure the Accessory Tray Braces
face inward. Loosen long bolts at the top of Tripod Leg (9).
Attach the mount to the Tripod Leg as shown (fig. 2). and
secure Equatorial Mount to Tripod Leg. Repeat on the
remaining two Tripod Legs. Once you have attached all Tripod
Legs to the mount, securely tighten all tripod bolts.
• Locate the Finderscope (7) with pre-assembled Finderscope
Mount. Remove the two nuts located near the front of the
telescope (closet to the rack and pinion focuser) and place
the Finderscope and Finderscope Mount over the exposed
screws. Replace the nuts, and securely tighten the
Finderscope and Finderscope Mount in place.
1. Attach Accessory Tray
• Locate the Accessory Tray (10). Using the accessory tray
bolts, wingnuts and washers connect the Accessory Tray to
the Accessory Tray Braces. Start with one tripod leg and attach wingnuts. Wingnuts should be
positioned beneath the accessory tray. Do not tighten wingnuts until all Accessory Tray Braces are
attached as some adjustments may be required.
2. Attach Control Cables, Counterweight and Eyepieces
• Locate the Fine Adjustment Cables (3). Loosen the silver screws located at the end of the Fine
Adjustment Cables and attach the Fine Adjustment Cables to the two silver posts found on the Equatorial
Mount (5).
3. Locate the Counterweight (4) and Counterweight Shaft. Loosen the thumb screw located on the
Counterweight and slide the Counterweight onto the Counterweight Shaft, then and tighten thumb screw to
secure the Counterweight. Thread the Counterweight Shaft into the hole located at the bottom of the "L"
shaped bend in the Equatorial Mount . Make sure that the shaft is securely locked into mount.
fig. 2