


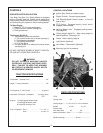

18
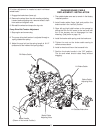
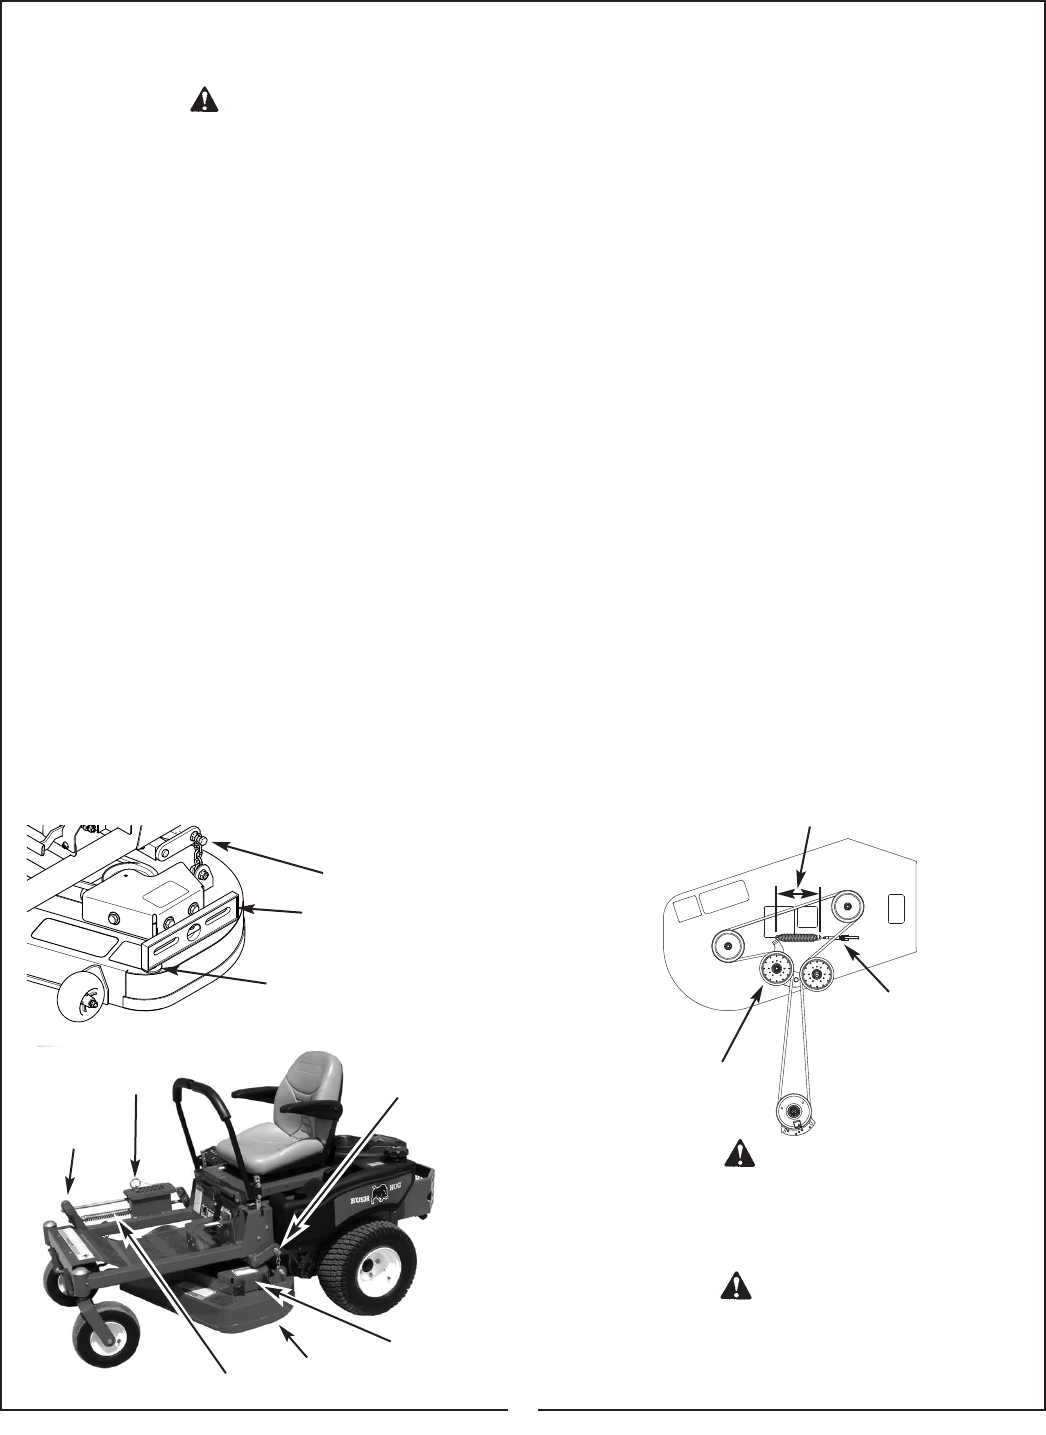
DECK BELT ADJUSTMENT
Belt adjustment should be checked every (50) hours
of operation to get maximum life and cutting perfor-
mance. Belt tension is adjusted by increasing or
decreasing the length of the spring on the movable
idler by adjusting the eye bolt length (Shown below).
For correct belt tension, adjust the spring length to 7”
for the 36” and 7-1/2” for the 42” deck.
DECK BELT REPLACEMENT
(NOTE: Use only genuine Bush Hog
replacement parts)
1. Remove the R.H. and L.H. deck shield assem-
blies and remove the foot platform.
2. Relieve the spring tension by loosening the two
3/8” hex nuts on the spring adjustment eye bolt.
3. Remove the old belt.
4. Install the new belt being sure the belt is properly
routed and positioned in all sheave grooves.
5. Adjust tension on the belt by adjusting the length
of the spring on the idler (See Deck Belt
Adjustment section).
6. Replace the deck shield assemblies and foot platform.
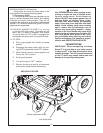
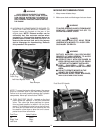
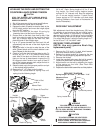
Deck
Lift Pedal
Height
Adjustment Pin
Deck Lift Spring
Deck
Upper
Chain Fastener
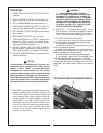
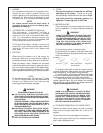
WARNING
TO AVOID SERIOUS BURN INJURIES:
ll
AL
LOW ENGINE, OIL AND HYDRAULIC FLU-
IDS TO COOL BEFORE SERVICING TRANSMIS-
SION OR ENGINE SYSTEM
CAUTION
TO AVOID CLEANING SOLVENT FIRES:
ll
AVOID USING FLA
MMABLE SOLVENTS.
ll
AVOID
AREAS WITH IGNITION SOURCES
WHEN USING FLAMMABLE SOLVENTS.
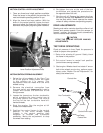
Deck
Shield
DECK BELT DIAGRAM
Spring Length - 36” Deck - 7”, 42” Deck - 7-1/2”
Eye Bolt Adjustment
Spring Loaded Idler
Bolt In Slot
Level on
Mower Deck
.12” Spacer At Front End
CAUTON
STOP THE ENGINE, SET PARKING BRAKE,
REMOVE IGNITION KEY AND SPARK PLUG
WIRES FOR SAFETY.
36” & 42” Deck- Spring length of 16” for 3” cut-
ting height. For lower cutting heights loosen
springs at 1/4” intervals until stop hits adjusting
pin in correct height location. If deck floats,
loosen springs at 1/4” intervals until deck stops
floating.(Measure from back of flatwasher to
back of flatwasher)
LEVELING THE DECK AND SETTING THE
COUNTERBALANCE SPRING TENSION
1. Set all tire pressures to the correct specifications.
2. Rest machine on a level slab of concrete.
3. Depress the deck lift pedal to raise the deck to the
full lift height position and move the height adjust
pin to the 4.5” position.
4. Take all the force off the deck lift spring by
loosening the nut at the front of the spring.
5. Place a level on the deck, from front to rear. If the
level is too short to reach all the way from front to
rear, lay a straight edge on the deck first, then
place the level on the straight edge.
6. Lay a .12” spacer beneath the front level. this will
automatically set the rear of the deck higher than
the front.
7. Adjust the bolts in the slot to raise the rear of the
deck (Shown below) until the level’s bubble is cen-
tered. Repeat for the other side.
8. Check to verify the deck is leveled side-to-side. To
do this, lay a 2” x 4” x 30” piece of wood under
each side of the deck and lower the deck to rest
freely on the top of these boards. Inspect the (3)
lift hangers to see if tension is on each of them. If
any of the hangers appear slack, adjust the bolt in
the slot to remove the slack.
9. Raise the deck up to the transport position and pin
in the desired height position.
10. Remove the 2” x 4”s from under the deck.
11. Tighten the counterbalance spring nuts until
spring is to the following length:
(Measured From
Of Hooks)