40 HOURS
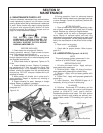
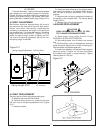
7. Spindle Assembly - Apply multi-purpose grease
with grease gun until grease purges out top seal.
Grease fittings for spindles should be accessed by
removing the plastic plugs in the shields. After com-
pleting lubrication, replace plastic plugs.(Figure 4-1C)
4-3 BELT ADJUSTMENT
Belt tension should be checked every 40 hours to
get maximum life from drive belt and best perfor-
mance from cutter. Belt tension is adjusted by
increasing or decreasing the length of the spring on
the movable idler. For proper belt tension, the spring
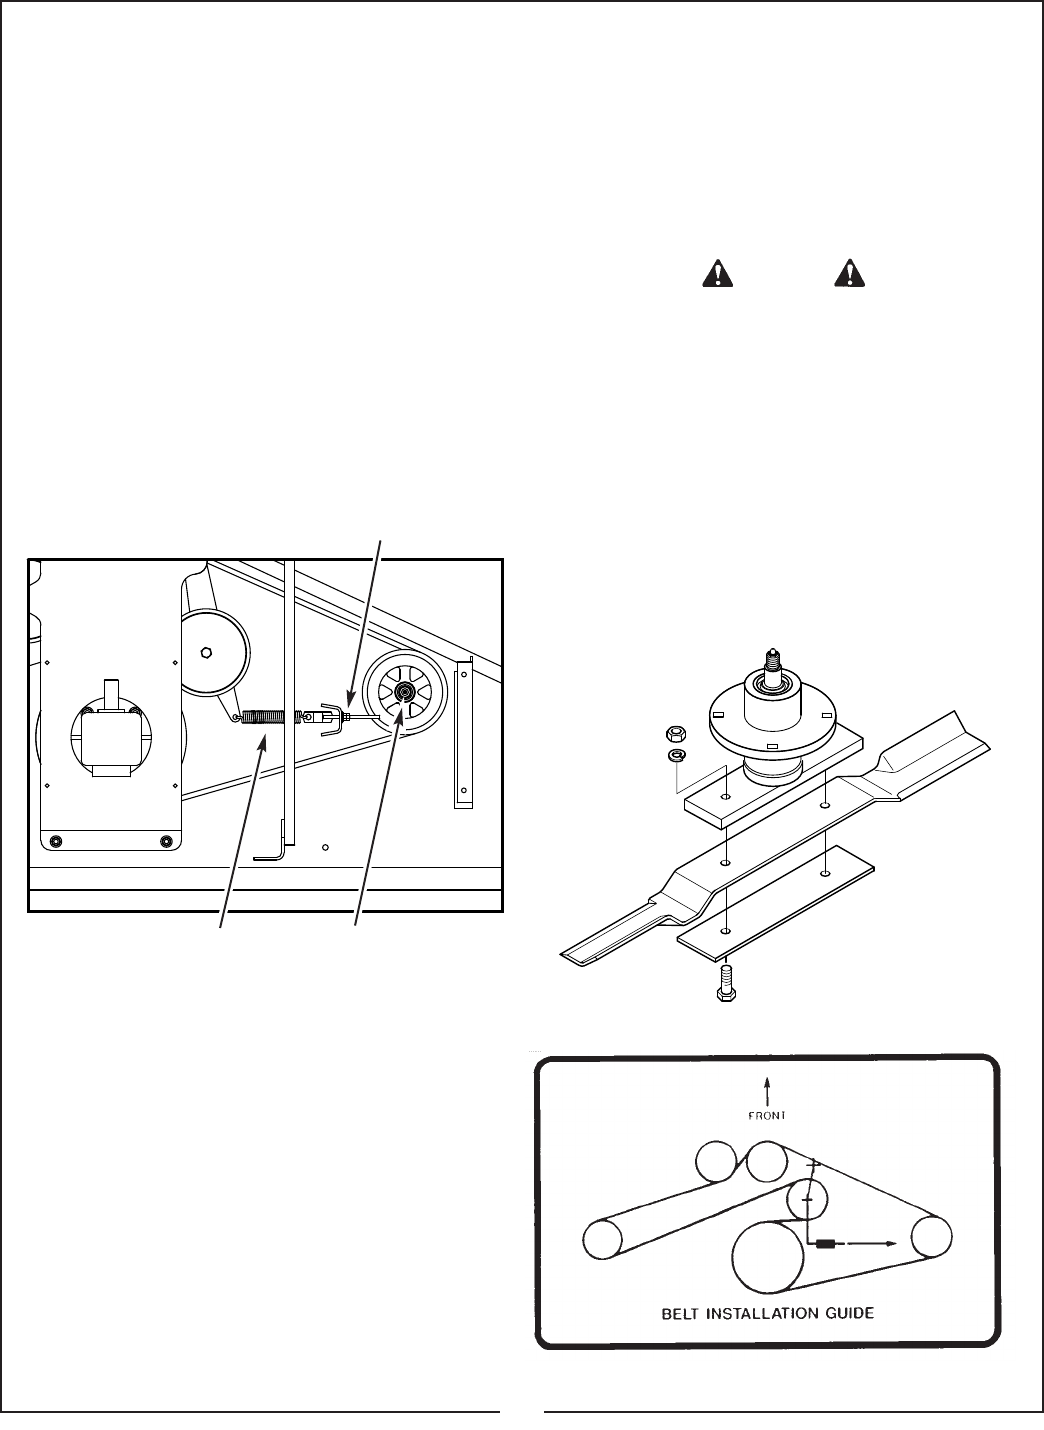
length should be set at 8-3/4”. (Figure 4-1C) To
adjust the spring length, loosen or tighten the 3/8”
hex nuts on the spring adjustment rod until the cor-
rect spring length is reached.
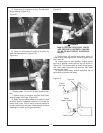
Figure4-1C
4-4 BELT REPLACEMENT
Use only genuine Bush Hog replacement parts.
A. Remove right and left side shields.
B. Relieve spring tension by loosening the two
3/8” hex nuts on the spring adjustment rod. (Figure
4-1C.
C. Remove old belt.
D. Install new belt, referring to the diagram below
(also refer to the decal on the mower deck). Be sure
that the belt is properly positioned in all sheave
grooves.
E. Adjust tension on belt by adjusting the length of
the spring on the movable idler. The correct spring
length is 8-3/4”.
F. Replace right and left side shields.
4-5 BLADE REPLACEMENT
A. Raise cutter using tractor 3-point lift and
SECURELY BLOCK INTO POSITION.
B. Set parking brake, turn off tractor and remove
key
C. Remove bolts, nuts and lockwashers, securing
blade and blade support bar to blade mounting bar.
Remove blade and blade support bar.
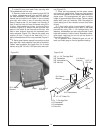
D. Install new blade(s) and reinstall blade support
bar(s) as shown in Figure 4-2. Be sure that blades
are installed with offset in proper direction. Tighten
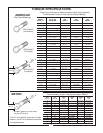
retaining bolts to 76 ft./lbs.
CAUTION
WEAR HEAVY WORK GLOVES TO PRO-
TECT HANDS FROM SHARP EDGES.
Figure 4-2
BELT DIAGRAM
(7) 40 Hours
Spring Length Adjustment - 3/8” Hex Nuts
3.
11
Spring Length 8-3/4”


