


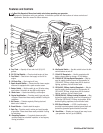

7
Assembly
Your generator requires some assembly and is ready for use
after it has been properly serviced with the recommended oil
and fuel.
If you have any problems with the assembly of your generator,
please call the generator helpline at 1-800-743-4115. If calling
for assistance, please have the model, revision, and serial
number from the data tag available. See Generator Controls
and Features for data tag location.
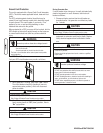
Unpack Generator
1. Set the carton on a rigid, flat surface.
2. Remove everything from carton except generator.
3. Open carton completely by cutting each corner from
top to bottom.
4. Leave generator on carton to install wheel kit.
Shipment Contents
The generator is supplied with:
• Engine oil
• Operator’s manual
• Battery charge cables
• Wheel kit
• 120/240 Volt, 20 Amp locking plug
• 120 Volt, 30 Amp locking plug
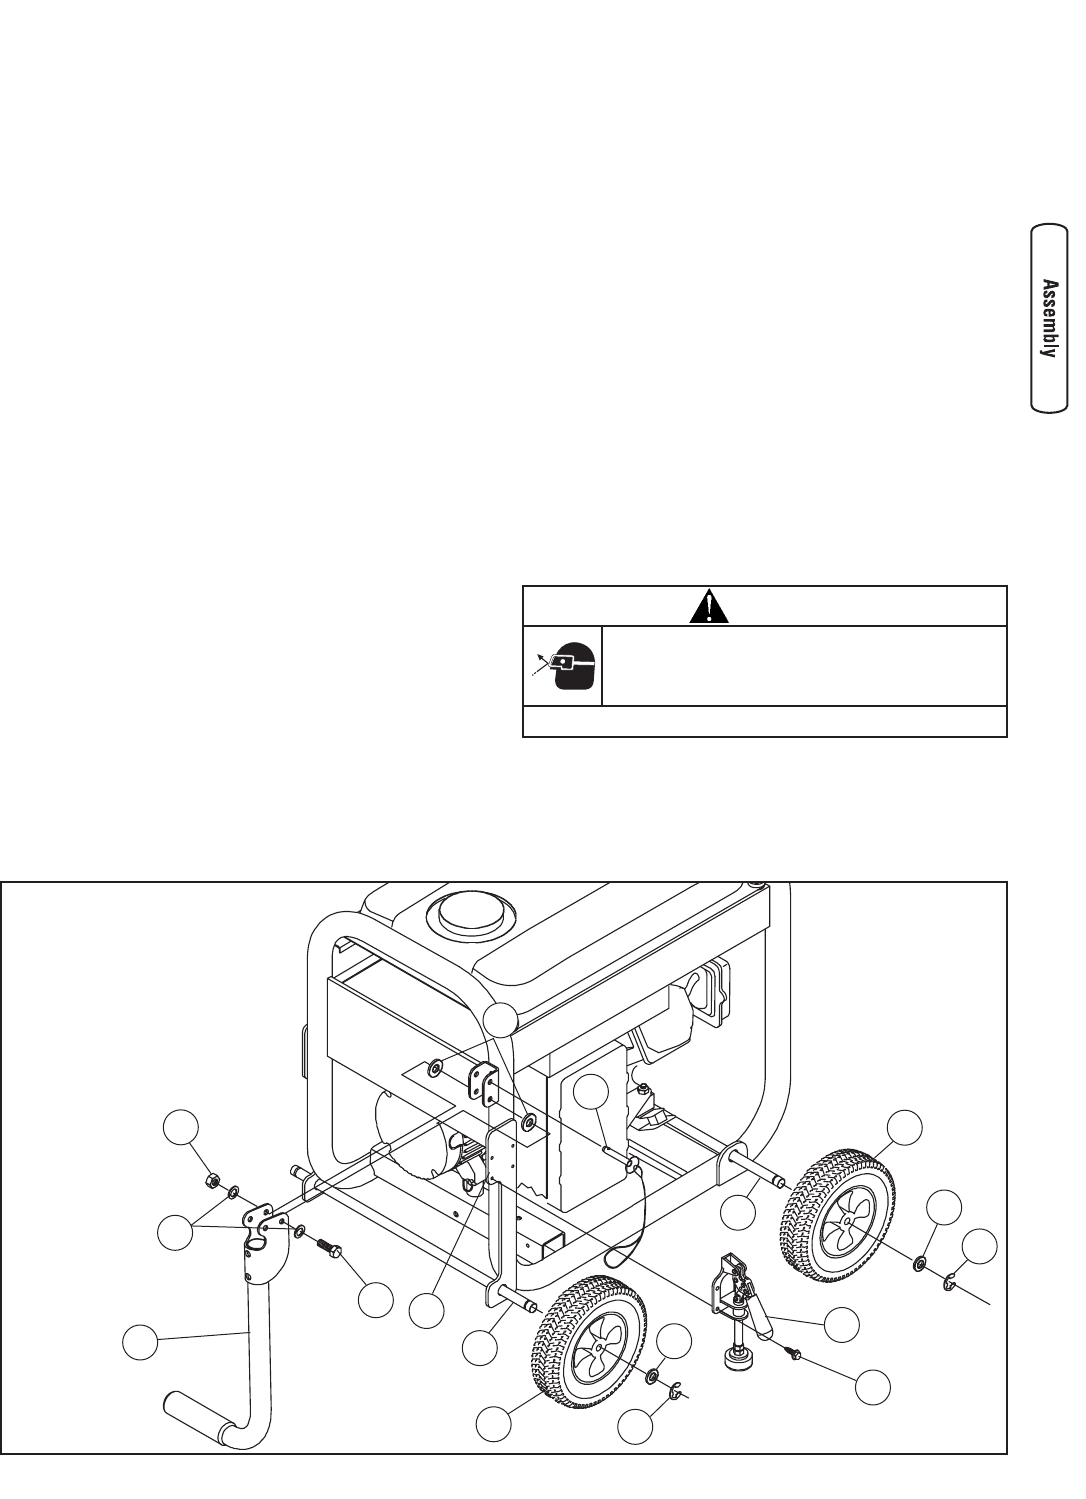
Install Wheel Kit
NOTE: Wheel kit is not intended for over-the-road use.
You will need the following tools to install these
components:
• 3/8” and 13 mm wrench
• Socket wrench with a 3/8” and 13 mm socket
• Pliers
• Safety glasses
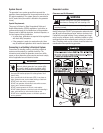
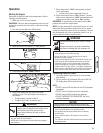
Install the wheel kit as follows:
1. Tip generator so that engine end is up.
2. Slide axle (A) through both mounting brackets.
3. Slide a wheel (B) over axle.
NOTE: Be sure to install wheel with raised hub inboard.
4. Place a washer (C) on axle and then place an e-ring (D)
in axle groove.
5. Install e-ring with pliers, squeezing from top of e-ring
to bottom of axle.
6. Repeat steps 3 through 5 to secure second wheel.
7. Tip generator so that engine side is down.
8. Attach clamps (E) to brackets (F) on both sides of
generator with 1/4’ - 20 hex screws (G).
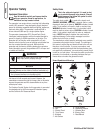
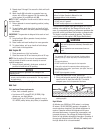
CAUTION
E-rings can cause eye injury.
E-rings can spring back and become airborne
when installing or removing.
• Always wear eye protection when installing/removing e-rings.
B
C
D
N
A
E
D
A
H
C
J
M
K
L
G
B
F