13
MAINTENANCE
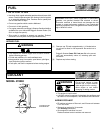
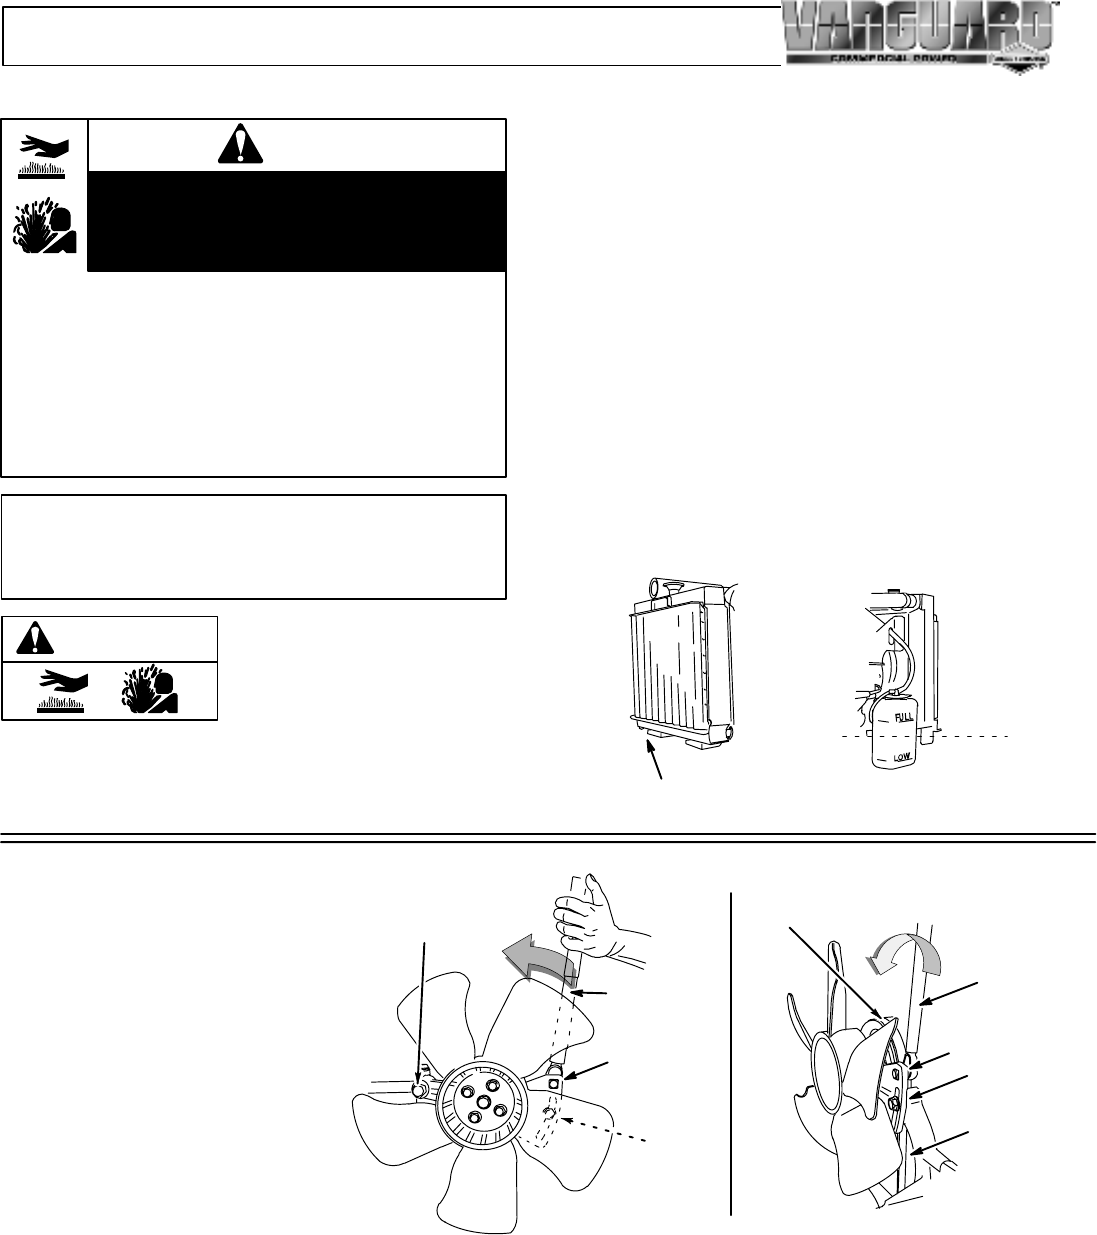
CHANGING COOLANT (MODEL 470000)
WARNING
Never remove radiator cap or radiator reservoir
cap while the engine is hot or running. Severe
thermal burns or injury can occur by escaping
steam or hot engine coolant.
• Stop engine and allow to cool before removing radiator or
reservoir cap.
• To remove reservoir cap after engine is cool, place a thick
cloth over cap and remove it slowly.
• To remove radiator cap after engine is cool, place a thick
cloth over cap and rotate it slowly counter-clockwise to
the first stop. Pressurized steam may emit from the cap,
stand back to avoid injury. Once all pressure is released,
rotate cap counter-clockwise while pushing down on cap
to remove.
CAUTION: Used coolant is a hazardous waste product.
Dispose of used coolant properly. Check with your local
authorities, service center, or dealer for safe disposal/re-
cycling facilities.
Normal coolant temperature
gauge (if equipped) should
read between 175° and 195° F
(80° and 90° C) when engine is
running.
WARNING
If coolant temperature rises above 220° F (105° C), the
temperature light (if equipped) will illuminate. Idle engine down
for a while. Then stop engine. Once engine is cooled, check
coolant level, fan belt tension and clean any clogged radiator
fins.
Coolant should be replaced every year, unless an approved
extended life coolant is used. Then replace every 3000 hours.
• A 50/50% mixture is required of phosphate-free antifreeze and
tap water for heat dissipation, rust resistance and lubrication.
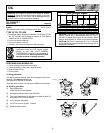
[1] Remove drain plug. As coolant is running out, open radiator
cap to allow any trapped coolant to drain. Replace drain
plug.
[2] Remove reservoir bottle, drain it and reinstall.
[3] Fill radiator to bottom of filler neck and reservoir between
FULL and LOW. Replace radiator cap.
[4] Start and run engine for 30 seconds.
[5] Shut engine off and allow it to cool. Recheck coolant levels in
radiator and reservoir.
[6] Coolant level in reservoir should be between FULL and LOW
when engine is cold.
COOLANT LEVEL
IN RESERVOIR
RADIATOR
DRAIN PLUG
Side view
Front view
FAN BELT (MODEL 470000)
♦ Check condition of fan belt.
♦ Replace if damaged or worn.
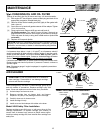
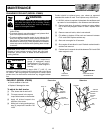
To adjust fan belt tension
BOLT “B”
SQUARE
TORQUE HOLE
TORQUE
WRENCH
SQUARE
TORQUE
HOLE
TORQUE
WRENCH
BOLT “B”
FAN
BELT
FAN BELT
[1] First, loosen bolt A and bolt B.
[2] Fit torque wrench in the square
torque hole located on the bracket.
[3] Apply 115 in-lbs of torque in the
direction of the arrow.
[4] While belt is being tensioned per
step [3], torque bolt A and B to 135
in-lbs.
BOLT “A”


