ASSEMBLY
8
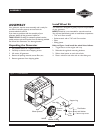
5. Place a washer on axle and then place an e-ring in axle
groove.
6. Install e-ring with pliers, squeezing from top of e-ring
to bottom of axle.
7. Repeat step 3 through 6 to secure second wheel.
8. Tip generator so that engine side is down.
9. Attach vibration mount to support leg with a 1/4-20 x
1” capscrew and 1/4-20 lock nut.
10. Attach support leg assembly to cradle with M8 x
20 mm capscrews, flat washers and M8 lock washers.
11. Return generator to normal operating position (resting
on wheels and support leg).
12. Check that all fasteners are tight and the tires are inflated
to the value marked on the tire or within 15 and 40 psi.
Check Battery / Attach Negative
Battery Wire
The sealed battery on the generator is fully charged and
pre–installed except for the negative (black) battery cable.
You will need the following tools to install the negative
battery cable:
• Socket wrench with a 8 mm socket
• Diagonal cutters
To install:
1. Cut off tie wrap securing loose end of negative (black)
cable.
2. Using a 8 mm socket wrench, remove screw, lock
washer and flat washer on negative battery terminal.
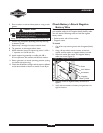
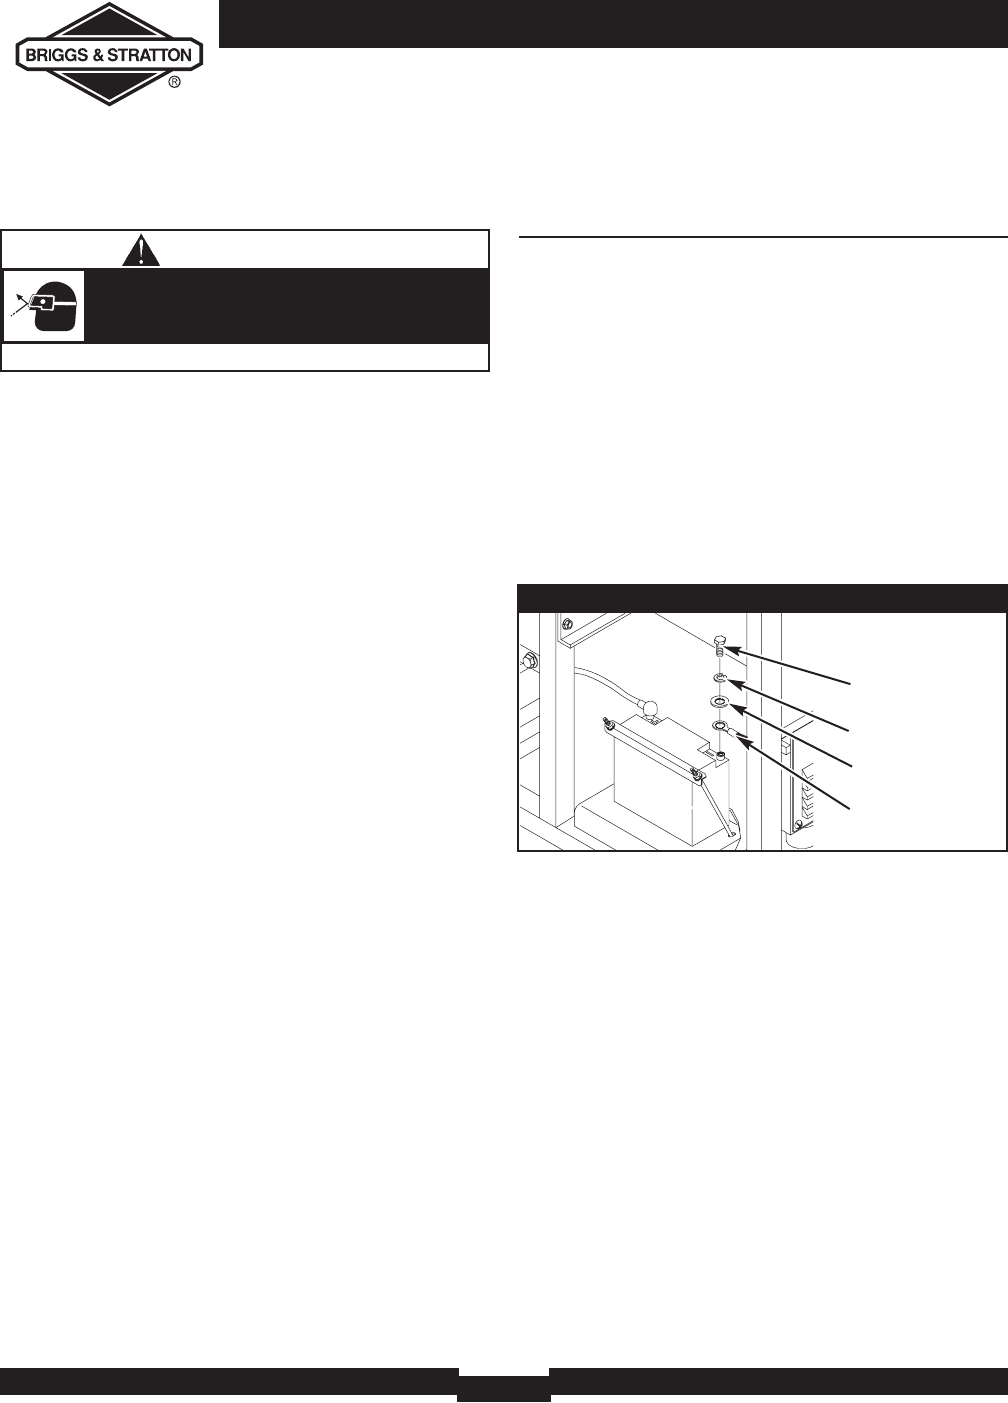
3. Slide lock washer, flat washer and negative battery
cable over screw (Figure 2).
4. Reattach screw to negative battery terminal and
tighten.
5. Verify that connections to battery and generator are
tight and secure.
Figure 2 — Negative Battery Connection
Negative
Battery Cable
Flat Washer
Lock Washer
Screw
• Always wear eye protection when installing/removing e-rings.
E-rings can cause eye injury.
E-rings can spring back and become airborne
when installing or removing.
CAUTION


