


12
WARNING: If you strike a foreign object,
stop the engine. Remove wire from spark plug
and de-energize, thoroughly inspect the
mower for any damage, and repair the
damage before restarting and operating the
mower. Excessive vibration of the mower
during operation is an indication of damage.
The unit should be promptly inspected and
repaired.
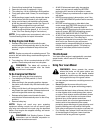
NOTE: For shipping purposes your mower is set with
the wheels in a low cutting height position. For best
results, raise the cutting position until you have
determined which height is best for your lawn.
SECTION 6: MAKING ADJUSTMENTS
WARNING: Be sure to disconnect the
spark plug wire and DE-ENERGIZE starter
before performing any adjustments or repairs.
DO NOT attempt any maintenance or service
to the engine and/or mower equipped with the
safety key in the unlocked and/or energized
mode.
WARNING: NEVER assume starter is de-
energized, even if the key is in the locked
position and/or removed from the engine.
ALWAYS de-energize self starter prior to
performing any maintenance or service to the
engine and/or mower. Follow instructions on
the engine and/or machine to de-energize
starter.
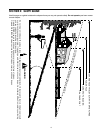
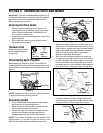
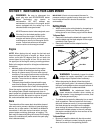
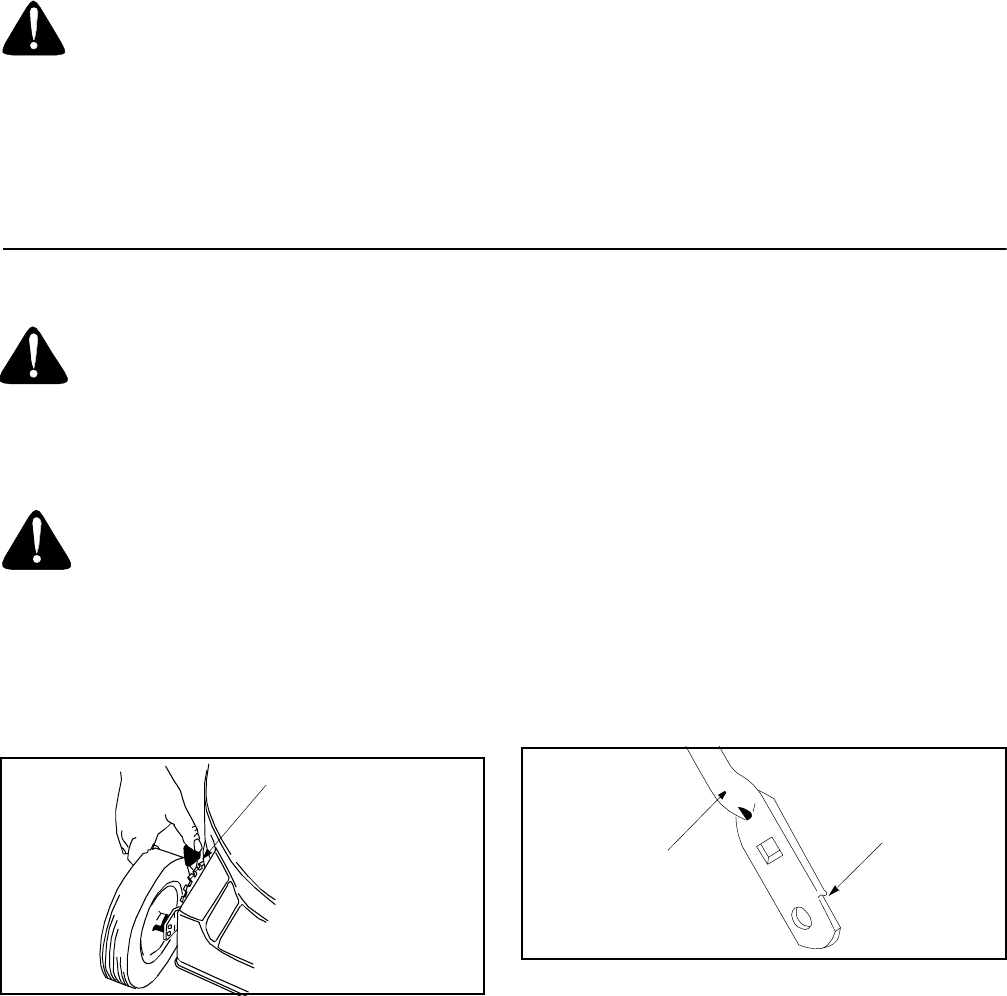
Cutting Height
Figure 11
An adjusting plate and spring lever at each wheel
position provides cutting height adjustment. Each
adjusting plate has several height positions.
• Move the spring lever to one of these height
positions and the height of cut will be changed.
Simply depress the lever towards wheel and move
lever assembly to desired position. See Figure 11.
IMPORTANT: All wheels must be placed in the same
relative position. For rough or uneven lawns, move the
height adjustment lever to a higher position. This will
help stop scalping of the grass.
Handle Height
Your mower is shipped with the handle in the higher
height position.
• Remove the starter rope from the rope guide.
• Remove the upper handle by removing the hand
knobs and carriage bolts. Lay the upper handle out
of the way, being careful not to bend or kink cables.
• Remove the hairpin clips from the weld pins on the
handle brackets. Refer to Figure 3.
• Remove the carriage bolts and wing nuts from the
handle brackets. Press out on the legs of the lower
handle. Remove lower handle from the mower.
• Turn the lower handle around so the notch on the
bottom of the lower handle is facing forward as
shown in Figure 12. Reassemble, placing the
bottom holes in the handle over the weld pins in the
handle mounting bracket.
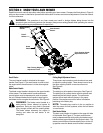
Figure 12
• Reassemble the upper handle to the lower handle.
• Place the hairpin clips in the inner holes of the weld
pins and replace the carriage bolts and wing nuts
on the handle brackets. Attach the starter rope as
instructed in the Assembly section.
Engine Adjustments
Refer to the engine manual for details and instructions
regarding engine adjustments.
Height Adjustment
Lever
Notch
Lower
Handle