8
Owner’s manual and assembly instructions: model 235020 outdoor patio heater 1/15/03
Contact 1-800-762-1142 for assistance.
Do not return to place of purchase.
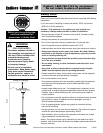
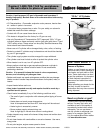
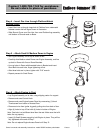
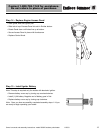
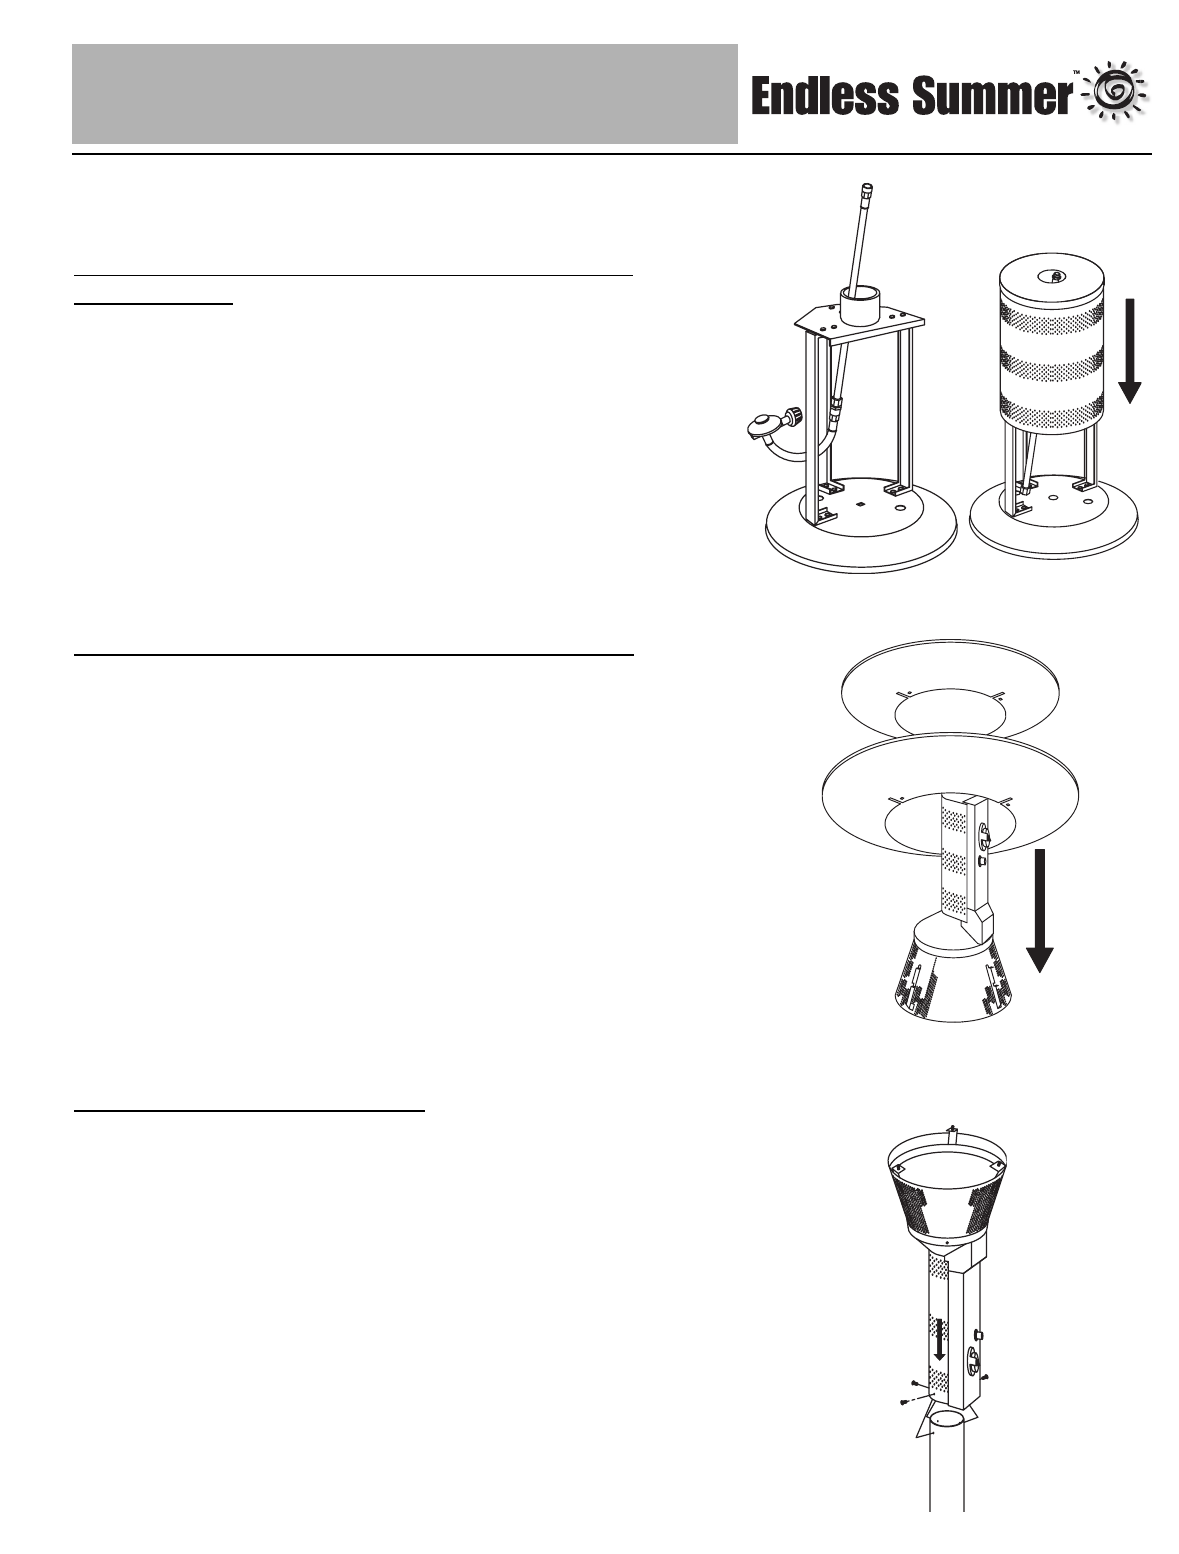
Step 4 – Insert Gas Line through Platform/Attach
Shroud Cover
• Insert Gas Line up through large hole in Platform from underneath
between center and left leg as shown in illustration.
• Slide Shroud Cover over Gas Line, then over Platform/Leg assembly
until bottom of Shroud rests on Base.
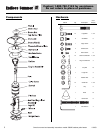
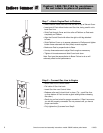
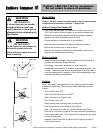
Step 6 – Attach Engine to Post
• Lay Engine Assembly on its side, using shipping carton for support.
• Remove and save Control Knob.
• Remove and save Engine Access Panel by unscrewing (1) black
Thumbscrew from bottom of Access Door.
• Disconnect wire from Igniter by gently pulling wire from back of box.
• Align (4) holes in top of Post with (4) holes in bottom of Engine.
Note: One hole is at a different level than the rest. Make sure that all 4
holes line up properly.
• Insert (4) Small Screws enough to hold Engine in place. They will be
fully tightened at the end of Step 7.
Note: Do not replace Engine Access Panel until Step 13.
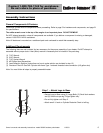
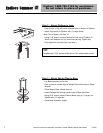
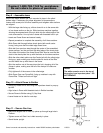
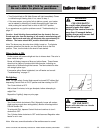
Step 5 – Attach Small & Medium Dome to Engine
• Set Engine Assembly on its top as shown at left.
• Carefully slide Medium sized Dome over Engine Assembly, and line
up slots in Dome with fins on Dome Brackets.
• Line up holes in Dome with threaded holes in Bracket and insert
Short Bolt into each hole, finger tightening at first.
• After three bolts are in place, tighten with 7/16” wrench.
• Repeat process for Small Dome.


