


6
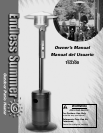
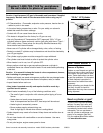
Owner’s manual and assembly instructions: model 153300 outdoor patio heater 3/28/03
Contact 1-800-762-1142 for assistance.
Do not return to place of purchase.
Assembly Instructions
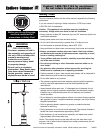
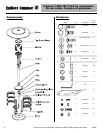
General Components & Features
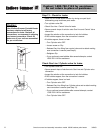
Familiarize yourself with all components before proceeding. Refer to page 5 for hardware and components, and page 19
for specifications.
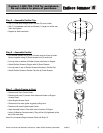
The white ceramic cone in the top of the engine is an important piece. DO NOT REMOVE.
Note: All the hardware is in a plastic bag packed in the emitter top inside of a cardboard divider inside the cap. This
also includes the cup and cap support.
Do NOT attempt assembly unless all components are available. If you believe a component is missing or damaged,
contact 1-800-762-1142 for assistance.
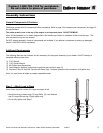
Additional Requirements
The following items are not included, but are necessary for the proper assembly of your heater. Do NOT attempt to
assemble without proper tools.
(1) 7/16” Wrench
(1) 7/16” Socket Wrench
(1) #2 Phillips Head Screwdriver
(1) Leak Detection Solution (Instructions to prepare are included in step 13)
(1) Precision Filled LP Gas Grill Cylinder with Acme Type 1 external threaded valve connection (4-5 gallon size)
Note: You must follow all steps to properly assemble heater.
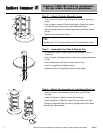
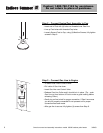
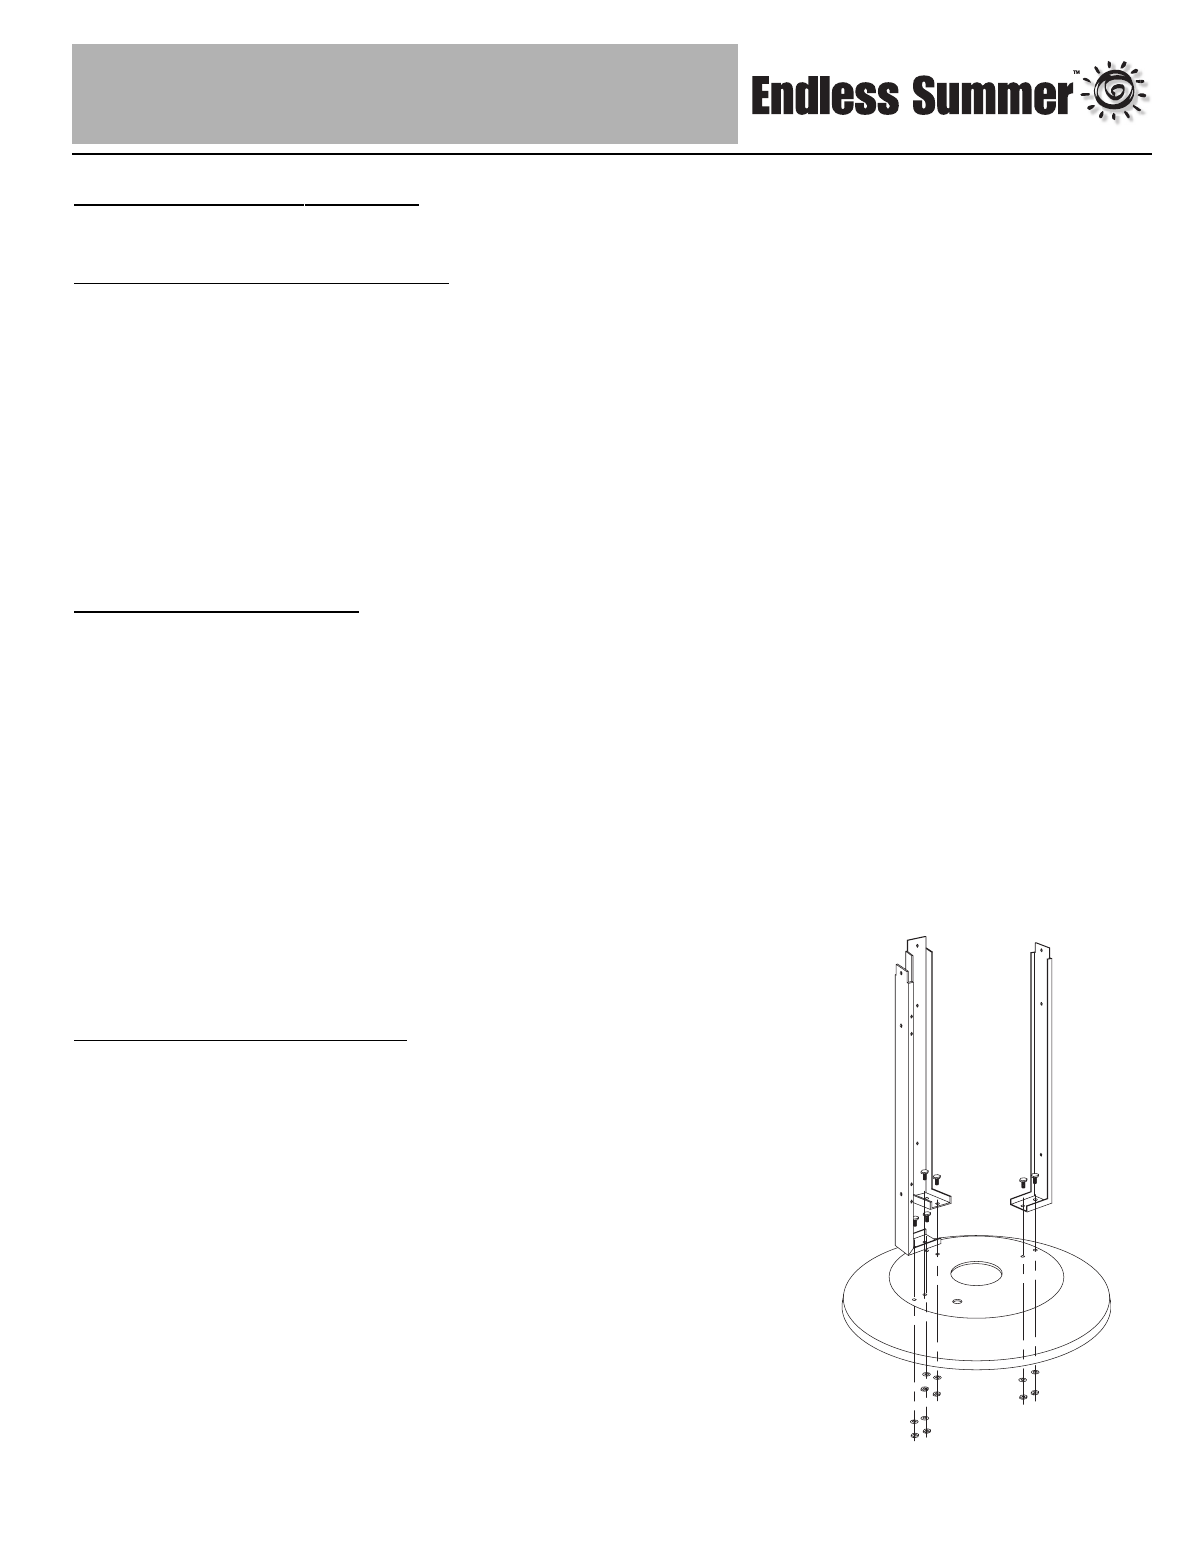
Step 1 – Attach Legs to Base
Note: Attach Leg with notches for hinges as shown at left.
• Secure each leg to base using (2) Large Bolts, (2) Lock Washers
and (2) Large Nuts per leg. Finger tighten only.
• Do not fully tighten until Step 2.