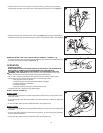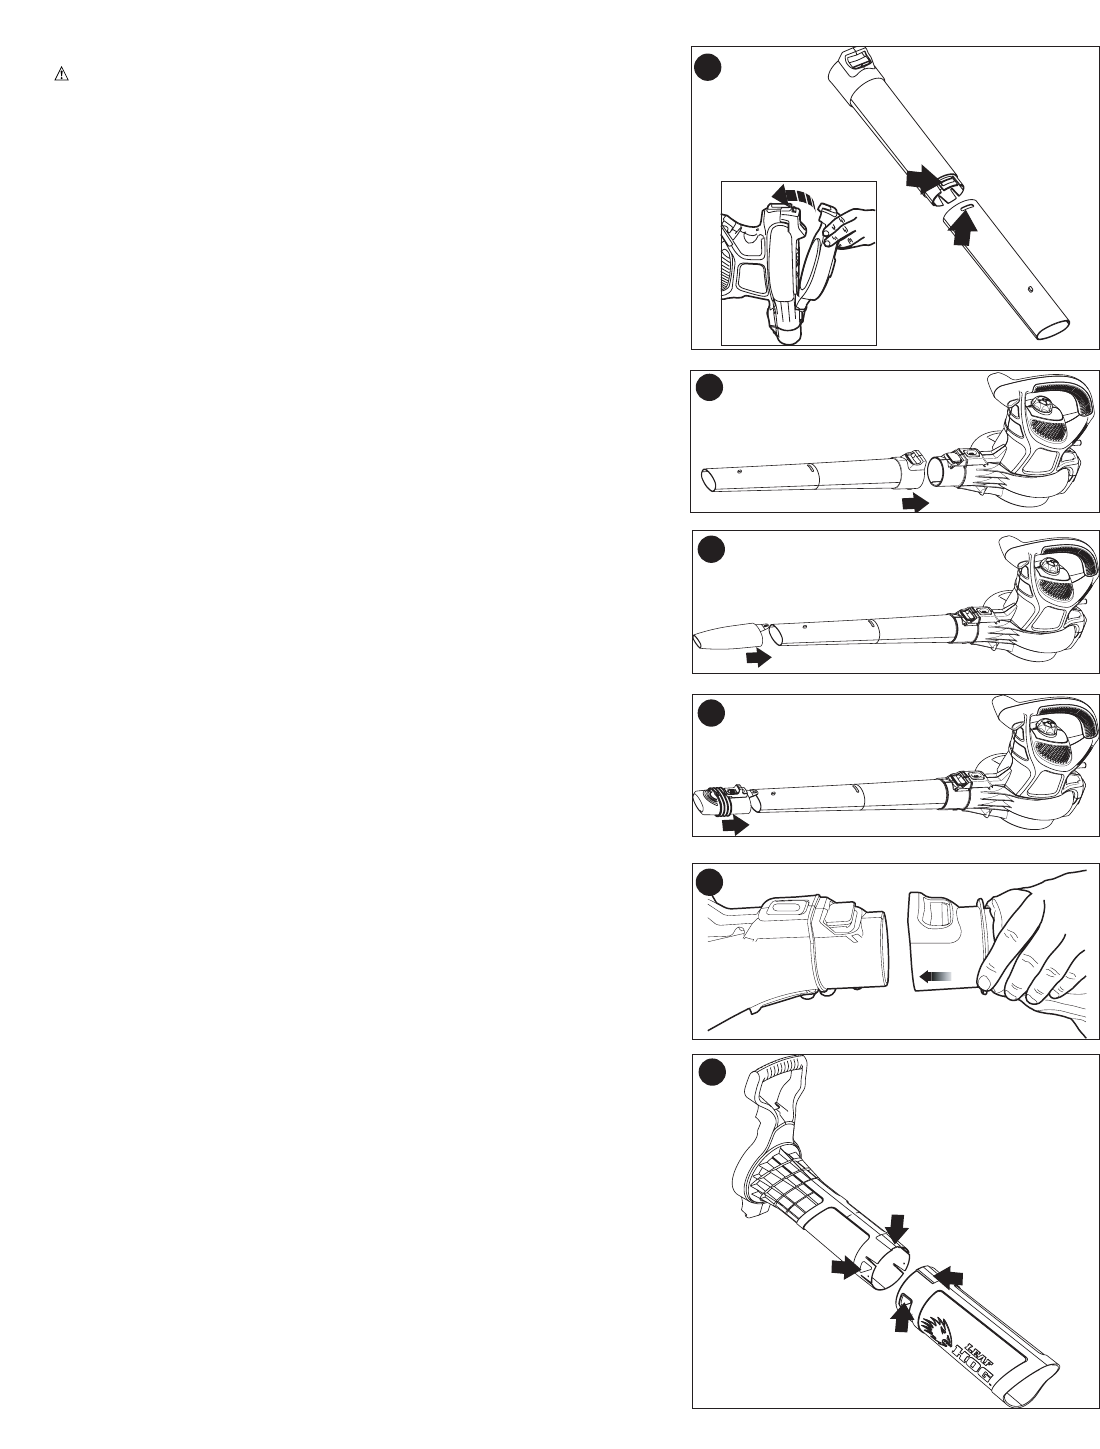
ASSEMBLY FOR BLOW MODE
WARNING: Before attempting any of the assembly steps below, ensure product
is switched off and disconnected from the power supply.
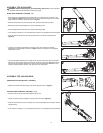
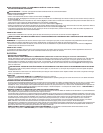
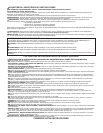
BLOW TUBE ASSEMBLY (FIGURES 1-4)
• Ensure grill cover is attached to the power head. If not, attach cover as shown in the
inset of figure 1. NOTE: Unit will not operate in blow mode without grill cover in place.
Align the upper and lower tubes as shown in figure 1.
• Push the lower tube firmly into the upper tube, until the tubes click into place.
• Blow tubes must be assembled to the power head before use.
• Never operate without both lower and upper tubes assembled.
• In the interest of safety, it is not intended for the tubes to be separated once assembled.
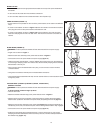
• Push the tube assembly onto the power head until it is in the fully locked position
(figure 2).
• Use the air concentrator attachment to target air flow to a tighter area. Add the
attachment to the assembly as shown in figure 3. Push on until hole in tab engages
raised post on tube.
• Use the leaf blaster attachment to rapidly move air back and forth to remove stubborn
debris from grassy areas. Add the tube to the assembly as shown in figure 4. Push on
until hole in tab engages raised post on tube. To lock the leaf blaster attachment and
reduce the back and forth motion, push forward on the locking tab.
ASSEMBLY FOR VACUUM MODE
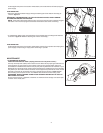
SHOULDER COLLECTION BAG (FIGURE 5)
• Attach the shoulder collection bag to the power head as shown in figure 5.
VACUUM TUBE ASSEMBLY (FIGURES 6, 7, 8)
• Vacuum tubes must be assembled together before use.
• Align the notches and the triangles on upper and lower tubes. (figure 6)
• Push the lower tube firmly into the upper tube, until the triangles click into place. (Never
operate apart).
• In the interest of safety, it is not intended for the tubes to be separated once assembled.
3
2
1
4
5
6
4


