Part No. 430316 Form No. F083100A
Page 6 of 12
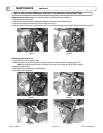
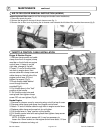
When you lock the lever, the default position of air director is in the
middle or straight out. If you want to raise or lower air director lock
position you must adjust the threaded fitting on the cable.
ADJUSTING AIR DIRECTOR
16.4
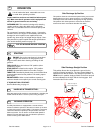
This position directs the air stream down at the ground to
allow the operator to deliver the maximum power to debris
that is stuck or difficult to remove. This position is also
very useful for cleaning out cracks and expansion joints in
pavement.
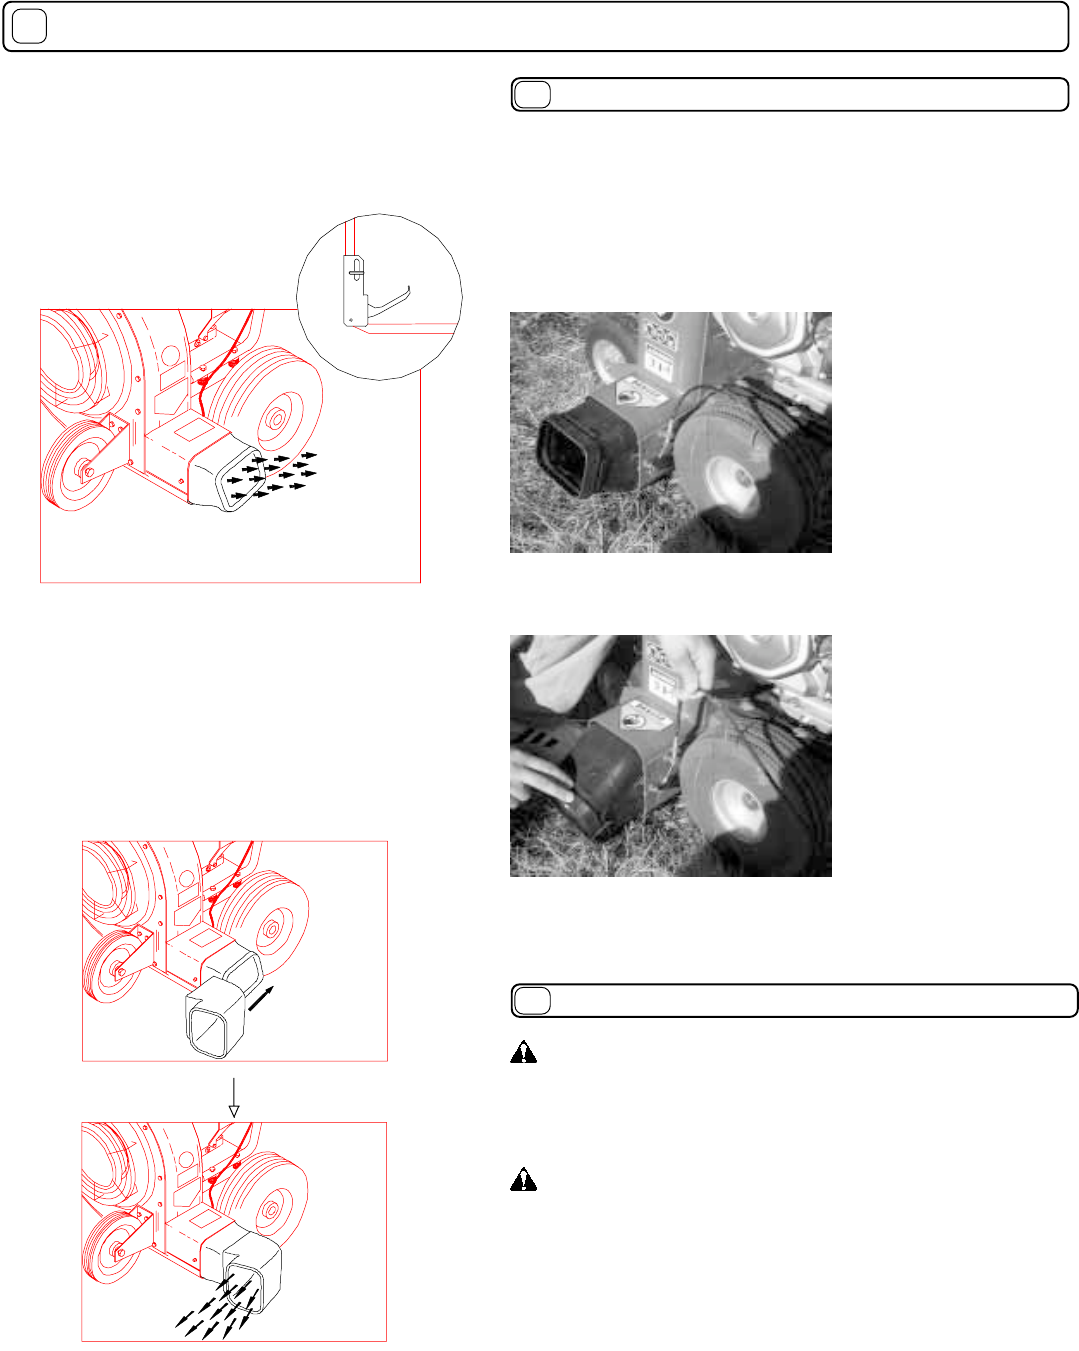
Side Discharge Down Position
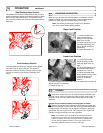
Front Discharge Position
The removable front discharge adapter can be slipped
on to direct the air stream forward. This option is
extremely useful for cleaning out long cracks in pave-
ment or for cleaning under bushes or building over-
hangs.
OPERATION continued
16
Never store engine indoors or in enclosed poorly ventilated areas
with fuel in tank, where fuel fumes may reach an open flame, spark or
pilot light, as on a furnace, water heater, clothes dryer or other gas
appliance.
If engine is to be unused for 30 days or more, prepare as follows:
Remove all gasoline from carburetor and fuel tank to prevent gum
deposits from forming on these parts and causing possible malfunction
of engine. Drain fuel outdoors, into an approved container, away from
open flame. Be sure engine is cool. Do not smoke. Run engine until
fuel tank is empty and engine runs out of gasoline.
NOTE: Fuel stabilizer (such as Sta-Bil) is an acceptable alternative
in minimizing the formation of fuel gum deposits during storage. Add
stabilizer to gasoline in fuel tank or storage container. Always follow
mix ratio found on stabilizer container. Run engine at least 10 min.
after adding stabilizer to allow it to reach the carburetor.
STORAGE16.5
1. Lock the air director in
place at the handle by
pulling on the lever then
slide it over to right.
2. Loosen the top nut on the
threaded cable fitting until
the air director position is
satisfactory.
3. Tighten the bottom nut.
1. Lock the lever at the
handle by pulling on the
lever then slide it over to
right.
2. Loosen the bottom nut on
the threaded cable fitting
and back it off 1/4 inch.
3. Pull the threaded cable
fitting up while pushing down
on the air director then
check for air director
position.
4. Loosen or tighten the same bottom nut then repeat step 3 until the air
director position is satisfactory.
5. Tighten the top nut.
Raise Lock Position
Lower Lock Position
Note: You will not get full range of motion of air director If
you raise or lower default locking postion.


