GB - 20
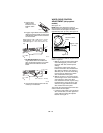
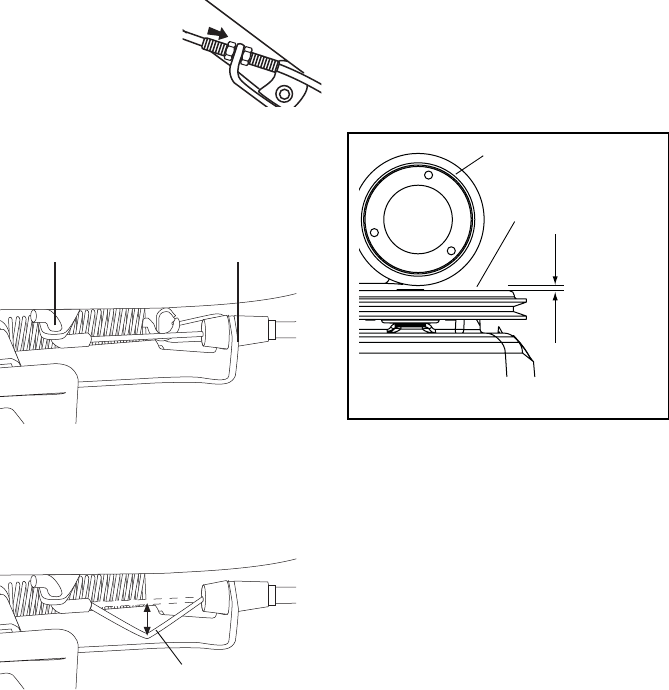
5. Tighten upper
cable nut until
bracket is secure
between cable
nuts.
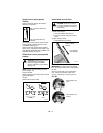
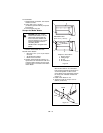
6. Engage engine/blade control. Measure
distance between middle of z-bend and
cable bracket. Measurement should be
as shown below.
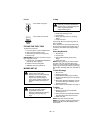
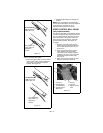
7. For Honda engines: Disengage
engine/blade control and make sure
there is adequate freeplay in the cable.
Measurement should be as shown
below.
8. If correct measurement cannot be set,
contact your local dealer.
WHEEL DRIVE CONTROL
ADJUSTMENT
(self-propelled
models)
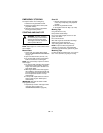
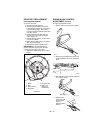
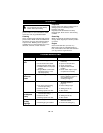
See Figure 16.
NOTE: When the wheel drive control is
disengaged, the gap between the friction disc
and the aluminum drive plate should be
approximately .030" (0.7mm). See Figure 16.
Check the adjustment with the engine off and
with the engine on:
1. With the engine off and the wheel drive
control disengaged, push the mower
forward in both fast and slow speed
settings.
If the mower pushes freely, the gap
between the friction disc and aluminum
drive plate is sufficient. If the mower is
difficult to push or the rear wheels drag,
increase the gap between the friction
disc and aluminum drive plate.
2. With the engine on, the mower should
start moving as soon as the wheel drive
control begins to pull on the cable.
If the wheel drive control requires a long
travel before the mower begins to pull,
decrease the gap between the friction
disc and aluminum drive plate.
To increase the gap between the friction disc
and the aluminum drive plate:
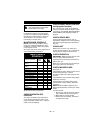
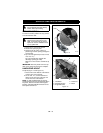
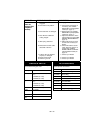
1. Loosen the lower cable nut on the wheel
drive control cable, and then tighten the
upper cable nut against the adjuster
bracket. See Figure 17.
OM1030
OM1051
Briggs Engines:1.325"-1.788" (3.4 cm - 4.5 cm)
Honda Engines: 1.65"-1.69" (4.2 cm - 4.3 cm)
Kawasaki Engines: 1.125"-1.375" (2.8 cm - 3.5
cm)
0.4" – 0.6" (10 – 15 mm)
OM1052
Figure 16
Approx. .030
"
(0.7mm)
Friction Disc
Aluminum Drive
Plate


