EN - 24
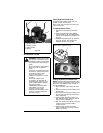
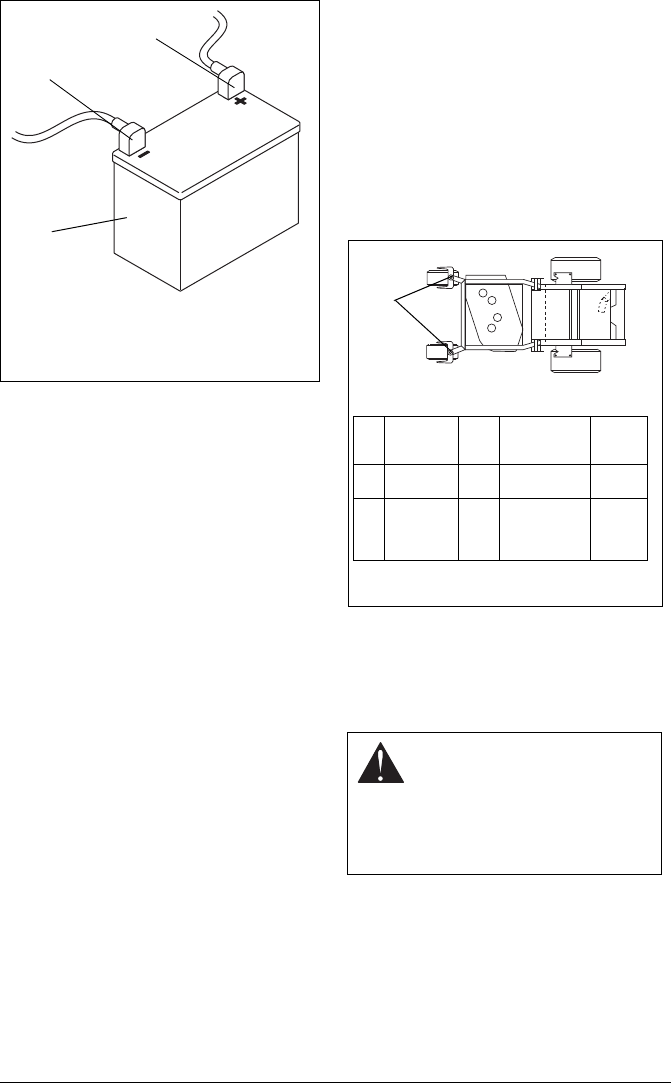
1. Remove battery from unit. See Remove
Battery on page 23.
2. Clean terminals and battery cable ends
with wire brush.
3. Coat terminals with dielectric grease or
petroleum jelly.
4. Replace battery. See Replace Battery on
page 23.
Charging the Battery
Battery Electrolyte First Aid
Follow First Aid directions for contact with
battery fluid.
• External Contact: Flush with water.
• Eyes: Flush with water for at least 15
minutes and get medical attention
immediately!
• Internal Contact: Drink large quantities
of water. Follow with Milk of Magnesia,
beaten egg or vegetable oil. Get
medical attention immediately!
In case of internal contact, DO NOT induce
vomiting!
IMPORTANT: DO NOT fast charge. Charging
at a higher rate will damage or destroy
battery. ONLY use an automatic charger
designed for use with your battery.
ALWAYS follow information provided on
battery by battery manufacturer. Contact
battery manufacturer for extensive
instructions to charge battery.
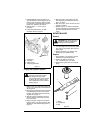
1. Remove battery from unit. See Remove
Battery on page 23.
2. Place battery on bench or other well-
ventilated place.
3. Connect positive (+) lead of charger to
positive (+) terminal, and negative (–)
lead to negative (–) terminal.
4. Charge battery according to charger and
battery manufacturers’ instructions.
5. Replace battery. See Replace Battery on
page 23.
Jump-Starting
Ariens does not recommend jump-starting
your unit. Jump-starting can damage engine
and electrical system components. See your
engine manual for more detailed information.
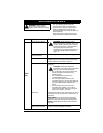
LUBRICATE UNIT
Apply oil at all pivot points and pin
connections.
STEERING CONTROL NEUTRAL
ADJUSTMENT
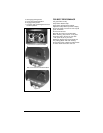
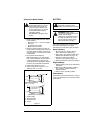
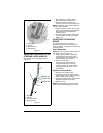
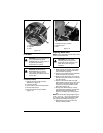
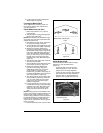
Eliminating Excessive Creeping of
the Unit (Figure 12)
1. If hydraulic system is cold, run unit for a
minimum of five minutes, then shut OFF
engine.
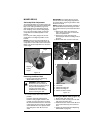
2. With the unit up to and facing a wall, jack
up the unit so that both drive wheels are
off the ground.
3. Remove the drive wheels from the unit.
4. Start the engine, run engine at full
throttle, and release the parking brake.
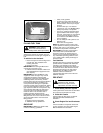
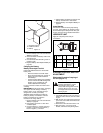
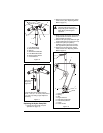
Figure 10
1. Negative terminal
2. Positive terminal
3. Battery
1
2
3
WARNING: This adjustment
requires operating the engine.
Use extreme care to avoid
contact with moving parts and hot
surfaces. Be sure rear of unit is
well supported and secure before
starting engine.
R
E
F
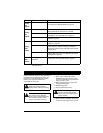
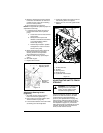
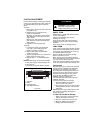
LUBRICA-
TION
QTY LOCATION INTER-
VAL
1 REPACK 2 CASTER
PIVOT
400 Hrs
OIL ALL PIVOT
POINTS, PIN
CONNEC-
TIONS
50 Hrs
1
Figure 11


