GB - 15
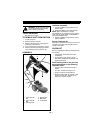
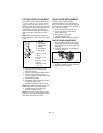
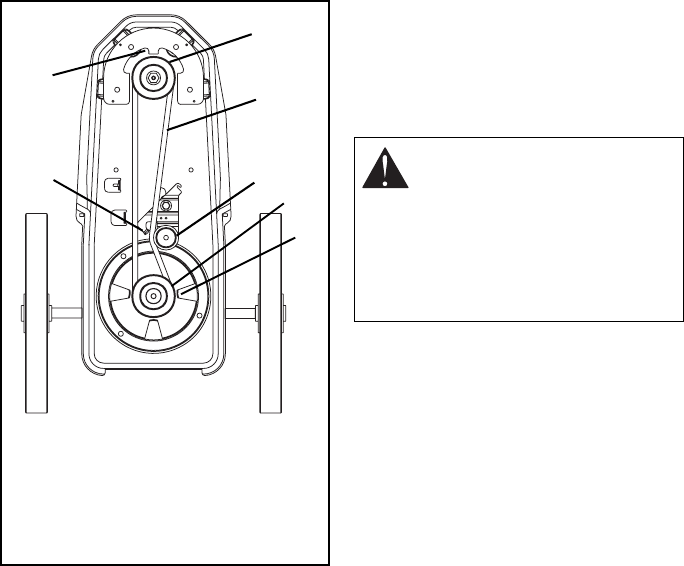
To remove the old belt:
1. Stop the engine and wait for all moving
parts to stop. Disconnect the spark plug
wire and place it securely away from the
spark plug.
2. Place unit in service position (see
Maintenance section).
3. Remove the six (6) hex washer head
screws and the trimmer shield.
4. Remove the four (4) hex washer head
screws on the top side of the frame. The
jackshaft assembly, belt fingers and
jackshaft spacers will now be loose.
5. Remove the v-belt from the jackshaft
pulley.
6. Remove the capscrew and lock washer
from the engine sheave.
7. Lower the engine sheave past the belt
fingers and remove the belt.
To install the new belt:
1. Slide the new belt over the groove in the
engine sheave and slide the sheave
against the engine. Make sure the belt is
in the groove and is inside the belt fingers.
2. Install the capscrew and lock washer.
Tighten securely.
3. Slide the belt between the idler and belt
finger on the idler bracket.
4. Install the four tapping screws in the holes
in the frame, from the top side of the
frame.
5. Install the four jackshaft spacers on the
tapping screws.
6. Install the belt finger. Make sure the bent
tabs are facing up and are to the sides
and front of the unit.
7. Install the belt in the groove of the
jackshaft pulley.
8. Attach the jackshaft assembly to the
frame with the four tapping screws.
Fasten securely.
9. Reinstall the trimmer shield with the six
tapping screws.
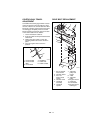
4
3
2
1
7
6
5
1. Engine sheave
belt fingers
2. Engine sheave
3. Idler
4. Idler belt finger
5. V-belt
6. Jackshaft
pulley belt
fingers
7. Jackshaft
pulley
OX0100
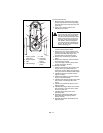
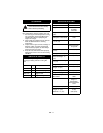
CAUTION: Before tipping unit,
remove enough fuel so no spillage
will occur. A piece of plastic bag
may be used to seal fuel tank when
tipping unit. To seal, remove fuel
tank cap, cover fuel tank opening
with plastic, replace and tighten
cap securely before attempting to
tip unit. Be sure to remove plastic
before operating unit.


