GB - 23
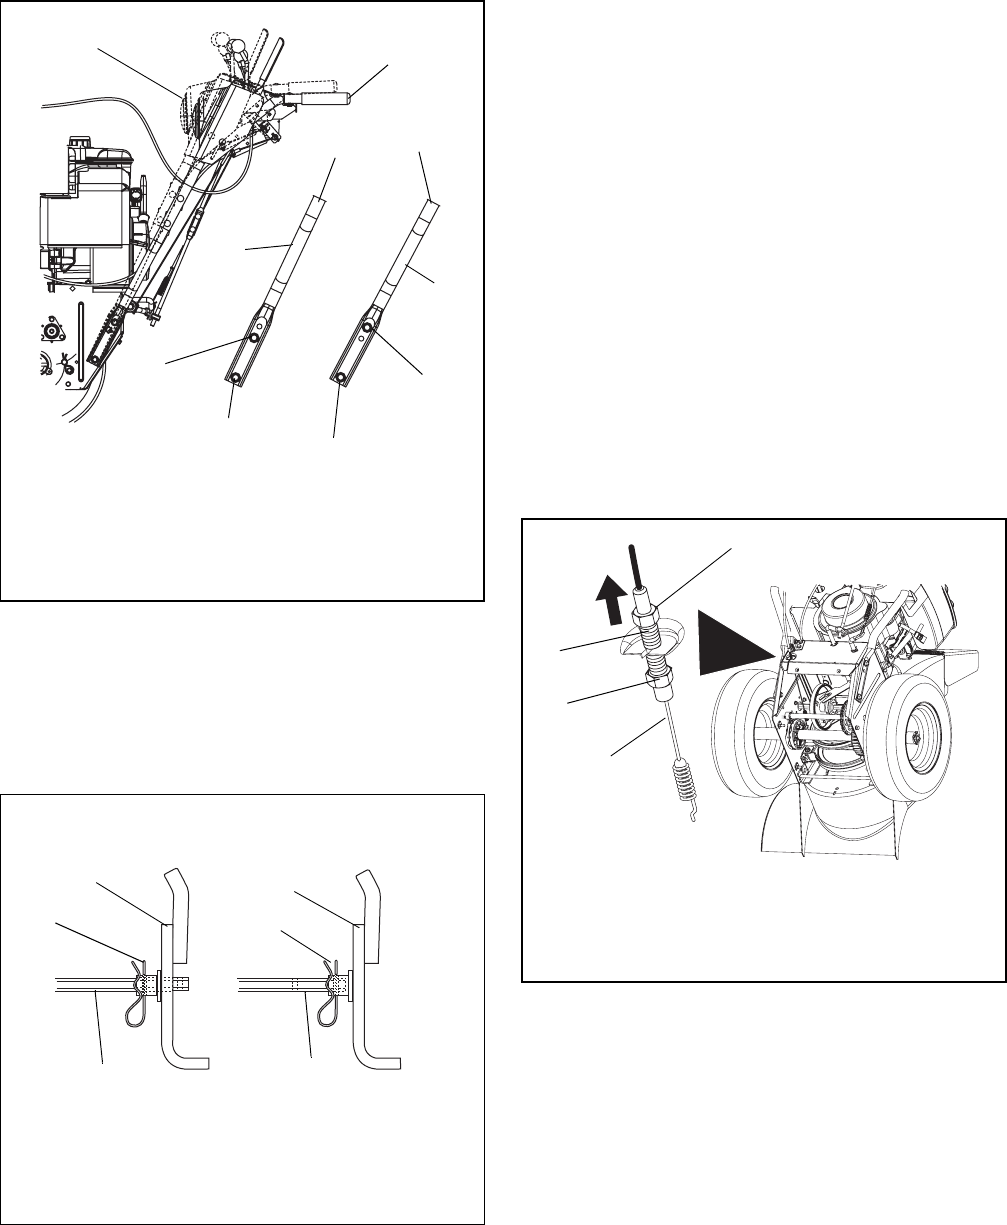
NOTE: Insert the hair pin with the loop end on the left
side of the chute rod so the control lever will cover its
full range of travel.
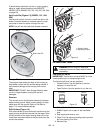
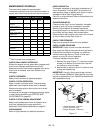
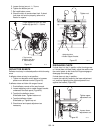
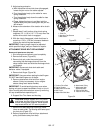
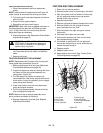
6. Align correct chute rod holes in chute control
assembly as shown in Figure 22, and then secure
chute rod in position with hair pin remove in
step 1.
7. Check and adjust attachment clutch, speed
selector and traction clutch. See Attachment
Clutch/Brake Adjustment on page 25, Speed
Selector Adjustment on page 25 and Traction
Drive Clutch Adjustment on page 26.
8. Re-install bottom cover.
REMOTE DIFFERENTIAL (926004, 005,
006, 300, 301, 500, 501)
If remote differential does not lock:
1. Place unit in service position (see Service
Position on page 19).
2. Remove bottom cover.
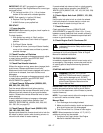
3. Loosen jam nuts on cable. Make sure the bottom
jam nut is loosened enough to remove slack from
cable.
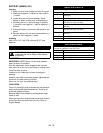
4. Pull the cable adjuster to remove slack between
the cable adjuster and the extension spring and
hold the cable adjuster in position while tightening
the top jam nut against the unit frame. Do not
extend the spring or engage the mechanism.
5. Tighten the bottom jam nut.
6. Re-install bottom cover.
7. Check function of remote differential. If remote
differential does not function properly, take unit to
Dealer for repairs.
REMOTE WHEEL LOCK (926002, 003, 102,
103, 302, 303, 304)
If remote wheel lock does not lock or unlock:
1. Place unit in service position (see Service
Position on page 19).
2. Remove bottom cover.
3. Loosen jam nuts on cable. Make sure the bottom
jam nut is loosened enough to remove slack from
cable.
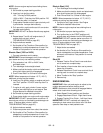
4. Pull the cable adjuster to remove slack between
the cable adjuster and the extension spring and
hold the cable adjuster in position while finger
tightening the top jam nut against the unit frame.
Do not extend the spring or engage the
mechanism.
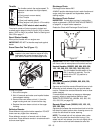
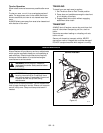
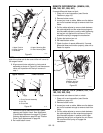
Figure 21
1.Upper Position
2.Lower Position
3.Handlebar
4.Upper Mounting Bolt
5.Lower Mounting Bolt
1
2
3
4
3
5
5
4
1
2
OS7155
Figure 22
1.Chute Control Assembly
2.Hair Pin
3.Chute Rod
2
1
1
2
3
3
Upper Position Lower Position
OS7160
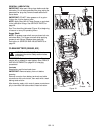
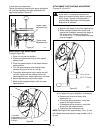
Figure 23
No Slack
3
1.Top Jam Nut
2.Bottom Jam Nut
3. Cable Adjuster
1
2
OS7165


