10
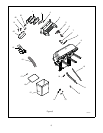
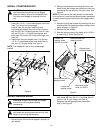
INSTALL COUNTERWEIGHTS
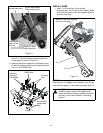
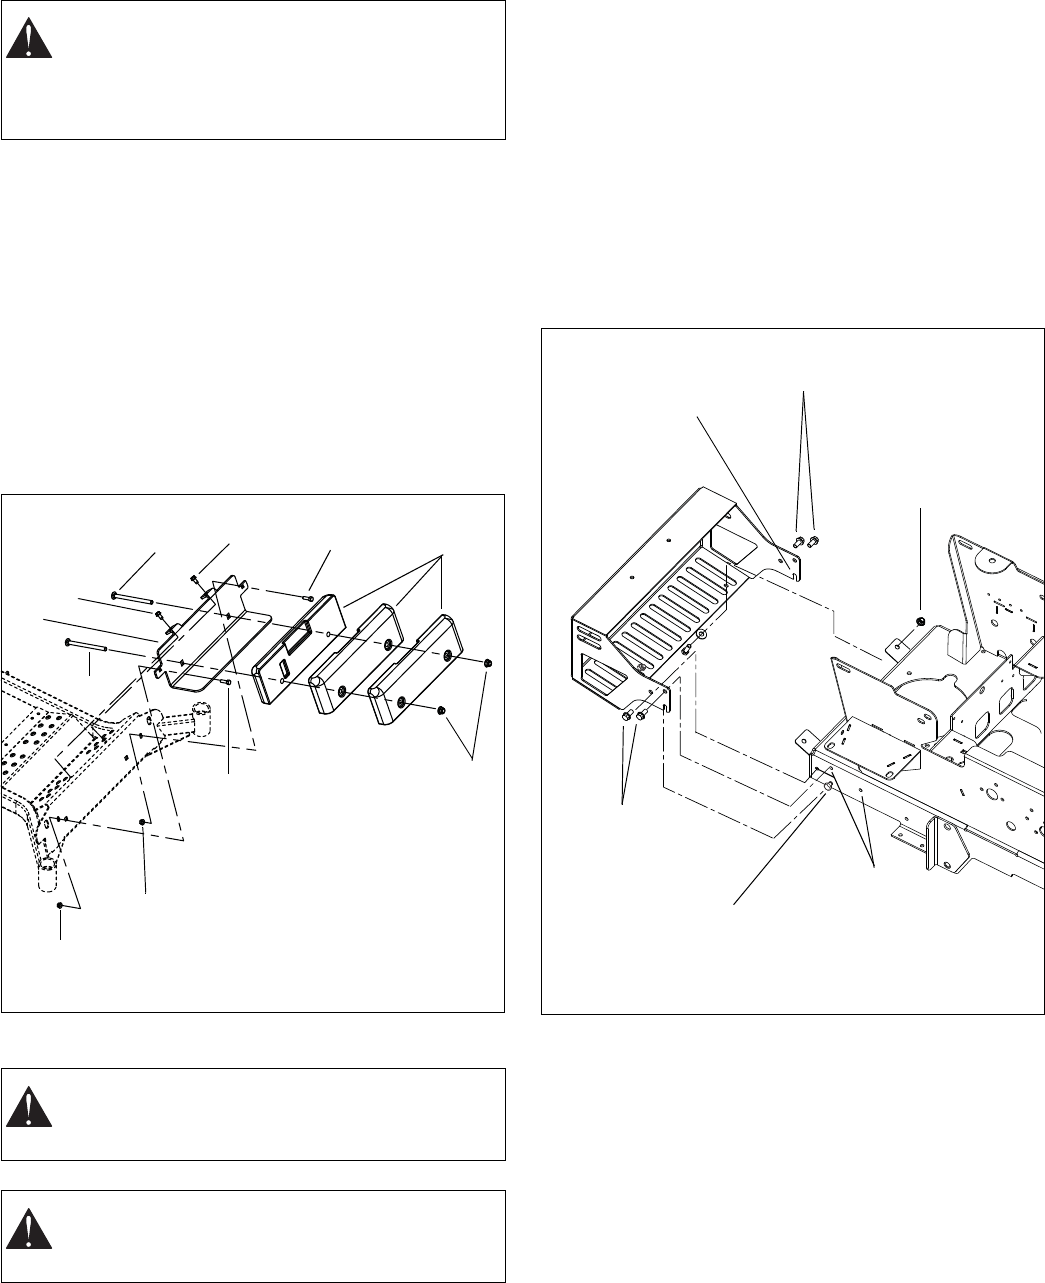
1. Insert two 1/2-13 x 7 round head square neck bolts
(item 2) in the cz-hd counterweight
bracket (item 20) and then install the cz-hd
counterweight bracket (item 20) on the unit frame
with two 3/8-16 x 3/4 tapping screws (item 21) and
with two 3/8-16 x 1-1/4 round head square neck
bolts (item 22) and two 3/8-16 top-lock flange nuts
(item 23).
2. Install three cast iron weights (item 1) on the two
1/2-13 x 7 round head square neck bolts (item 2)
with two 1/2-13 nyloc flange nuts (item 3).
NOTE: The weights will rest on the counterweight
bracket.
INSTALL BAGGER MOUNT
1. Raise the rear of the unit and support it securely on
jack stands.
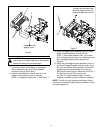
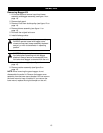
2. Remove the hardware connecting the lower heat
shield to the rear bumper and remove the lock nuts
connecting the heat shield to the main frame. See
Figure 5.
NOTE: Do not remove the heat shield or the hex bolts
from the frame. Leave the heat shield loosely assembled
to make connecting the heat shield to the bagger mount
easier.
3. Remove original rear bumper by removing four and
loosening two of the tapping screws holding it to the
frame as shown in Figure 5.
4. Remove the rear wheels.
5. Bore the existing holes in the frame rail to 13/32 in.
to accept 3/8 in. bolts. See Figure 5.
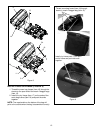
6. Install the bagger mount weldment (item 4) on the
main frame with four 3/8-16 x 1 hex bolts (item 5)
and four 3/8-16 nyloc flange nuts (item 6).
Retighten the two tapping screws loosened in
step 3. See Figure 6.
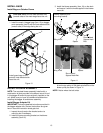
CAUTION: Always install counterweights on the
front axle before operating unit with bagger
attached. Always remove counterweights from
front axle when bagger is removed from the
unit.
CAUTION: Support rear bumper and bagger
mount when removing and installing
components.
CAUTION: ALWAYS block wheels and know all
jack stands are strong and secure and will hold
weight of unit during maintenance.
Figure 4
23
22
23
22
1
3
2
2
20
21
21
Figure 5
Remove these two
tapping screws.
Remove these two
tapping screws.
Loosen this
tapping screw.
Loosen the
tapping screw
that fits in the slot.
Bore these three
holes to 13/32 in.
Remove heat
shield hardware.


