


TOOLS YOU WILL NEED
CHECK BOX FOR THESE CONTENTS
PLEASE READ COMPLETELY BEFORE YOU BEGIN ASSEMBLY
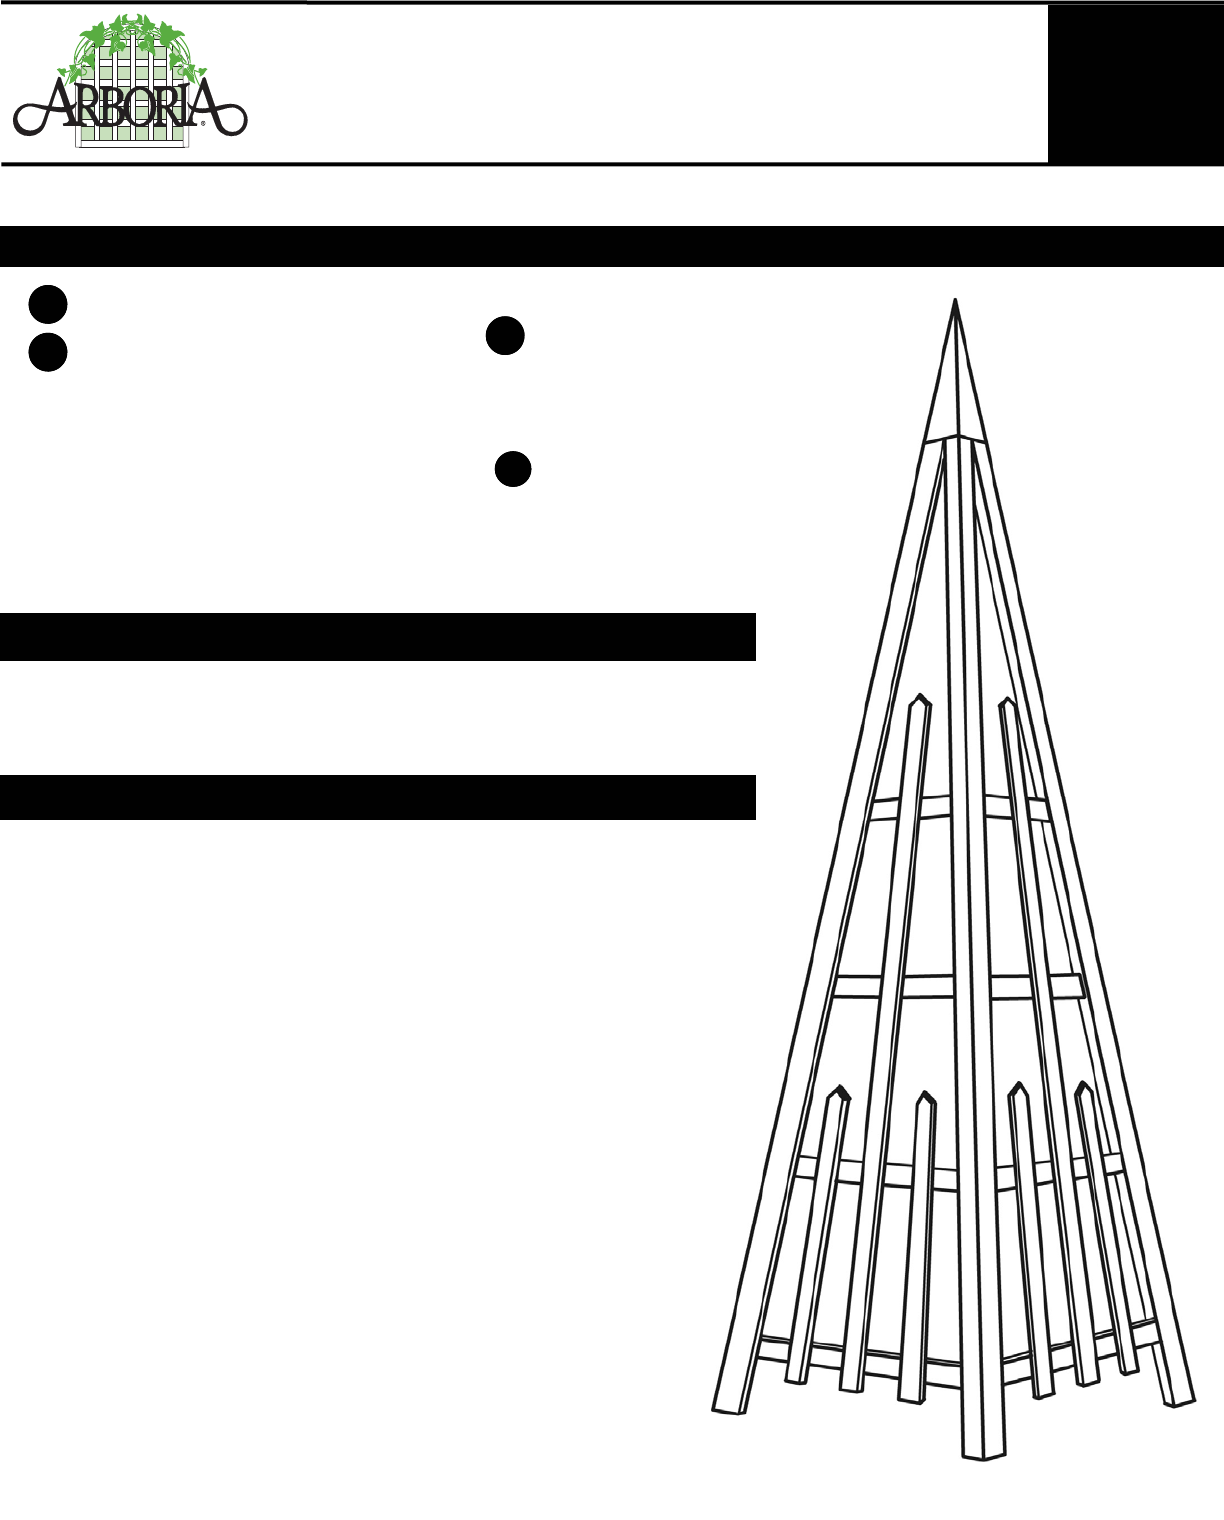
Pyramid Trellis
ASSEMBLY INSTRUCTIONS
8
PRELIMINARIES
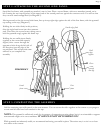
Solid Cedar Cap Piece (1)
Triangular Trellis Panels (4)
1
2
• Phillips screwdriver (electric driver recommended)
If you wish to paint or stain your trellis...
IF YOU PLAN TO PAINT:
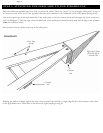
WORK AREA
A clean, flat work surface (floor, sidewalk, driveway or benchtop) is
preferred for Step 1.
PLEASE NOTE: While screw holes are pre-drilled, there are no
pilot holes in the wood into which the screws are to be driven. This
is because cedar accepts screws very easily and we want to ensure
that each screw gets maximum “bite”. Be sure to hold both pieces
of wood firmly in position when starting each screw. Make sure you
are driving them in straight, particularly into the edges of the corner
support pieces.
HARDWARE
- 1 5/8” Wood screws (28)
1
2
445.35.41
8/04