


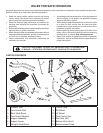
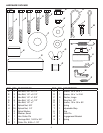
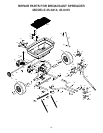

7
CALIBRATING FLOW CONTROL ARM
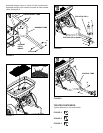
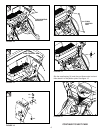
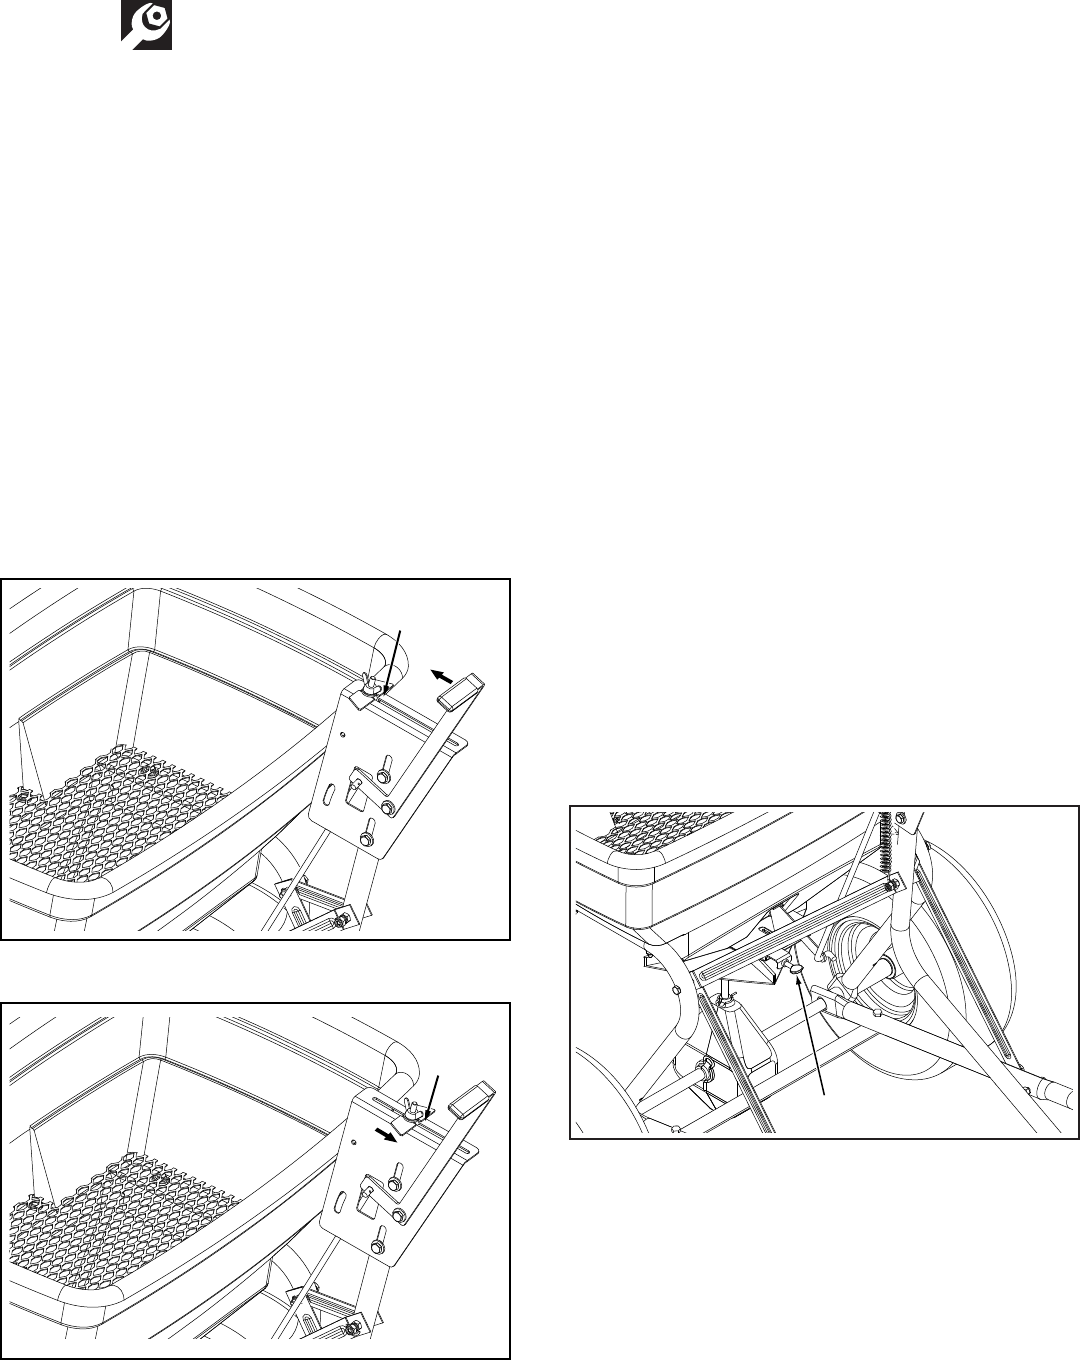
Flow control mounting bracket (gure 16 and 17)
a. Setadjustablestopat"OFF"position.Moveowcontrol
arm against adjustable stop.
b. Slideowcontrolmountingbracketalongcontroltube
until closure plate in bottom of hopper just closes.
c. Snugthenutsjustenoughtoholdowcontrolmounting
bracket in place.
d. Setadjustablestopat"5".Withowcontrolarmresting
against stop, verify that closure plate is open about half
way.
e. Ifclosureplateisnotopenabouthalfway,slideow
control mounting bracket up or down control tube until
closure plate will open about half way at "5" and will
close completely when arm is pushed past adjustable
stop to "OFF" position. Tighten the 5/16" nylock hex
nuts.
"5"
"OFF"
FIGuRE 16
FIGuRE 17
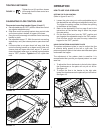
OPERATION
HOW TO uSE YOuR SPREADER
SETTING THE FLOW CONTROL
(Refertogure16and17)
1. Loosen the nylon wing nut, set the adjustable stop to
thedesiredowratesettingandretightenthewingnut.
The higher the setting number, the wider the opening
in the bottom of the hopper.
2. Refer to the Application Chart on page 8 and to the
instructions on the fertilizer bag to select the proper
owratesetting.
3. Pulltheowcontrolarmfromthe"OFF"positionand
rest it against the adjustable stop for the “ON” position.
Push the ow control arm past the stop, toward the
hopper for the “OFF” position.
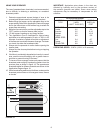
uSING THE PATTERN ADJuSTMENT PLATE
The pattern adjustment plate is used to adjust the ow
of material being spread to the left or right side. The
pattern adjustment plate is the bottom stainless steel plate
underneath the hopper.
The adjustment of the pattern plate is sensitive. It is
recommended that you test your spread pattern in a small
arearst.
1. Toadjusttheowtobeheaviertotheleftside,tighten
the thumbscrew so the plate will not pull out as far.
Seegure18.
2. To adjust the ow to be heavier to the right side,
loosen the thumbscrew so the plate will pull out farther.
Seegure18.
FIGuRE 18
THUMB SCREW
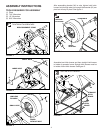
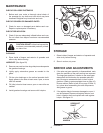
FIGuRE 11
TIGHTEN FASTENERS
Tighten the nut (H) and then loosen
justenoughthattheowcontrolarm
moves freely.