


12
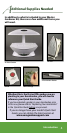
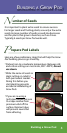
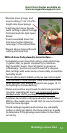
Building a Grow Pod
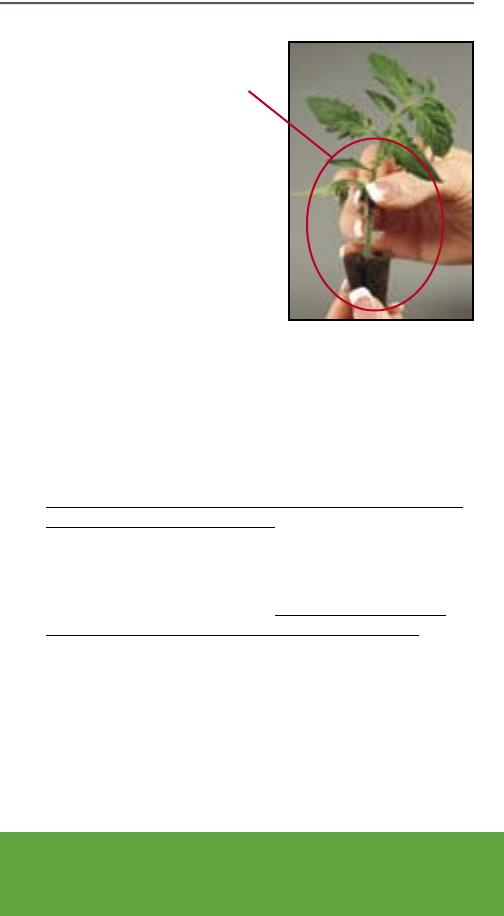
• Moisten Grow Sponge and
insert cutting 1/3 to 1/2 of its
length into Grow Sponge.
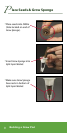
• Carefully push Grow Sponge
(with cutting in place) through
Pod Label and into Split-Apart
Basket.
• Insert assembled Grow Pod
into Grow Surface Opening
(see page 13 for instructions).
• Repeat above steps with each
cutting and Grow Pod.
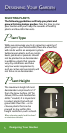
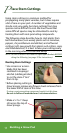
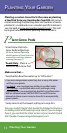
With all Grow Pods placed in Grow Surface…
• Completely cover Grow Pods using a clear plastic bag
(1-gallon size), or plastic container(s) to maintain
high humidity levels. Cover all plants in groups or
individually – just be sure each Grow Pod is covered.
Mist cuttings with water once or twice daily to maintain
humidity levels.
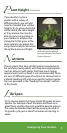
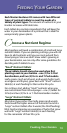
• Do not add nutrient tablets until you see roots extend
from bottom of Grow Sponges. Once roots extend from
Grow Sponges, start adding nutrients (see pages 14-15
for feeding recommendations).
• Plants are sensitive to pH levels. To eliminate potential
concerns regarding pH levels, we recommend using
distilled water UNTIL you begin adding nutrients.
• Continue to monitor cuttings and water level in Bowl.
Within a few weeks you should start to see roots extend
from the Grow Sponges.
• Check cuttings regularly and remove any unhealthy
(rotten or dried up) plants. Use these plants as a guide
to determine if the growing environment is too moist
or too dry.
Quick Start Guides available at:
www.aerogardensupport.com