


Touch and hold the “SET” button for 3 seconds to enter in to SET MODE.
Once in set mode, the preference you are currently setting will blink on the
display.
To adjust the currently selected (flashing) preference item, touch the “ ”
or “ ” buttons. (touch and HOLD to fast adjust).
To save your adjustments, touch the “SET” button again to move on to
adjusting the next preference. The preference set order is as follows:
TME ZONE (PST MST CST EST AST HAS AKS)
DST (Daylight Saving Time ON or OFF)
CLOCK HOUR
CLOCK MINUTE
CALENDAR MONTH
CALENDAR DATE
CALENDAR YEAR
TEMPERATURE SCALE (ºF or ºC)
BAROMETRIC PRESSURE SCALE (inHg or hPa)
You will automatically exit SET MODE if no buttons are touched for 30
seconds. You may enter basic setup mode again at any time by touching the
“SET” button.
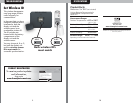
Display Unit : Basic Setup
43
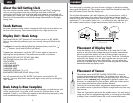
SETUP PLACEMENT
Place the display unit in a dry area free of dirt and dust. To help
ensure an accurate indoor temperature and humidity measurement,
be sure to place the display unit out of direct sunlight, and away
from any heat sources or vents in your home. There are 2 placement
options for the display unit. You may hang the main unit on a wall
using the integrated hang hole. Alternatively, you may place the
main unit on a table top or other flat surface using the the included
detachable table top display stand.
Placement of Display Unit
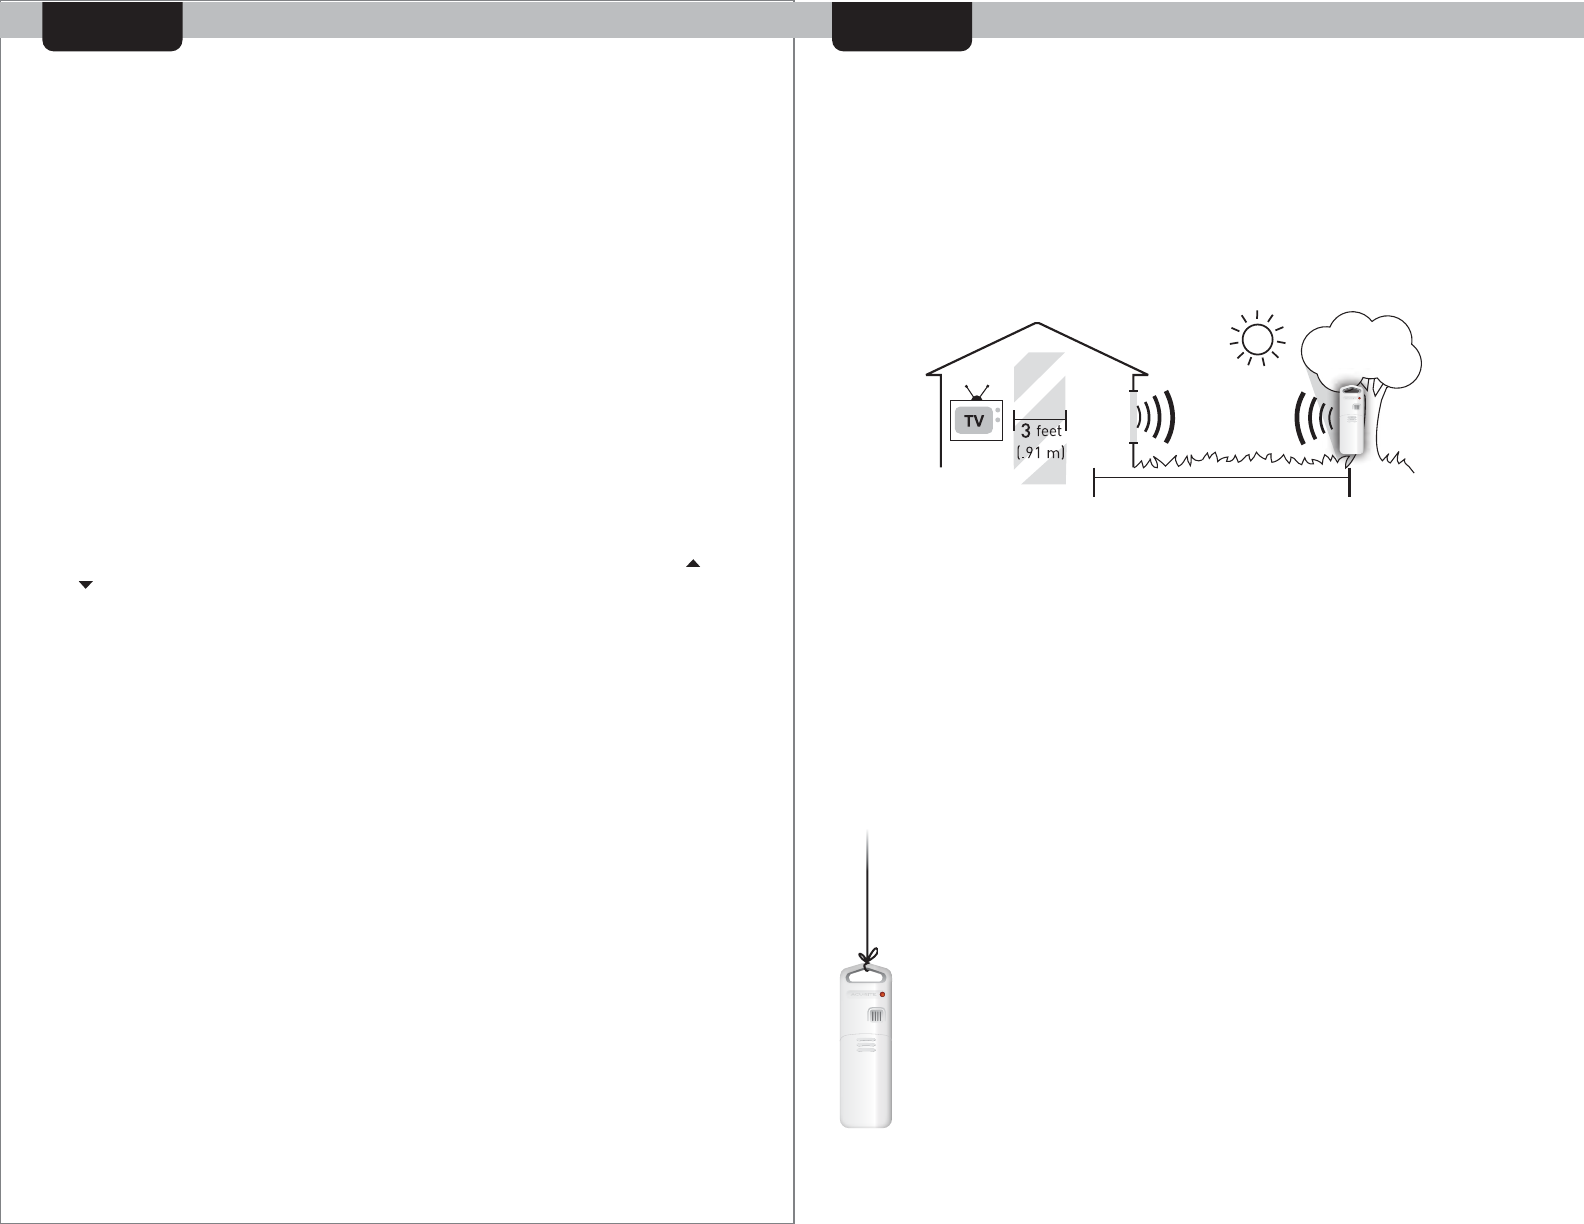
Now that setup is complete, you must choose a location to place the wireless
sensor and the display unit. The wireless sensor MUST be placed less than 330
feet (100 meters) away from the display unit.
This wireless thermometer uses radio frequency for communication, which is
susceptible to interference from other electronic devices and large metallic
items or thick walls. Always place both units at least 3 feet (.91 m) away from
appliances ( TV, microwave, radios, etc. ) or objects that may interfere with
the wireless communication ( large metal surfaces, thick stone walls, etc. ).
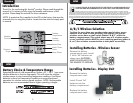
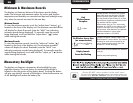
About the Self-Setting Clock
Touch Buttons
Your new wireless weather station is equipped with Intelli-Time
®
technology
which is pre-programmed with the correct time and date. Intelli-Time
®
technology instructs the clock to self set itself once batteries are installed. All
you need to do is select your Time Zone and Daylight Saving Time preferences.
The clock will automatically set itself and change automatically for Daylight
Saving Time.
Your new wireless weather station is equipped with touch sensitive buttons on
the front of the housing. These buttons require only a light touch to use.
Basic Setup is Now Complete
The wireless sensor will soon send a signal to the display unit and the two units
will be synchronzied. It may take a few minutes for synchronization to be
complete. If both or one of hte units appear to be functioning improperly, refer
to the troubleshooting section in this manual.
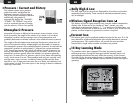
(100 meters)
(330 feet maximum)
The wireless sensor MUST BE PLACED OUTDOORS to observe
outdoor temperatures and humidity. The wireless sensor must be
placed less than 330 feet (100 m) from the display unit. The wireless
sensor is water resistant and is designed for general outdoor use.
However, to extend the life of the product, place the wireless sensor
in an area protected from direct weather elements.
To ensure an accurate outdoor temperature measurement, be sure
the wireless sensor is placed out of direct sunlight and away from any
heat sources.
There are 2 placement options for the wireless sensor. You may hang it
using one of the two integrated hang holes, or use string (not included)
to hang it from a suitable location like a well covered tree branch.
Placement of Sensor