HY70OM-8/99
18
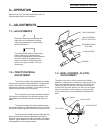
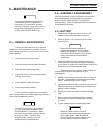
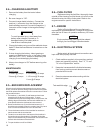
8.4CHARGING A BATTERY
1. Remove the battery from the tractor before
charging.
2. Be sure charger is Off.
3. Connect charger leads to battery. Connect the
positive (+) connector from the charger to the
positive battery terminal. Connect the negative ()
connector of the charger to the negative battery
terminal.
To avoid possible injury, stand away from
battery when charger is turned on. A
damaged battery or a battery with an
internal short could explode.
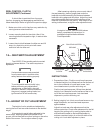
4. Charge the battery using one of the methods shown
below. Follow the manufacturers instructions on the
charger.
5. If when charging the battery, violent gassing or
spewing of electrolyte occurs, or the battery case
feels hot (125 F- 52 C), reduce or temporarily halt
charging to avoid damaging the battery.
6. Always turn charger to Off before removing a the
battery.
MAINTENANCE:
Slow Charge Fast Charge
10 hours @ 5 amps 2-1/2 hours @ 20 amps
5 hours @ 10 amps 1-1/2 hours @ 30 amps
1 hour @ 45 amps
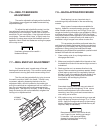
8.6FUEL FILTER
Before servicing the fuel filter, thoroughly clean
outside of filter housing and fuel hoses, dirt must not be
allowed to enter into fuel or fuel system. Refer to the
engine manual for specific instructions.
8.7ENGINE
Refer to Engine Manual for manufacturers
maintenance recommendations. Change oil and oil filter
after the first 25 hours of operation and every 150 hours
thereafter.
Engine replacement parts should be ordered
through your local Briggs & Stratton dealer.
8.8ELECTRICAL SYSTEM
Make certain all terminals and connections are
kept clean and properly secured.
1. Check switches regularly to be sure they are kept
clean and operating correctly. See 7.2, 7.3 and
7.4 in the Adjustments section.
2. Keep wire harness and all individual wires away
from moving parts to prevent abrasive wear or
potential short circuits.
3. Exercise extreme care when working with the
electrical system.
NOTE
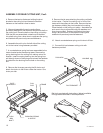
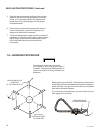
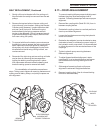
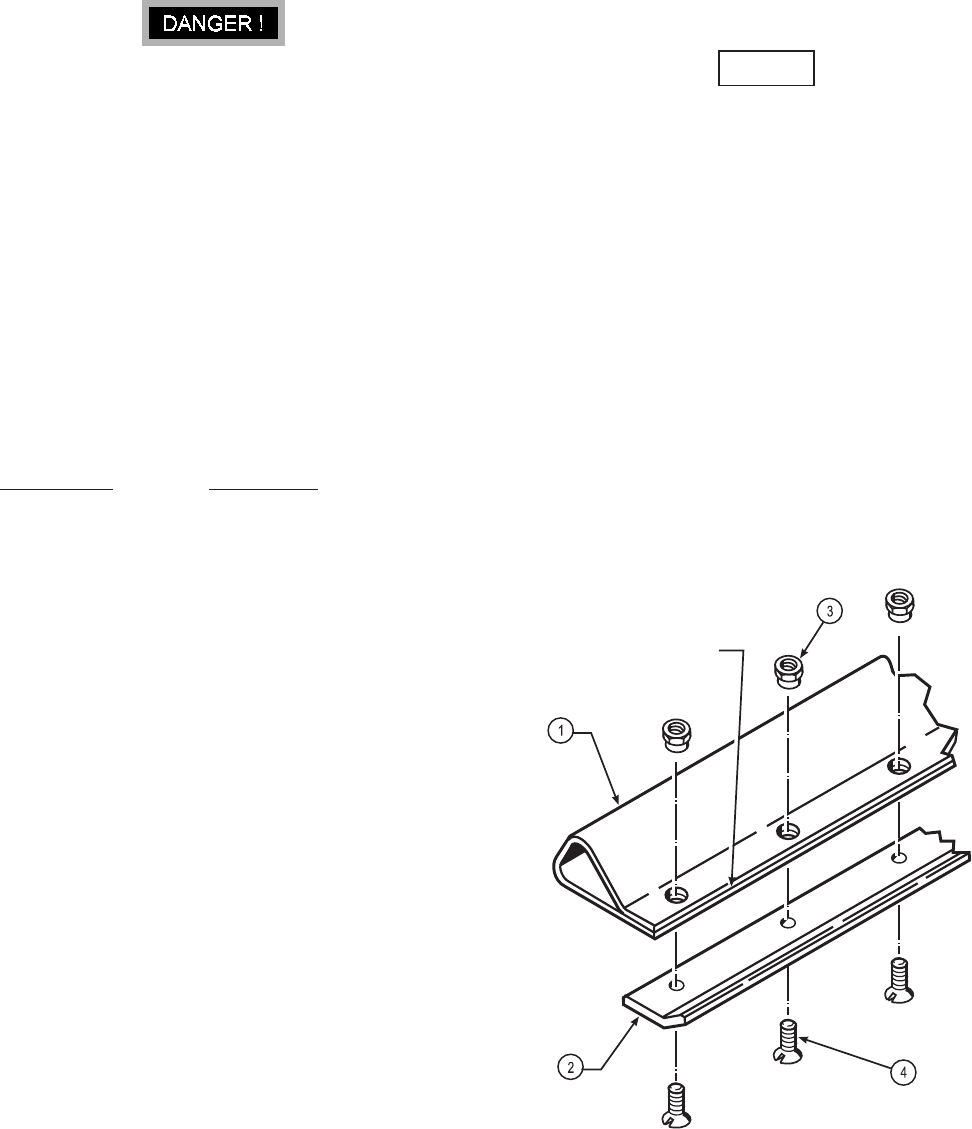
8.5BED KNIFE REPLACEMENT
When the bed knife becomes damaged or too worn to keep
sharp, it must be replaced. Design improvements have made
bed knife replacement easier with bolt-on construction. Follow
the procedure below.
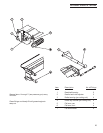
1. The backbar (1), bed knife (2) and fasteners have been
assembled at the factory under tension. To ease
replacement and prevent misalignment of components, the
leading edge of the backbar must be tack welded two or
three places before the old fasteners are removed.
2. Remove shoulder nuts (3) and flat head screws (4). If
shoulder nuts are badly rusted or corroded, they may have
to be cut off and screws driven out to be removed.
3. Clean the bottom surface of the backbar for maximum
metal contact with the new bed bar.
4. Fasten the new bed knife to the bottom of the backbar in
the position shown (bent edge up). Shoulder of shoulder
nuts must be seated firmly in the backbar and screws must
be flush with the bottom of the bed knife.
5. Torque shoulder nuts 35 to 40 ft/lbs.
Tack weld this edge


