


ASSEMBLY
10
1740274
PARTS BAGS CONTENTS:
1 − 2.6 ounces 2−cycle oil
1 − Owner’s Manual
TOOLS REQUIRED FOR ASSEMBLY
1 − Knife
1 − Pliers
2 − Adjustable Wrenches
1 − Flat Screwdriver
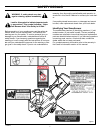
WARNING: Always wear safety glasses or eye
shields while assembling the snowthrower.
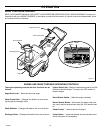
Figure 6 shows the snow thrower in the operating position.
References to the right or left hand side of the snow thrower
are from the viewpoint of the operator’s position behind the
unit.
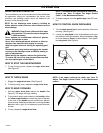
HOW TO REMOVE THE SNOW THROWER
FROM THE CARTON
1. Locate all parts that are packed separately and remove
from the carton.
2. Remove and discard the packing material from around the
snow thrower.
3. Cut down all four corners of the carton and lay the side
panels flat.
4. Cut off the plastic bag that covers the snowthrower.
5. Hold onto the lower handle and pull the snow thrower off
the carton.
CAUTION: DO NOT back over cables.
6. Remove the packing material from the handle assembly.
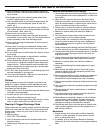
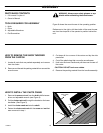
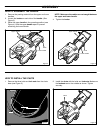
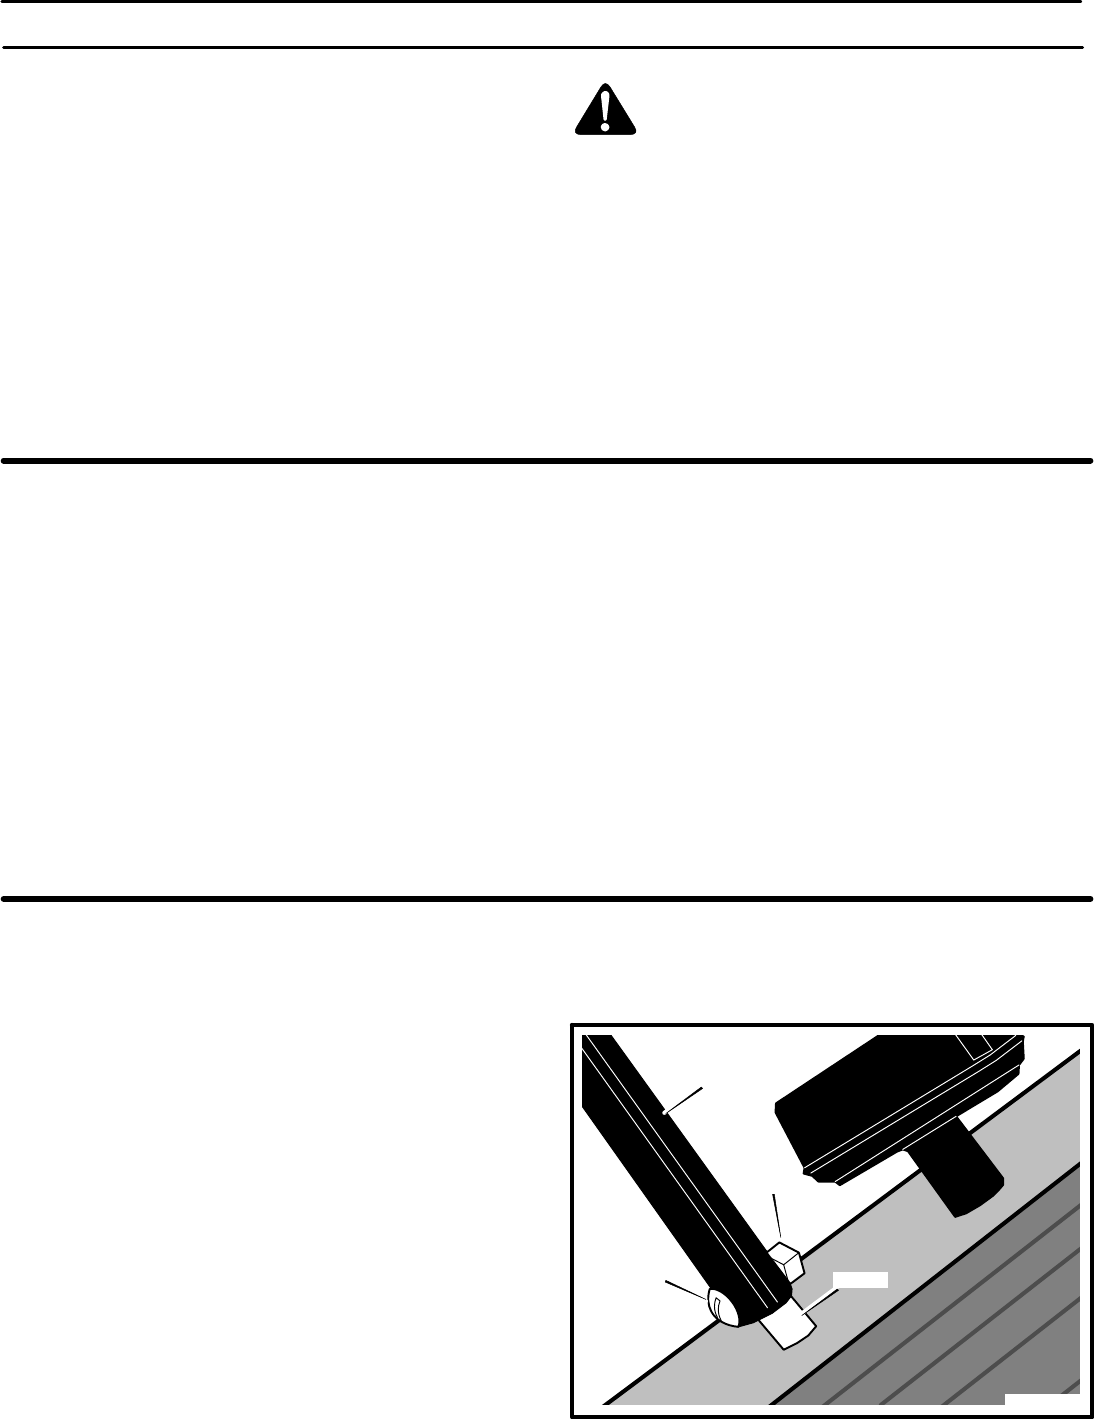
HOW TO INSTALL THE CHUTE CRANK
1. Remove the screw and nut from the shaft with flat screw-
driver and adjustable wrench (see Figure 2).
2. Put the chute crank rod through the bracket on the lower
handlebar. (See Figure 3)
3. Install the chute crank rod onto the shaft.
4. Fasten the chute crank rod with the screw and nut that
were removed in step 1.
Figure 2
Shaft
Chute Crank
Rod
Nut
Screw