page 4
ASSEMBLY
A. Preparation
Your owner’s manual has been developed to
help you assemble the unit and to understand
its safe operation. It is important that you read
your manual completely to become familiar with
the unit before you begin assembly.
1. Read your owner’s manual
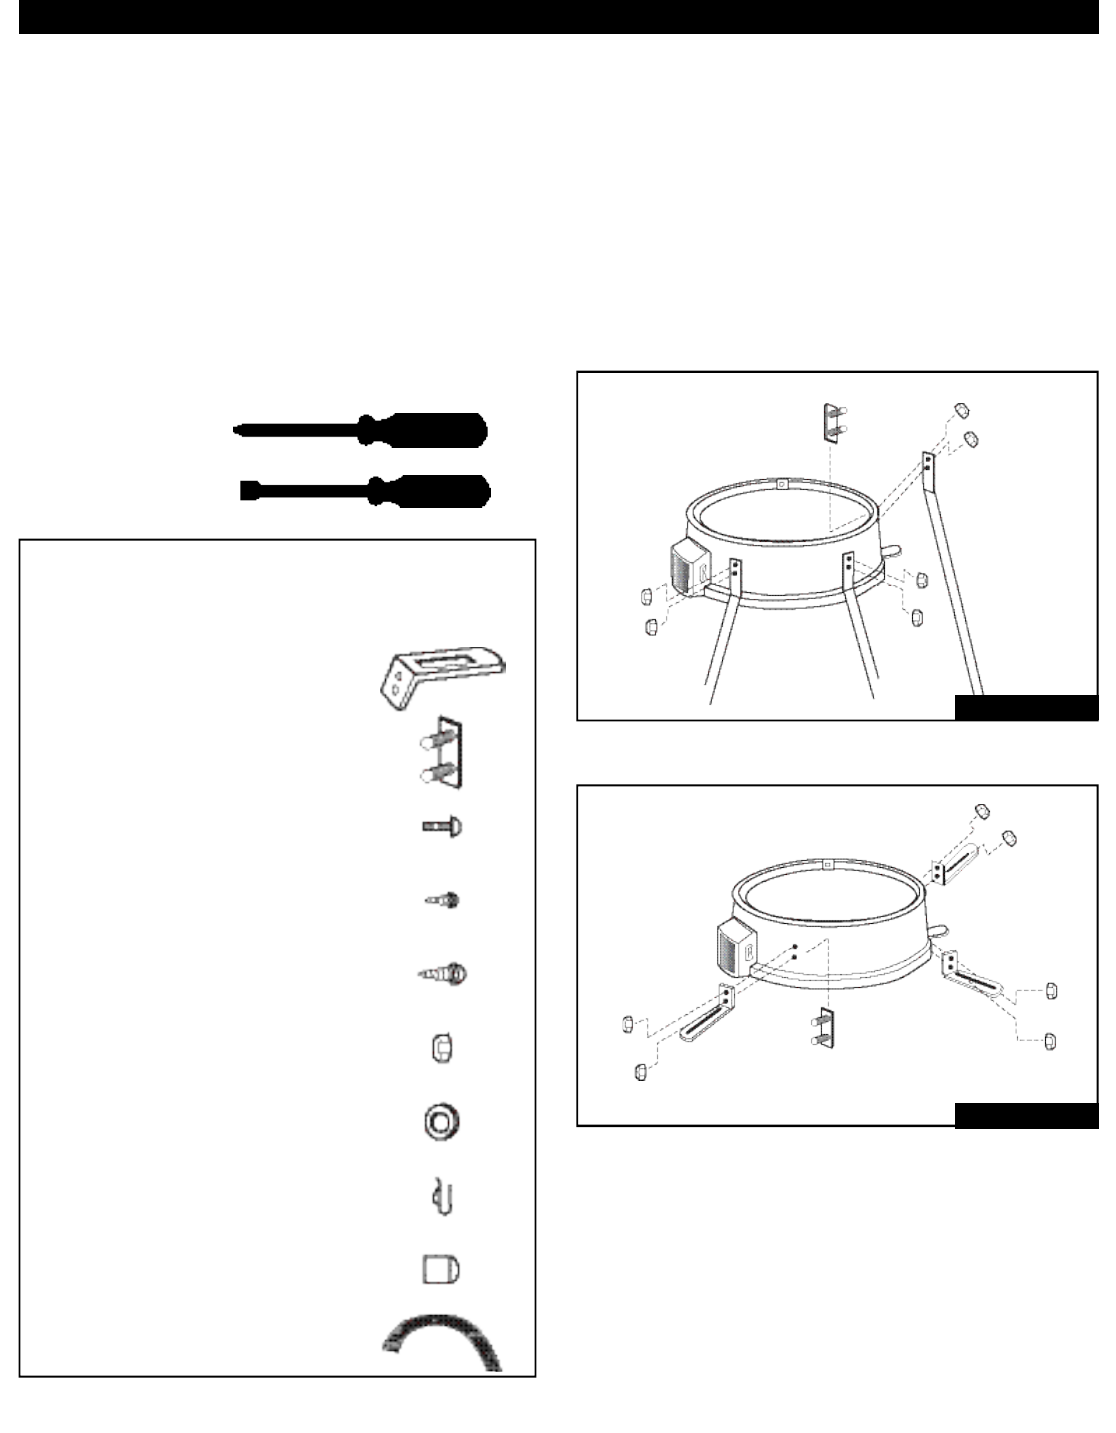
2. Tools you will need
a. #2 Phillips Head Screwdriver
b. 3/8” Nut Driver
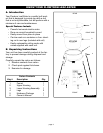
Hardware Bag Contents:
Qty. Description Looks Like
3 Container Mounting Bracket
3 Stud Plate
2 Screw, Pan Head, 10-32 x 3/8”
3 Screw, Sht. Mtl., #10 x 5/8”
4 Screw, Sht. Mtl., #10 x 1/2, Blk.
8 Hex Nut, Self-Lock, 10-32
4 Washer, #10
3 Tinnerman Clips
3 Leg Caps
36 Cutting Lines
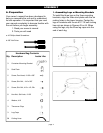
1. Assembling Legs or Mounting Brackets
To install the three legs or the three mounting
brackets, align the three stud plates with the six
mating holes in the lower housing. Fasten the
legs or brackets with the six #10 - 32 self-locking
hex nuts as shown in Figures #3 or #4. When
using the legs, slip the three leg caps onto the
end of each leg.
FIGURE 3
FIGURE 4


