


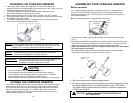

CHARGING THE CORDLESS SWEEPER ASSEMBLING YOUR CORDLESS SWEEPER
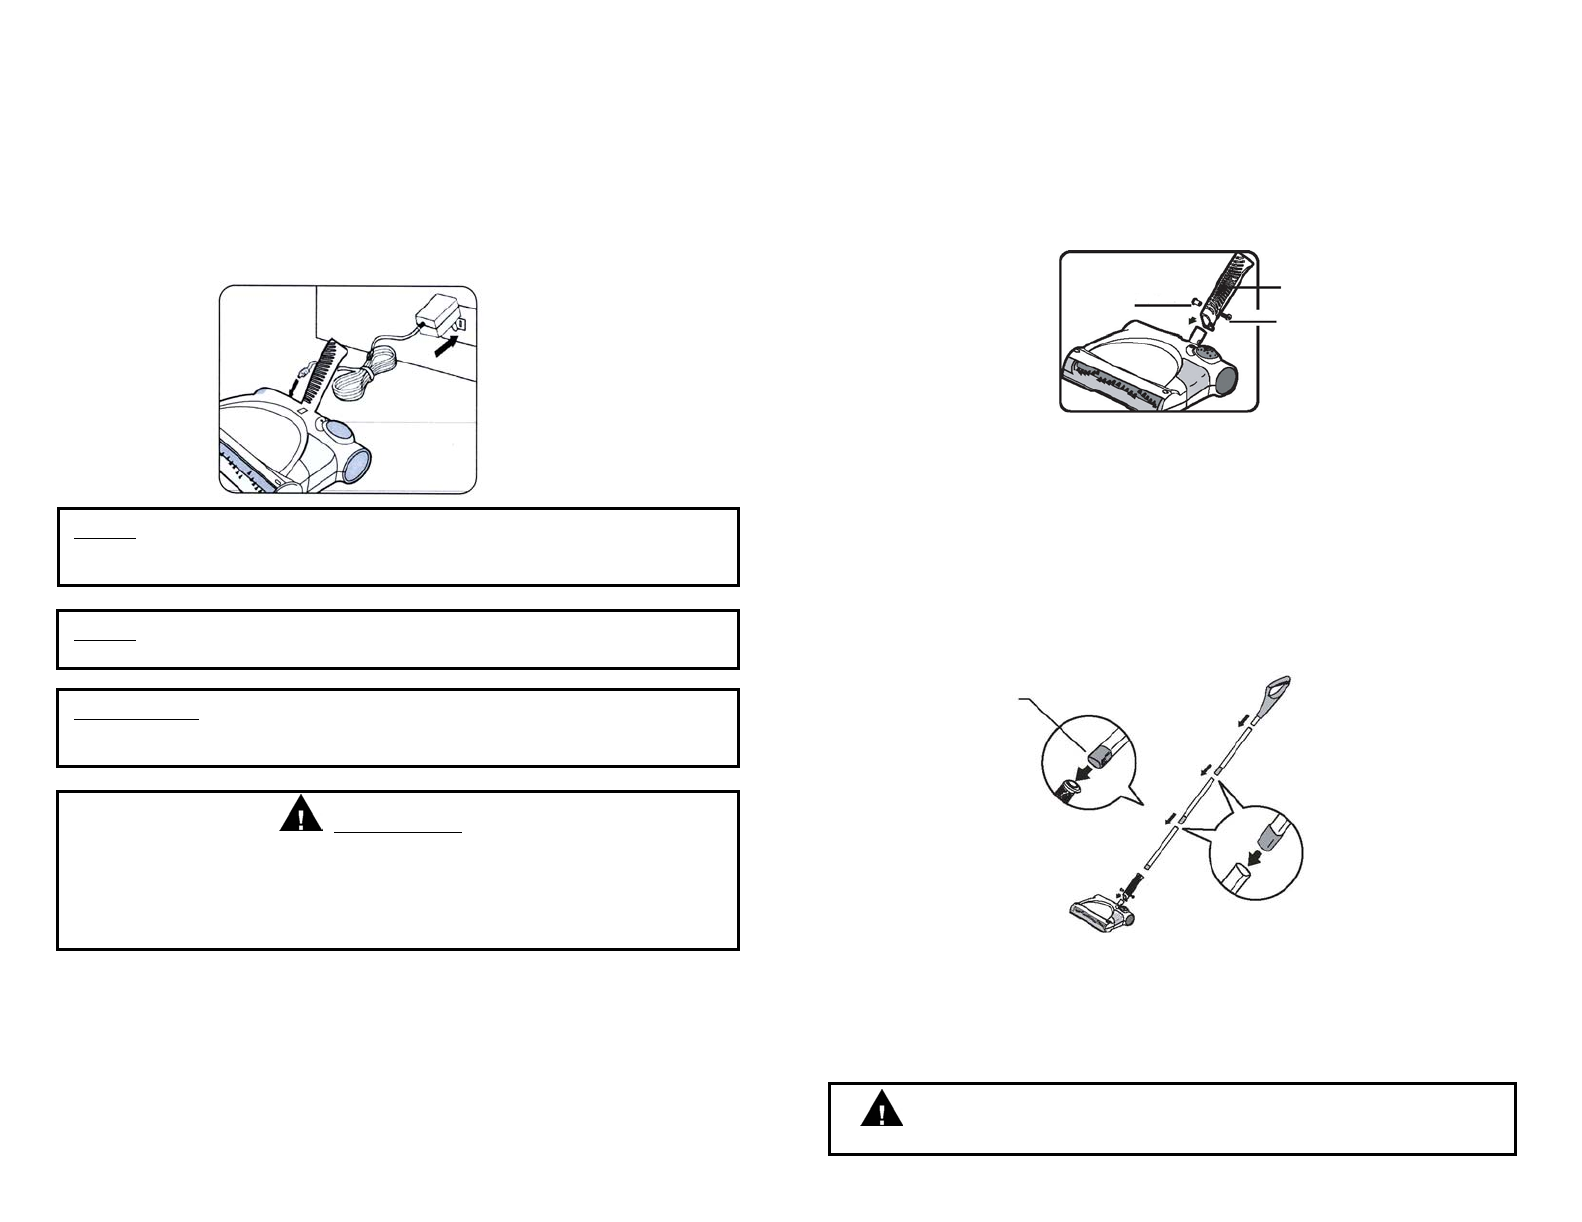
1. Connect the charger plug to the charging jack or hole on the back of the
sweeper. Plug the the charging adapter into the wall outlet. (120V., 60Hz.) Use only
TechWorld Charger AD-0815-U8. (Fig. 8)
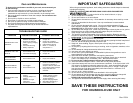
2. This cordless sweeper is powered by Ni-Cd batteries. Before first use,
they must be charged for a minimum of 20 hours.
3. When recharging the unit, the "On/Off" switch must be in the "OFF" position.
4. The charging light indicator on the top of the sweeper will illuminate to indicate that
the sweeper is properly charging.
5. To recharge, repeat step #1 above. Charging times will vary depending upon
the amount of usage between charging cycles.
Before you start:
Your Cordless Sweeper will require very little assembly. You should remove it
from the carton and familiarize yourself with all the components listed per the
exploded view drawing (pg.2) This will help you in the assembly and operation of
your cordless sweeper.
Note: The charging adapter is shipped inside the dust cup.
Fig. 1
Captive Nut
Lower
Handle
Bolt
2. Assemble the metal extension handles by pushing the plastic insert into the mating
metal tube. Push until only small portion of insert is visible or you cannot press any
farther into the tubing. Push the handle assembly into the upper handle.
NOTE: One metal extension tube has a different plastic insert. This tube should
be on the bottom of the handle.
Insert the handle assembly into the lower handle so that the tab on the plastic
insert snaps into the open slot on the lower handle. (Fig. 2)
1. Insert the lower handle. Fasten it with the captive nut and bolt that is provided.
(Fig. 1)
Insert into Lower
Handle
Fig. 2
Fig. 8
NOTE: If, when you place the sweeper to recharge and the charging indicator
light does NOT illuminate, then press the On/Off button once to turn the
sweeper off. The charging indicator light should now light up.
NOTE: Peak performance may only be realized after the unit has been
charged and discharged two (2) or three (3) times.
IMPORTANT: To maintain peak performance of your cordless sweeper, it is
recommended that the unit be fully discharged, then
completely re-charged at least once a month.
CAUTION
• Use only with the battery pack supplied with the unit.
• Do not attempt to remove the battery pack from the unit to charge it.
• Never attempt to throw the battery pack or unit into a fire or incinerate it.
• Do not attempt to remove or damage the battery casing.
• Battery must be recycled or disposed of properly at the end of it's service life.
3
3. Place the handle into the upward storage position.
4. Plug the charging adapter into the sweeper power head charging jack. Plug
the charging adapter cord into a standard electrical outlet (120V, 60Hz.)
The green charging indicator should illuminate. If it does not, depress the
On/Off switch one time.
CAUTION: ALWAYS USE ADAPTOR SUPPLIED (ONLY)
WITH SWEEPER
STORING THE CORDLESS SWEEPER
Your cordless sweeper may be stored by using the slot on the back of the upper
handle and hanging it from a screw secured to a wall or other vertical surface.
Use a #6 flat or pan head screw with the appropriate hardware for the surface
that the sweeper will be mounted on, (i.e. gyproc). Allow the screw head to
extend a approximately 3/16" from the mounting surface. Always empty your
sweeper before hanging up for storage.
6