


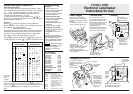
DYMO 1000
DYMO 1000
DYMO 1000
Electronic Labelmaker
Instructions for Use
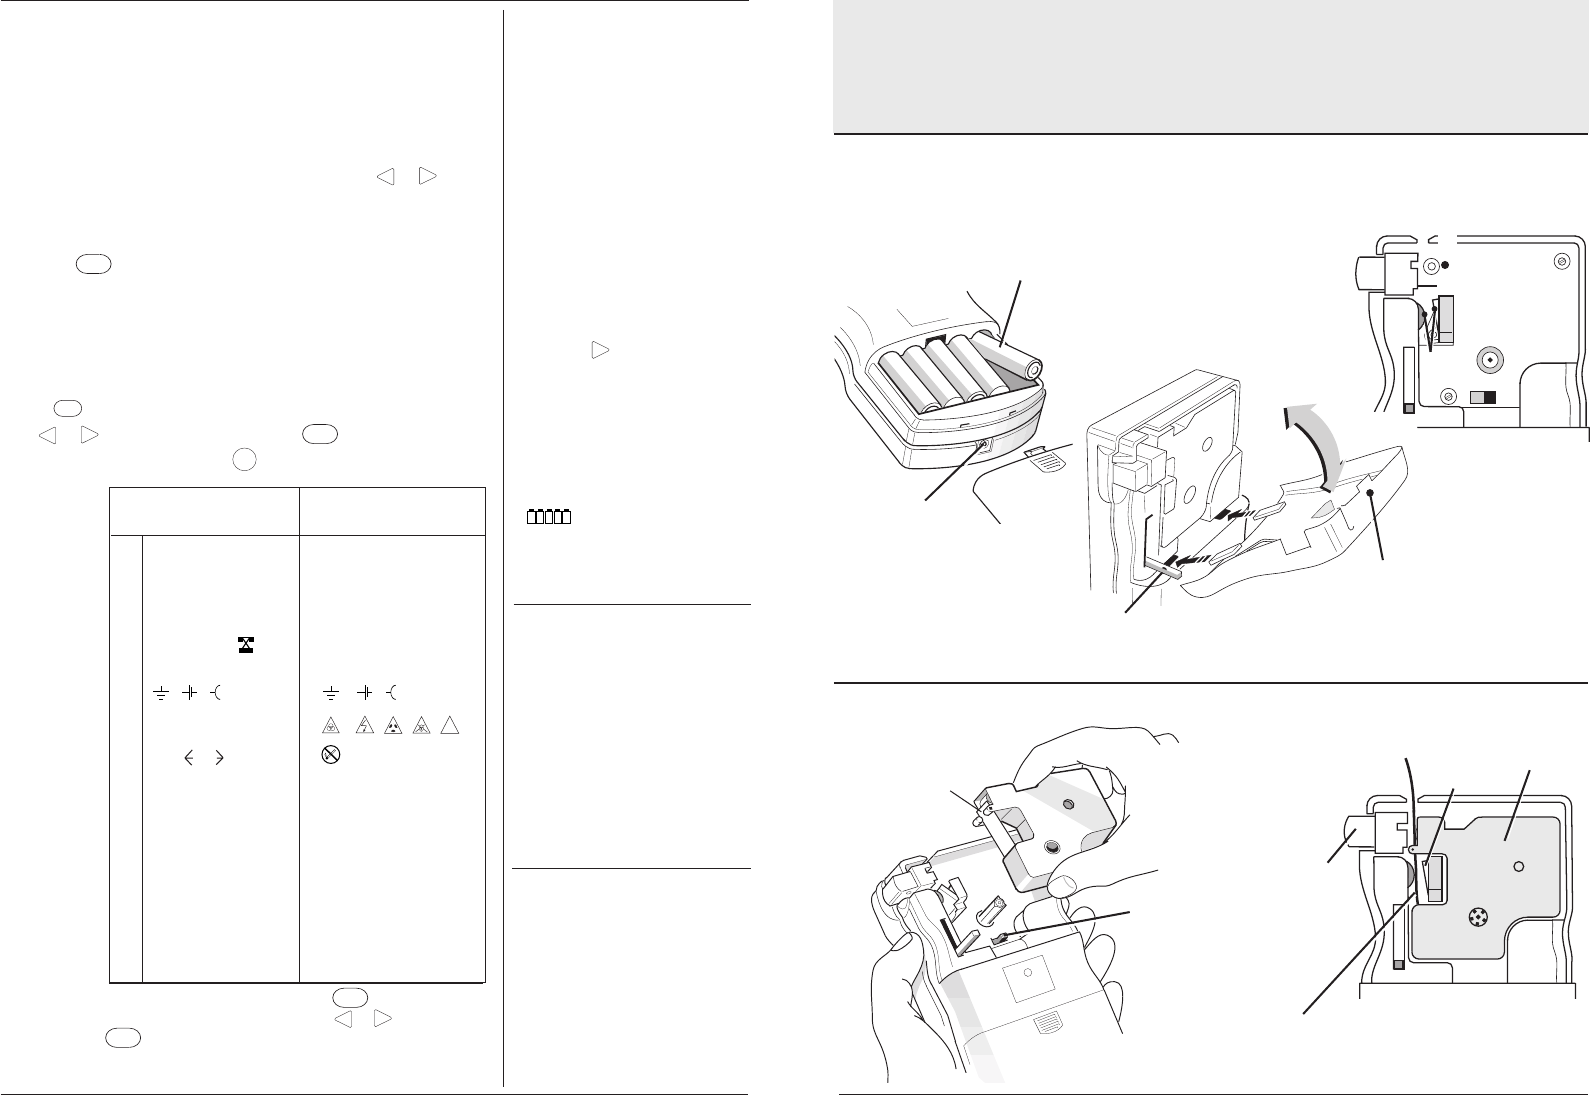
Power supply Cassette door
Insert five size AA alkaline or
nickel-cadmium re-chargeable
batteries, observing the polarity
markings.
Re-chargeable batteries must be
charged externally before use.
Connect the AC
adaptor plug here. Use
only the recommended adaptor.
Plugging in the AC adaptor
disconnects the batteries.
Note: Re-chargeable batteries will
not be charged.
Cover
slides
off.
Ensure tape and ribbon is
taught across mouth of
cassette and tape passes
between
the guide posts
before installing.
Lift cassette
straight up
and out.
Push firmly
until cassette
clicks into
place.
Print head
TAPE
CASSETTE
Label
cutter –
press to
cut off
printed
label.
Make sure that
this switch is set
to the RIGHT
before installing
the cassette. A
notch in the
cassette will fit
over the switch
when it is set
correctly.
To remove the door, press in
where shown below then swing
the door open and lift it away.
When re-fitting, hold the door at
the angle shown below and
engage the tabs on the door in
the slots in the case.
Now close the door, ensuring
that the lever engages with the
ramp on the door as it closes.
Ensure this lever
engages with ramp on
door when closing.
Press
here to
open
➭
➋
➧
Use a ball pen or
pencil to hold down
interlock button.
➧
➍
Check and clean
print head and
pinch roller
regularly using
cotton bud and
alcohol ONLY.
➍
Use a cotton
bud and alcohol
to clean both
sides of cutter
blade regularly.
➌
Press
➬
Cleaning
➊
Changing the cassette
Ensure tape and ribbon are
positioned as shown between
print head and pinch roller.
3
DISPLAYED PRINTED
CHARACTERS CHARACTERS
a $ ¢ £Fr¥ $ ¢ £Fr¥
b @& # : ; @ & # : ;
c "<>±="<>±=
d\÷X%* \ ÷ X%*
e °R°C
T
° ®©™☎°
f
23
23
1
/
2
23
23
1
/
2
g µΩ µΩ
h
1
.
.
.
2
.
.
.
3
.
.
.
4
.
.
.
5
.
.
.
!
i
6
.
.
.
➞
j ÆÅÇŒØ Æ ÅÇŒØ
k æå çœø æ å çœø
l ÃËÑÕ Ã ËÑÕ
m ãëñõ ã ëñõ
n âêîôû â êîôû
o ß¿ ¡●★ ß¿¡●★
p ÁÉ ÍÓÚ Á É ÍÓÚ
q áéíóú á éíóú
r ìò! ì ò!
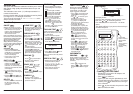
Symbols and special characters
International characters
You can create international characters by combining a letter
and a diacritical (accent). Diacriticals available on the keyboard
are ´ ` ¨ and ^. To add a diacritical to a character, enter the
character first, followed immediately by the diacritical. For
example, press ‘E’ followed by ‘´’ to get é.
To add a diacritical to an existing character, use
<
or
<
to
place the cursor under the character to be changed, then press
the appropriate diacritical key.
Symbols
Pressing
SYM
changes the display to show symbols and
special characters, some of which are not available direct from
the keyboard. The display will show:
a-o? (or a-r ? where available).
Each letter selects a line of five symbol characters, as shown in
the table below. Note that some of the more complex printed
symbols are represented by simpler symbols in the display.
Press
DEL
to cancel or press the letter key required.
Use
<
or
<
to select a symbol. Press
SYM
again to place the
symbol in the label, or press
PRINT
1
,
2
,
3
.
.
.
n
to place it and print the label.
Troubleshooting
No display
• check machine is on
• replace discharged batteries
or use the AC adaptor
• check AC adaptor plugged
in and switched on.
No printing or poor text
• replace discharged batteries
or use the AC adaptor
• check tape cassette
installed correctly and tape
not kinked
• replace the tape cassette.
No response to print key
• label length too short for text
– press
<
until >
disappears or clear fixed
length
• !!!!! in display indicates a
printer jam. Printing will stop
and the display return to
normal. Open the cassette
compartment and free the
jam.
•
flashing in the display
indicates low battery volts.
Replace discharged
batteries or use the AC
adaptor.
Accessories
12mm (
1
/
2
") cassettes
Black/Clear 45010
Blue/Clear 45011
Red/Clear 45012
Black/White 45013
Blue/White 45014
Red/White 45015
Black/Blue 45016
Black/Red 45017
Black/Yellow 45018
Black/Green 45019
Replacement Cutter 15030
Carrying Case 15010
AC Adaptor 40030
Print contrast — may be adjusted by pressing
SYM
followed by the
space key to display five contrast symbols. Use
<
or
<
to select a
symbol. Press
SYM
again to confirm the setting. The contrast level will
revert to the mid-setting when the Labelmaker is turned off and on
again.
Note: Rows
p, q and r
where
available.
M
➞
➞
➞
➞
➞
This product is designed to conform with the
following international standards:
EN 60950 Specification for safety
IEC 950 of information technology
UL 1950 equipment including electrical
business equipment
EN 55022 Specification for limits and
Class B methods of measurement of
radio interference
characteristics of information
technology equipment.
FCC pt15 Federal communications
Sub pt B commission radio frequency
Class B emissions.
Written by DAW Publications, Cambridge
6