Series 1000 and 1500
6
4. HOOD AND HINGE REMOVAL: 1500 SERIES
NOTE: Use this procedure for more extensive
repairs. Typical reasons may include dash panel
removal, or the need for more working room
than simply removing the hood will provide.
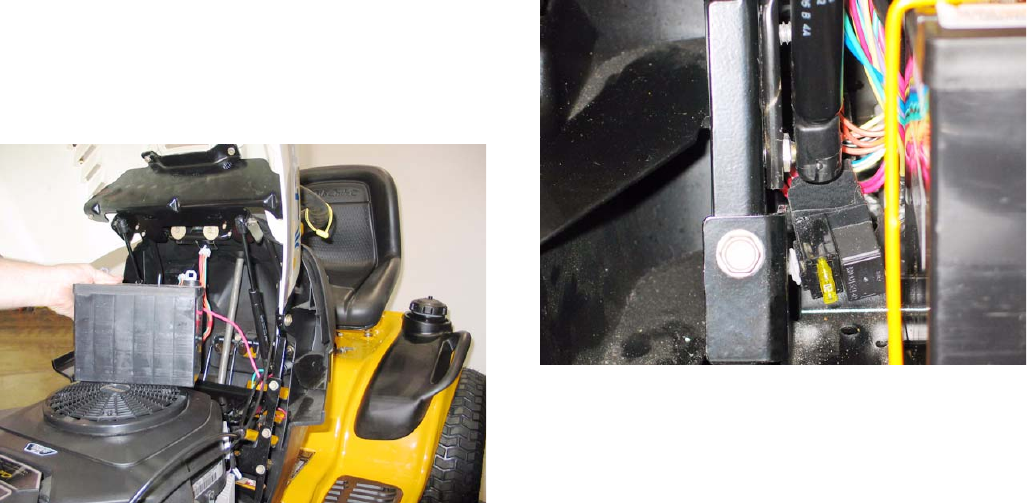
4.1. Remove the battery: See Figure 4.1.
• Disconnect the negative battery cable (black)
first, using a 7/16” wrench.
• Disconnect the positive battery cable (red) using
a 7/16” wrench.
• Remove the battery hold-down.
• Lift the battery from the tractor.
4.2. Disconnect the headlight harness. (Plug secured
to the hood lift cylinder).
4.3. Support the hood with an improvised prop-rod to
prevent damage.
4.4. Remove screws holding hinge support bar to
dash support using a 1/2” wrench.
4.5. Disconnect and remove the hood lift cylinders
using a small straight-blade screwdriver.
4.6. Remove screws & flat washers holding hinge
support bar to dash panel using a 3/8” wrench.
4.7. Lift hood and hinge assembly off of the tractor,
and remove it to a safe place.
4.8. Hood installation notes: See Figure 4.8.
• Position the hinge support bar over the two
spacers that partially cover the threads of the
balls that the that hood support struts attach to.
The slots in the ends of the bar will fit over the
spacers.
• Support the hood with an improvised prop rod.
• Install the screws that hold the hinge support bar
to the dash support and instrument panel.
• Snap the hood support cylinder into place, and
remove the prop rod.
• The remainder of the installation process is sim-
ply the reversal of the removal steps.
Figure 4.1
Figure 4.8
