


Tools Required for Assembly
Adjustable wrench
1/2" Socket
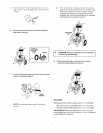
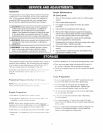
2. • Remove wood plank from the frame of the unit.
An adjustable wrench is required. Discard bolt
and board.
Remove Pressure Washer from Carton
, Open box from the top. Locate and remove from
box, the parts box, which includes gun, handle,
wand,oil, knobs and J bolts. Next remove the parts
bag and the handle.
• Cut carton along dotted lines.
• Remove all carton inserts.
,, Roil unit through opening in carton.
Note: The pressure hose and chemical hose are
located at the bottom of the box.
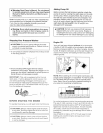
Preparing the Pressure Washer for First Use
Note: Included with your pressure washer is a video
tape on how to prepare your unit for operation. It is
recommended you view this tape before performing
the next steps.
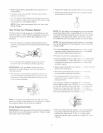
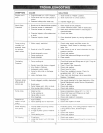
1. • insert handle onto frame.
• Slide J bolts into frame.
• Tighten knobs turning in c!ockwise direction.
_ten knob in clockwise
direction to threaded end of d bo_,)
(insert J boff here. Threaded end
goes in bottom hole)
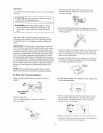
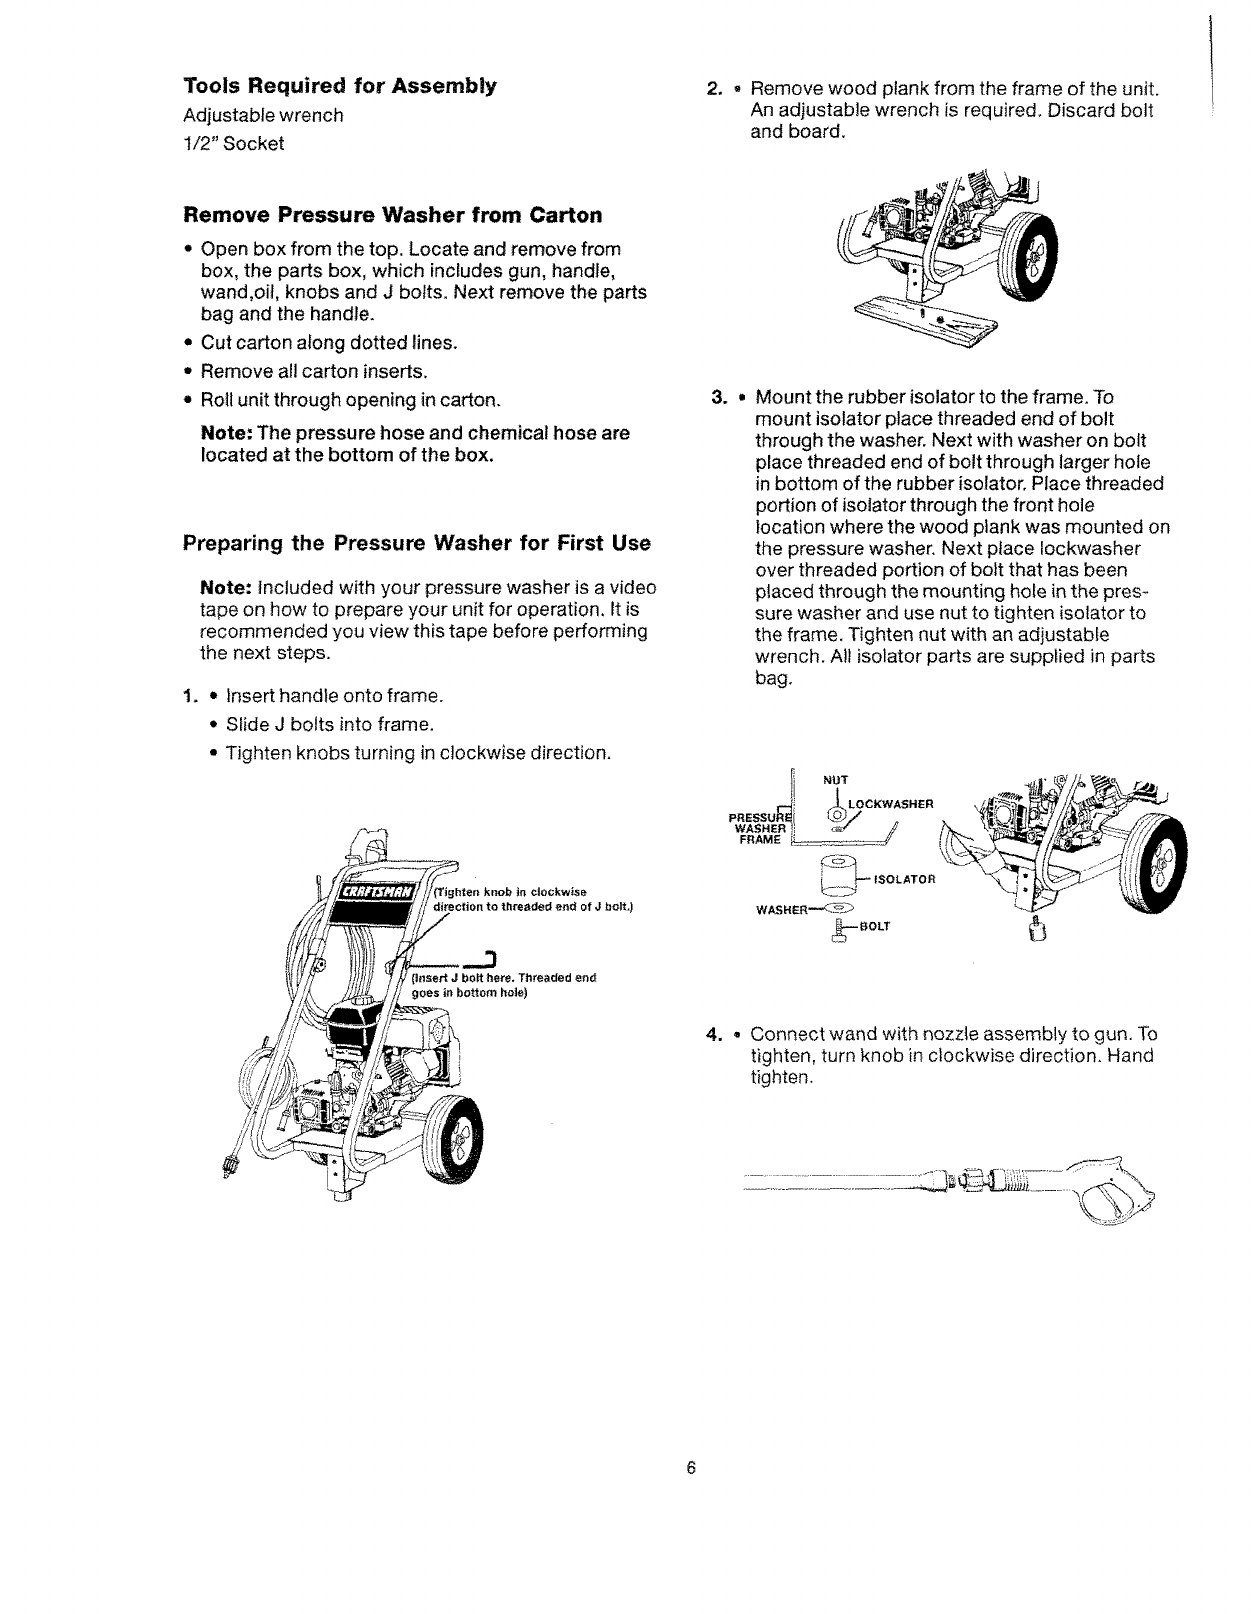
3. •
,
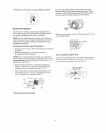
Mount the rubber isolator to the frame. To
mount isolator place threaded end of bolt
through the washer. Next with washer on bolt
place threaded end of bolt through larger hole
in bottom of the rubber isolator. Place threaded
portion of isolator through the front hole
location where the wood plank was mounted on
the pressure washer. Next place Iockwasher
over threaded portion of bolt that has been
ptaced through the mounting hole in the pres-
sure washer and use nut to tighten isolator to
the frame. Tighten nut with an adjustable
wrench. All isolator parts are supplied in parts
bag.
NUT
,.._!! _ LOCKWASHER
PRESSU_i _/ o
WASHER ,; _;_"f /;'
_-_ ISOLATOR
BOLT
• Connect wand with nozz{e assembly to gun. To
tighten, turn knob in clockwise direction. Hand
tighten.